John Harris
New Member
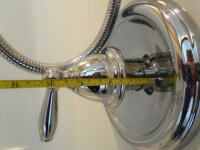
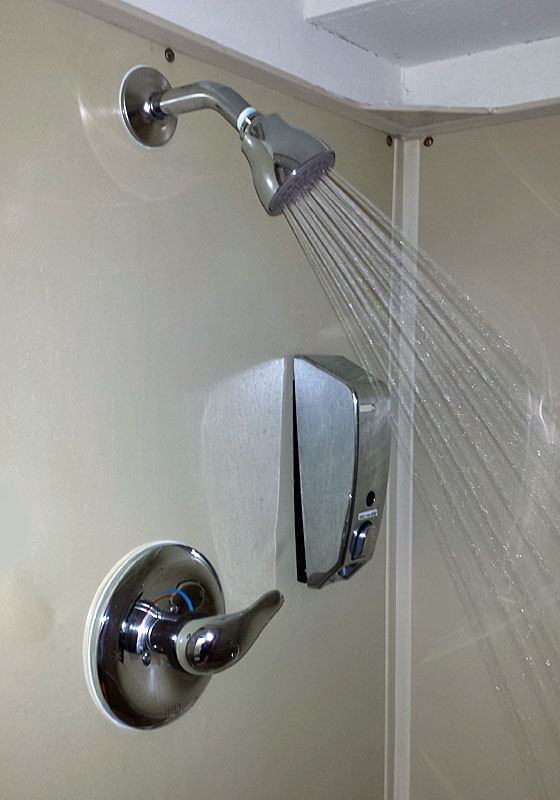
Recently installed a Moen 3330 valve and TS4112 trim kit taking great care to follow the instructions to the letter. The supply valve handle sticks out 3/4 inch from the escutcheon plate and the diverter handle is 5/8 off the plate. Both look like crap. Moen explained that this was 'acceptable' and I countered that I was not interested in acceptable but rather the product as it is represented in all of the diagrams and pictures that they use to market the product. I explained that bringing a water hose through the window would also be acceptable and serve the purpose of getting me wet but is not really the fit and finish I was looking for in the bathroom (green would not go well with the granite).
If I install it as directed with the plaster plate flush with the finished wall I expect the outcome to be similar to what is represented. I pointed out that nothing in the installation instructions, illustrated parts list or product specifications provide what is 'acceptable tolerance' and the product specifications actually show the trim seated neatly at the escutcheon. The only solution that they can provide is to move the valve body back in the wall. How hard would it be to accurately reflect that information in the installation instructions or provide the correct size plaster plate?
My own solution>
I was able to move the diverter valve by shortening the spacer 3/8" (white tube that fits into the stop tube) with a belt sander.
I am about to address the supply handle and it is going to be a little harder - there are (5) parts that need to be modified or removed: 1. shorten the threaded stem on the cartridge by 3/16" 2. remove the screw and stop from the stop tube (allows handle adaptor kit to fit into the stop tube and additional 1/16") 3. shorten the white plastic handle adaptor piece by 1/8" 4. shorten the center (only the center) of the black handle adaptor kit that faces the valve by 3/16" 5. shorten the stop tube by 7/16" - the result should be a gap between the handle and the plate of 5/16" OR a pile of worthless parts. If it does not work I am out a Stop Tube Kit, a handle adaptor kit and a replacement cartridge (total $50.35 if ordered from Moen; ~$30 if ordered/purchased not from Moen)
Will let you know how it turns out.
I am doing this because I enjoy a challenge - it does not forgive Moen for the quality of their instruction or mis-representation of the product. This is the second issue I have had with Moen (drop ell has 3 threads, vacuum breaker has 6 - no way to seal it) To their credit they sent me a new drop ell (same one I already had) and ultimately a new handheld with the vacuum breaker in the shower head ("engineer forgot to update the specs")
There is no reasonable remedy on the handle issue, hoping my modifications work. If not there is always the garden hose - maybe I can get one in grey.

")