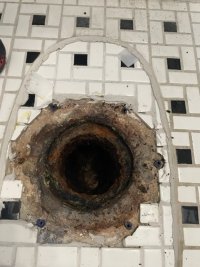
These are new pictures? You removed the repair ring, because it was not as strong as it looked, right?
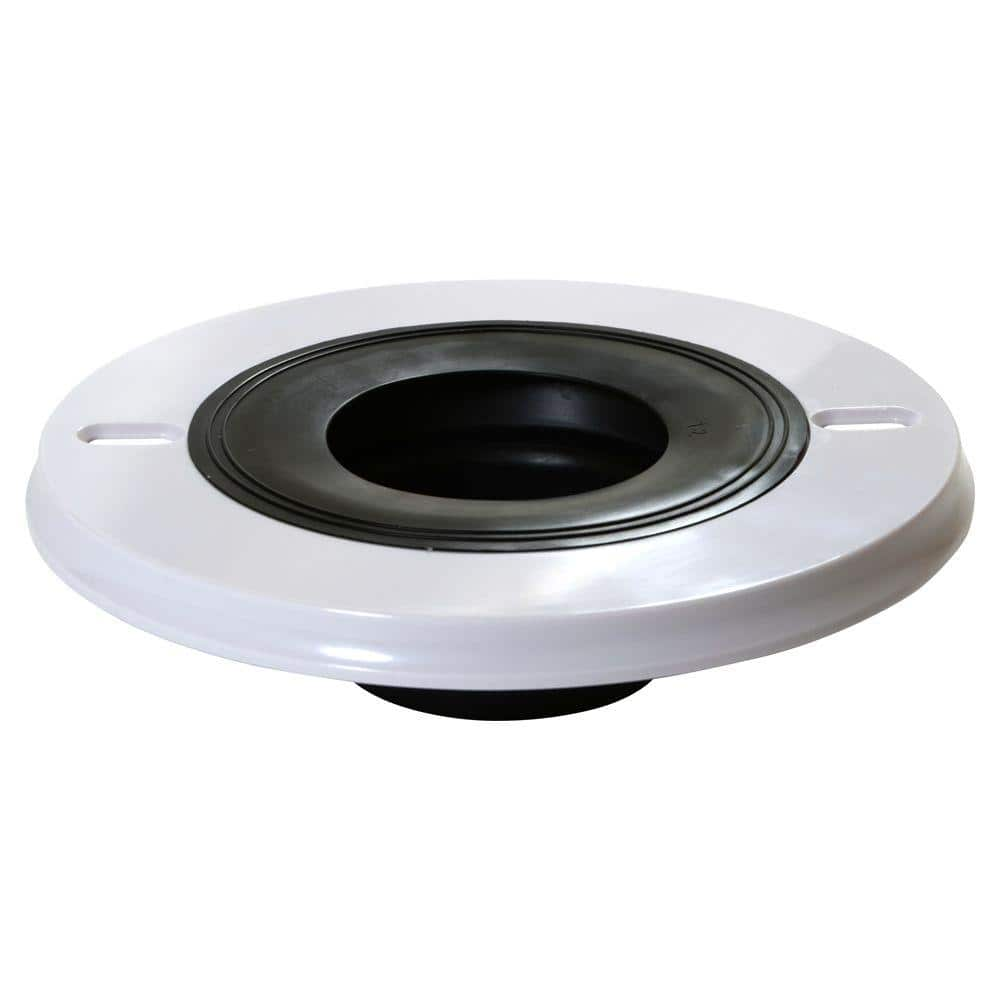
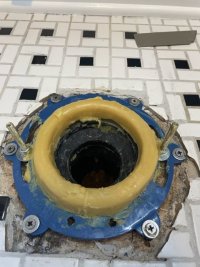
If yes to both, I would consider a Danco HydroSeat with wax beneath. Yes, it has the wax, but you can see the wax seal go in before you drop the toilet. The HydroSeat has screw holes on the legs, and it has holes more interior... use whichever works better for you.
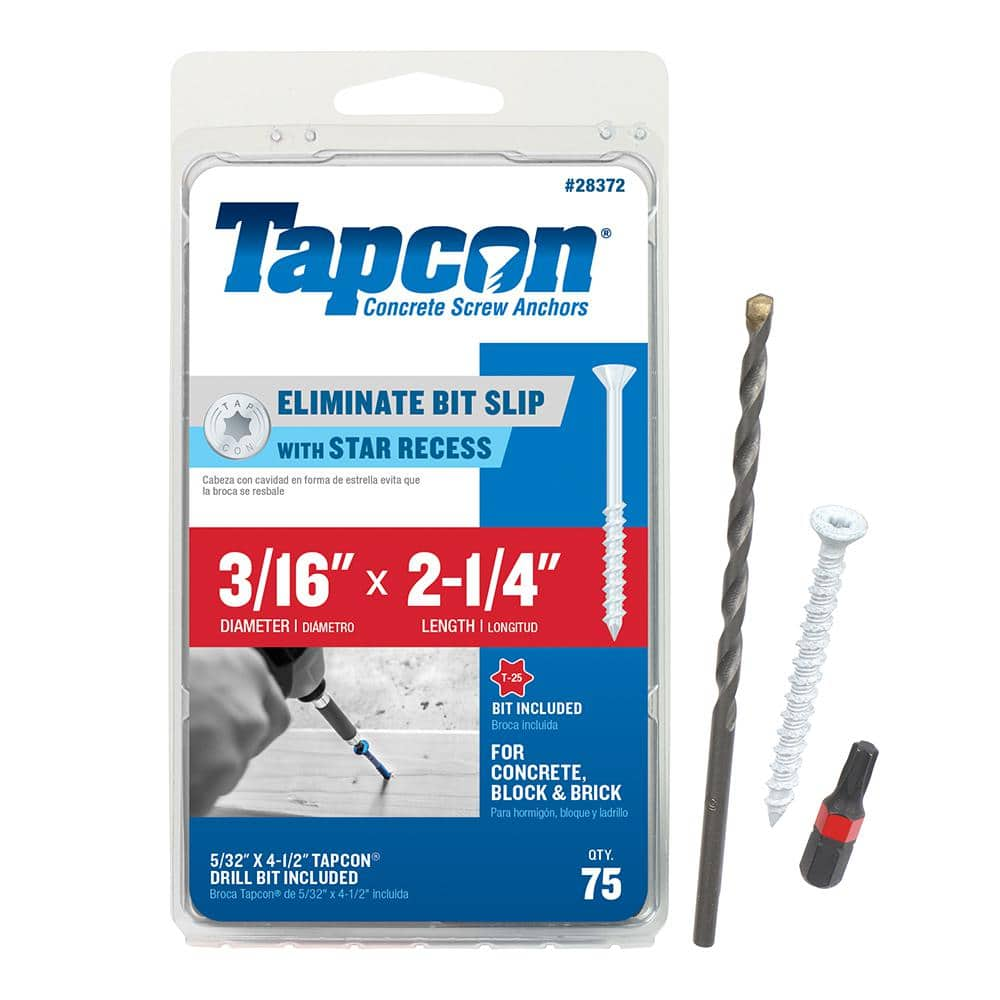
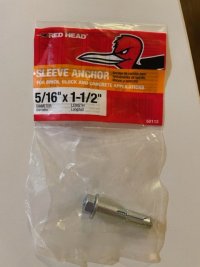
For screws, I would be looking at stainless steel Tapcons. With those, make sure the hole is drilled deeper than the screw point will be, and blow out the debris.
Some use lead anchors. That seems like it would take more skill to get into the right place.
Hi Reach.
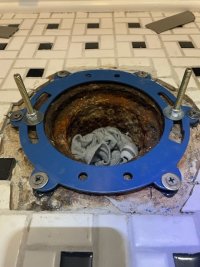
Yes these are the pics of today. I removed the repair bracket because 1) I didn't screw in one hole where the left toilet bolt goes and it bent up and then 2) the other side also removed itself from the anchor. Plus it was quite corroded.
The stainless steel screws that I installed in 2018 held up really well so I got more of those.
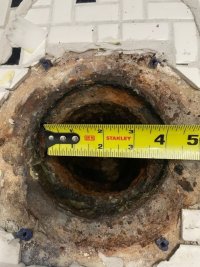
After investigation, whoever installed this fix first drill 1/4" holes in concrete with those plastic anchors and that was it. No epoxy no glue no nothing.
So I went to the store before I talked to you and Ace and Dixieline here in SoCal didn't have any Tapcons larger than 1/4, which my holes are 1/4 so I would need a little bit bigger screw.
Of the six holes of the repair flanges 4 held well. It was just the place where the toilet flange bolt lifted the anchor.
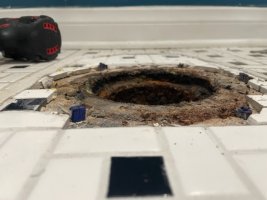
I wasn't sure how to proceed but as usual figured I was overthinking it. I got new anchors, same, and then some epoxy.
Cleaned out holes and did my best to get epoxy in there. Waiting for it to dry and then I'll try mounting the bracket.
If that doesn't work I am interesting in the Hydro Seat option. Seems that it would work I would have to just check holes.
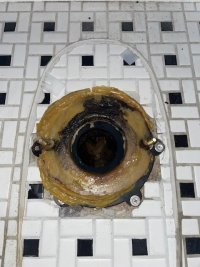
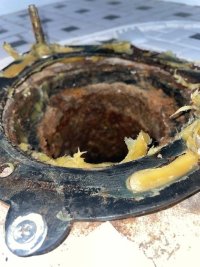
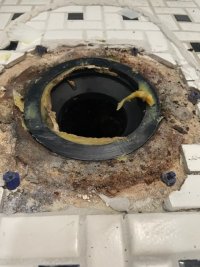
Because the previous wax horn fit precisely into the cast iron flange
would it be better to cut a horn out of wax and insert it or to simply put a horned ring in and let it set.? As you can see in this picture after I removed wax it just by luck set itself in there. I was wondering if I should be more deliberate?