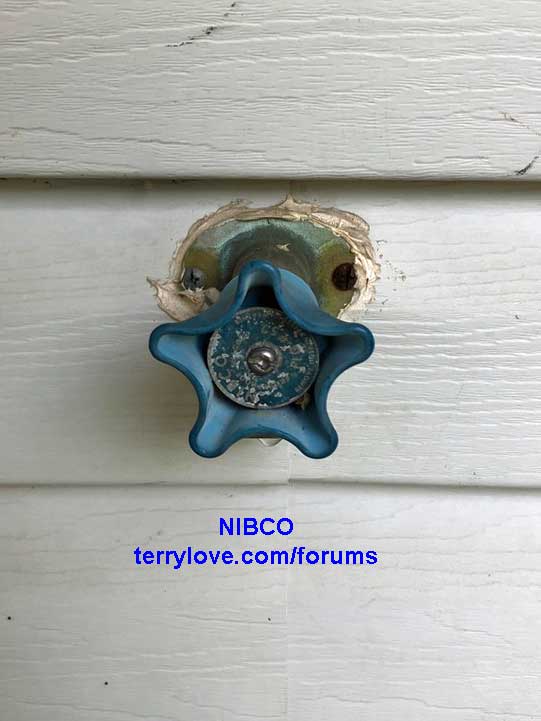
Pull hard and wiggle at the same time.
Thanks, that did the trick. I was just too cautious at first.
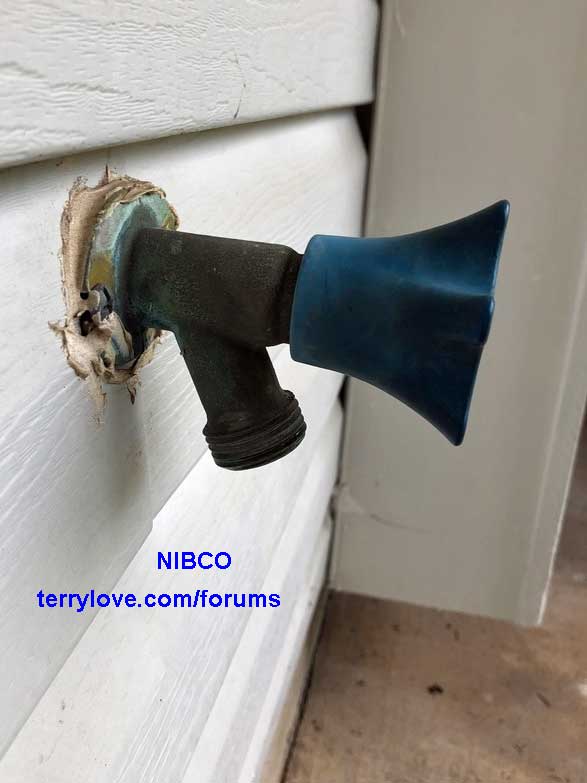
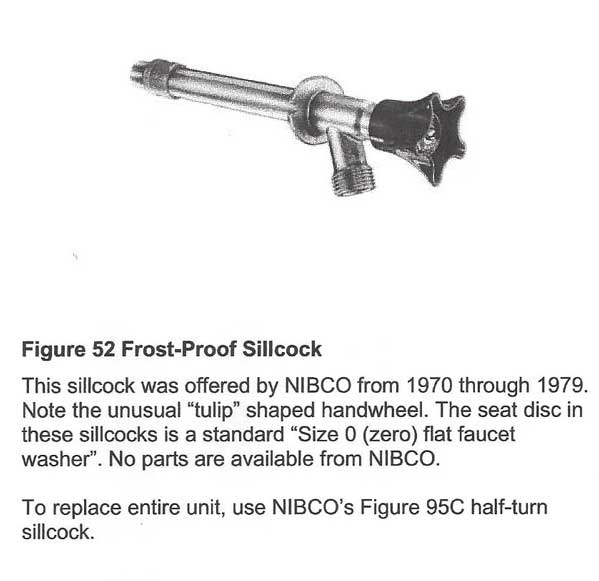
I was able to pull out the internals just like the pic above. Had some trouble at first with a ton of dried plumbers putty in front of the packing nut which I ended up scraping out and dissolving with a little WD40. Replaced the washer and put it back in but it's still leaking. (In fact, it was leaking more with the lack of old plumbers putty but I put some new putty in as a temporary fix.) Still leaking now but not nearly as much.
Would the fact that it's still leaking suggest that there is some damage to the structure of the sillcock itself? Or would I be able to replace just the internals (packing nut, etc) and maybe fix the leak? Any guesses? Would love to avoid messing with the actual plumbing as I think the actual connection point would be very difficult to reach, and I'd rather not shell out hundreds to hire someone if possible!
Edit: Did a little more research and I realized that behind the packing nut there was virtually no packing, only a thin copper washer and the remnants of whatever decades-old plumbers putty (or something else?) between the washer and the packing nut. Another site suggested a #8 rubber o-ring for the Nibco #52 so I ordered a pack of those plus some faucet packing material (and some new washers for good measure as the one in mine looks pretty corroded. I'm guessing (hoping) that maybe the leak is just due to a poor seal between the washer and the packing nut. I'll try to install the new materials in a day or two and see what happens.