soultraveler
New Member
Hi everyone.
i am curious how people pass the flood test doing the tradition pan linear shower.
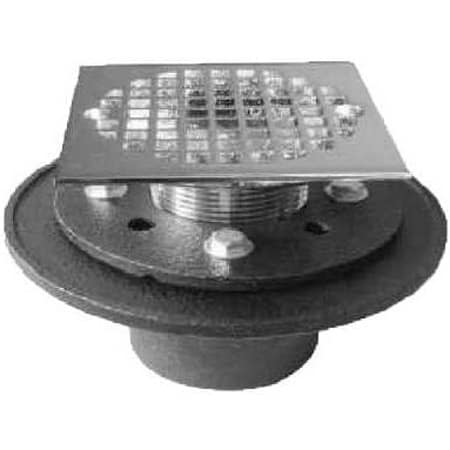
normally, people set their preslope first, then pan linear, then caulk around the drain base and install the clamping flange, and let it dry then run the flood test.
my concern here is that when i run the flood test, water will sweep through the bolts. and the only thing that is stopping the water from going further out to the drain and preslope is the caulking between drain base and PVC liner. And caulking doesn't last long.

i read a post by this forum membe johnfrwhipple
https://terrylove.com/forums/index.php?threads/setting-a-showers-flood-test.57898/
he states that use NobleSealant 150 instead of 100% silicon could achieve a waterproof seal.
has anyone tried this? does this work like a PVC glue where it chemically bond the {PVC pan linear to the drain base?
Thanks
i am curious how people pass the flood test doing the tradition pan linear shower.
normally, people set their preslope first, then pan linear, then caulk around the drain base and install the clamping flange, and let it dry then run the flood test.
my concern here is that when i run the flood test, water will sweep through the bolts. and the only thing that is stopping the water from going further out to the drain and preslope is the caulking between drain base and PVC liner. And caulking doesn't last long.
i read a post by this forum membe johnfrwhipple
https://terrylove.com/forums/index.php?threads/setting-a-showers-flood-test.57898/
he states that use NobleSealant 150 instead of 100% silicon could achieve a waterproof seal.
has anyone tried this? does this work like a PVC glue where it chemically bond the {PVC pan linear to the drain base?
Thanks
Last edited by a moderator: