Kohler canister flush valve drops too quickly

Users who are viewing this thread

Philip Maynard

New Member
Messages
1
Reaction score
0
Points
1
Location
PA
You are a hero. Thank you!

Now a very very old thread, but I found it and it helped e when i trouble shot my toilets handle holding issue. So after looking at these post I believe I've solved this issue. Firstly thanks for all the suggestions they helped me figure this out. Now lets talk a little about this issue. These toilets didn't exhibit this issue when new or we would of promptly said thanks but no thank to the retailer that sold us this toilet. So lets get that out of the way right now. Holding the handle for any length of time isn't the solution. Also readjustments generally may get you a little farther down the "now I got to fix this" road. So lets get to the fix. Because this happened slowly until one day we find ourselves double flushing, I immediately thought of hard water and scale buildup. Here in the bay area we have basically cement water. So it was naturally my first thought and for me it turned out right. Now a little about hard water, you may think your water is pristine but remember most water is from underground aquifers or treated surface water (reservoirs) and usually not demineralized. Having said that if you've tried everything else than keep reading. First of all i recommending cleaning out the bowl jets around the inside rim because scale will clog those and make for more maintenance of the bowl. I used a piece of 1/8 inch spring steel (found in a recycled wiper blades) and gently scraped the scale off. This increased the flow to clean the bowl but did nothing to fix the issue. Secondly and more importantly your problem most likely lies in the bottom of the bowl. For this you might want to have a way to pump out the bowl. Now this step requires getting your hands down in there and feeling since where the problem lies you won't be able to see. Now reach down and poke your finger into the water outlet from the tank (round hole that's aimed to the back of the toilet that jets water to bigger oval flush drain). Now is it smooth, without obstruction or stalagmites. Mine was so obstructed in such a way it actually felt like it was unfinished porcelain and actually made that way. Nevertheless less i constructed several chipping tools made from bent screw drivers and proceeded to clear literally chunks of mineralized deposits up to 1/2 - 3/4 inch thick from the jet port. By the way that jet port is relatively smooth finished porcelain so if its rough and scraggly you have hard water scale. I also took 1/4 inch thick pieces from the drain side beyond where I could see using a small hammer and these tools to gently chip these away. Once that was done, the toilet operated like day one. Now I went a step further and fully drained the bowl and added a cup of muriatic acid after chipping and let that work for 10 minutes to get what I missed (do so at your own risk as its probably not recommended
 

Gregorymiller10

New Member
Messages
1
Reaction score
0
Points
1
Location
Arizona
I should point out that muriatic acid is NOT a light weight acid. It is also known as Hydrochloric Acid and is strong. Wear chemical resistant gloves, long sleeves and pants, eye protection and make sure you can ventilate your space of the fumes. It will clean your toilet but please take some precaution.
I only signed up to thank you for this general idea. I fought this problem for more than a year before I found this thread. My solution was to get the wet/dry vac and drain both the bowl and the tank. Then I removed the canister so I could pour an entire gallon of muriatic pool acid in from the flush valve. It made its way to the bowl filling it completely then I turned on the fan and locked the bathroom and left it for 8 hours. The mess it dissolved was unholy. There was more buildup than I could have ever hoped to scrape. The toilet works like new. Thank you so so so much for this idea.
 

onthebeam

New Member
Messages
1
Reaction score
0
Points
1
Location
FL
Thank you EVERYONE for your great contributions to this thread. I bought three of these Kohler "AquaPiston" toilets five years ago thinking I was paying for superior technology. Obviously not! Like others, I'm never going to accept it is normal to hold my finger down on a flush lever. Try explaining that to even the most articulate 7-year-old! He is how I systematically approached the problem:

1) I decided to save the Muriatic Acid option until later if needed. It is not a cakewalk to handle it and most importantly to ensure proper ventilation. Still, if I ever need to go that route I am certainly willing to.

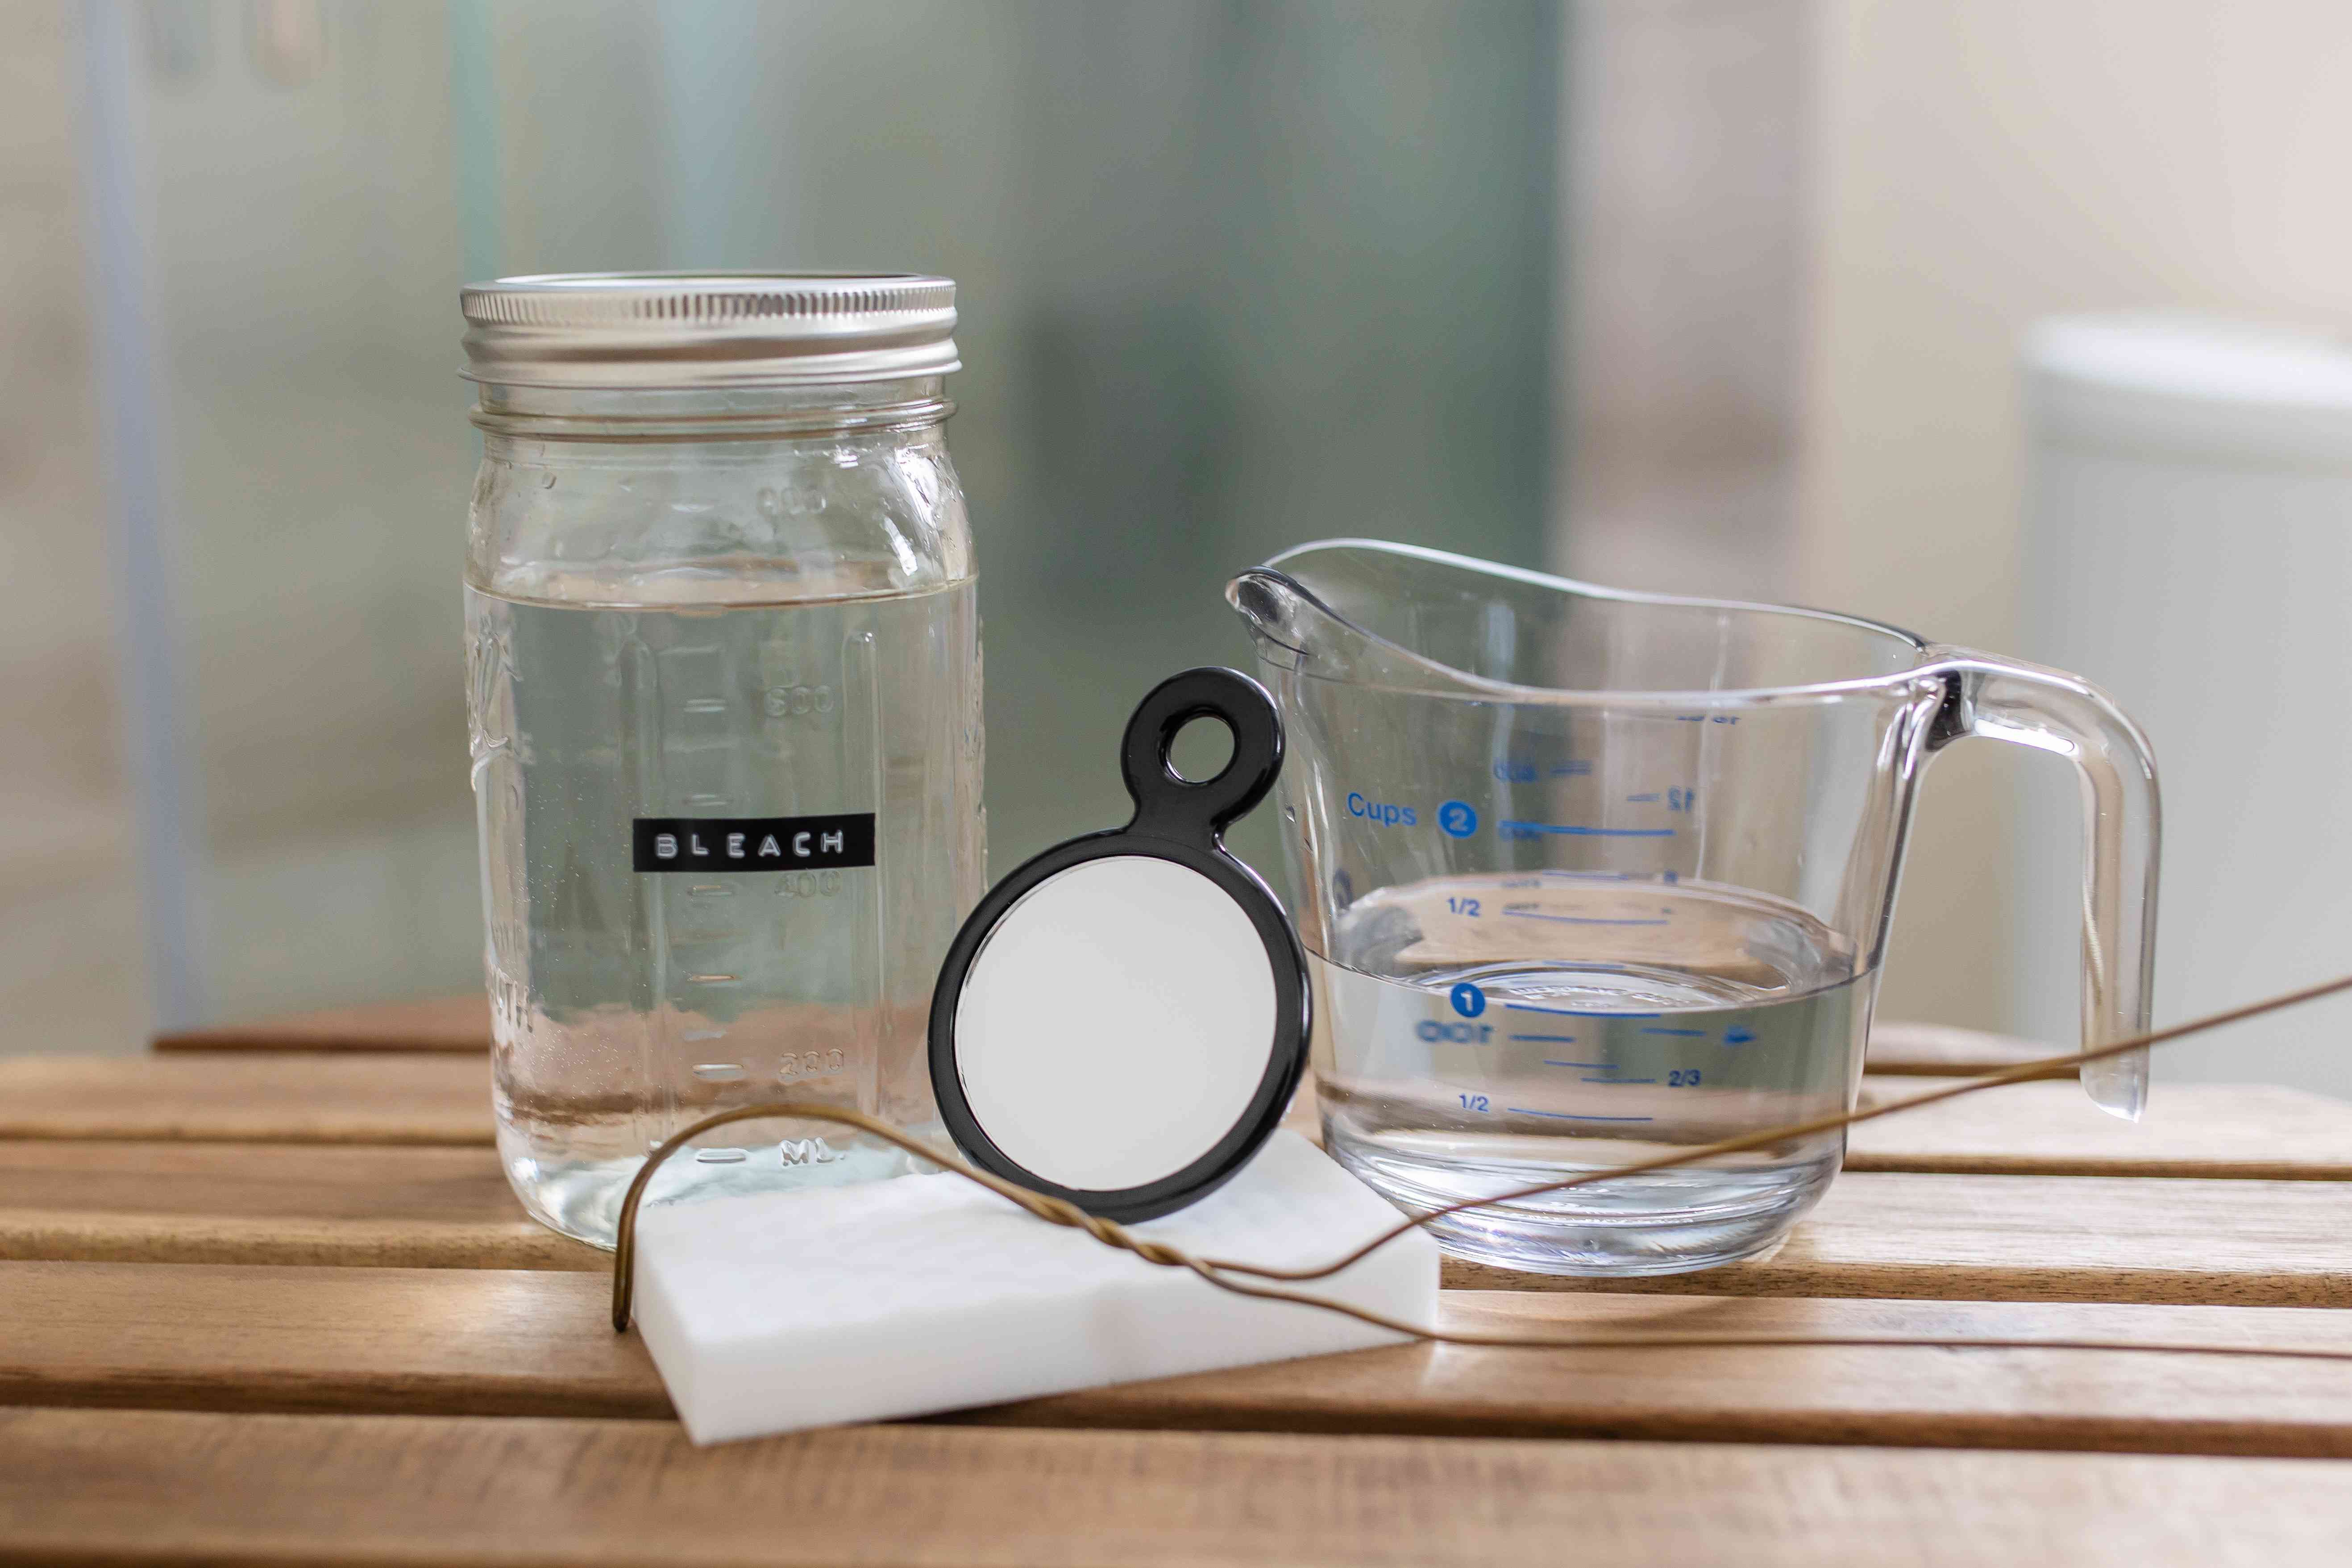
2) To get better flushing flow, in the past I have scraped and chipped calcium out of the bottom of our various brand toilets, and have also poked through the rimjet holes under rim with the end of a coat hanger. It is a somewhat humbling experience and this was my first step with the Kohler, using a short 3" flat head screwdriver along with the coat hanger for the rim holes. This improved the flow, but not enough. The improvement was that I only had to count to three instead of five before taking my finger off the lever to fully flush. In the past I have poured a diluted bleach solution into the overflow tube so if you want to go this route, I recommend this primer:


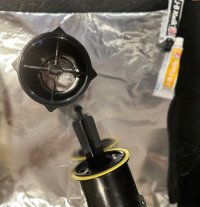
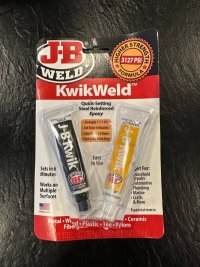
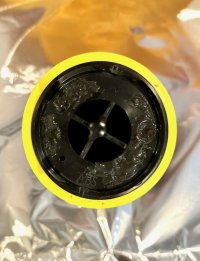
3) I loved the theory behind Jeff's JB Weld solution on page two of this thread. His goal was to make the aqua piston tube less buoyant. This delays its quick drop to the bottom of the tank so more water can enter to fully flush. I bought the basic JB Weld KwikWeld epoxy that can be found for under $8. Jeff advised to leave one hole uncovered. I first tried leaving two holes uncovered and tested. I next glued over another hole, leaving just one open as Jeff had. This was superior.

The great news about this technique is that you do not have to unscrew the base of the aqua piston from the bottom of the toilet. Thus no draining the tank hassle. Just flush and quickly tighten your wall valve so less water is in the tank to allow you to easily access and remove the large tube aqua piston part. You will find that it simply bayonets in and out. Turn 90 degrees counterclockwise to release and lift straight up.

The epoxy is stated to fully set in six hours but it's ready in two. Bayonet the tube back in and test your flush.

4) Whoosh. All is well with the world again.

I've applied this easy fix to all three of our Kohler and thank you all for this invaluable thread. If I had to do it again I would too buy a Toto but very glad to have eliminated this aggravating Kohler engineering blunder.
 

Attachments

  • IMG_4805.jpg
    IMG_4805.jpg
    75.6 KB · Views: 129
  • IMG_4806.jpg
    IMG_4806.jpg
    130.1 KB · Views: 125
  • IMG_4811.jpg
    IMG_4811.jpg
    74.6 KB · Views: 128
Last edited:
Top
Hey, wait a minute.

This is awkward, but...

It looks like you're using an ad blocker. We get it, but (1) terrylove.com can't live without ads, and (2) ad blockers can cause issues with videos and comments. If you'd like to support the site, please allow ads.

If any particular ad is your REASON for blocking ads, please let us know. We might be able to do something about it. Thanks.
I've Disabled AdBlock    No Thanks