Hi all,
I know nothing about sprinklers systems other than what I found on the internet last night so I am hoping someone can provide me some guidance. My old sprinkler system was bubbling at one of the heads when the system was off and I found that the cause could be a blocked valve. I opened the valve box and unscrewed the PVC valve cover and did not find any blockage. When I went to put it back on and turned on the water the sprinkler would not shut off.
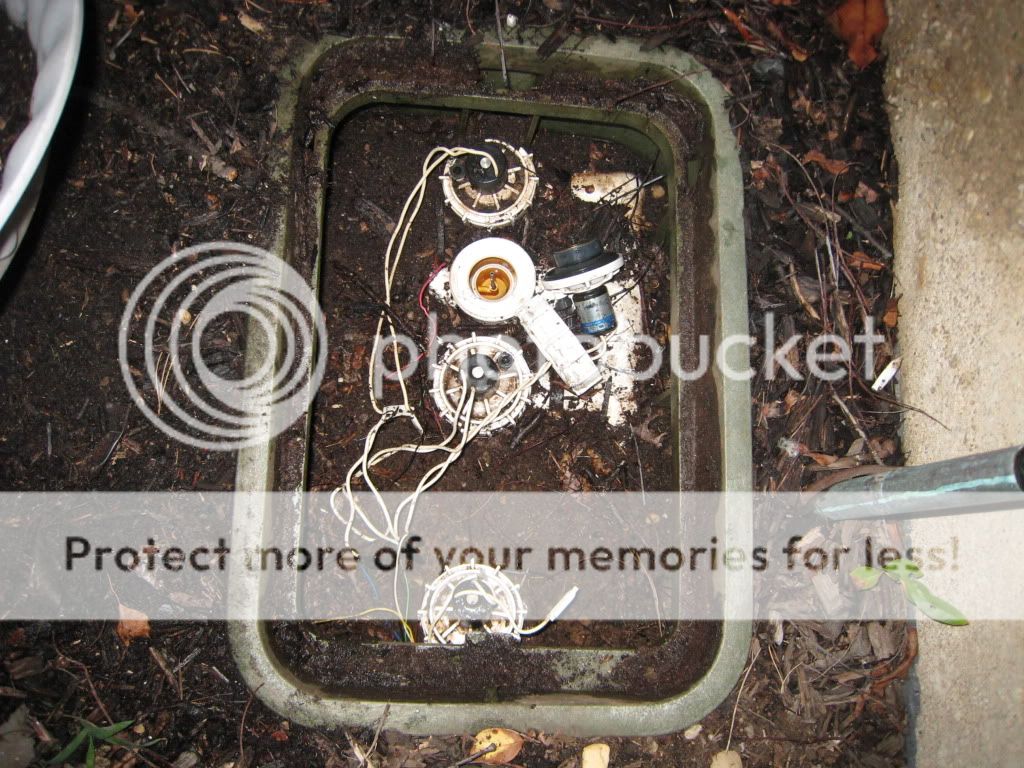
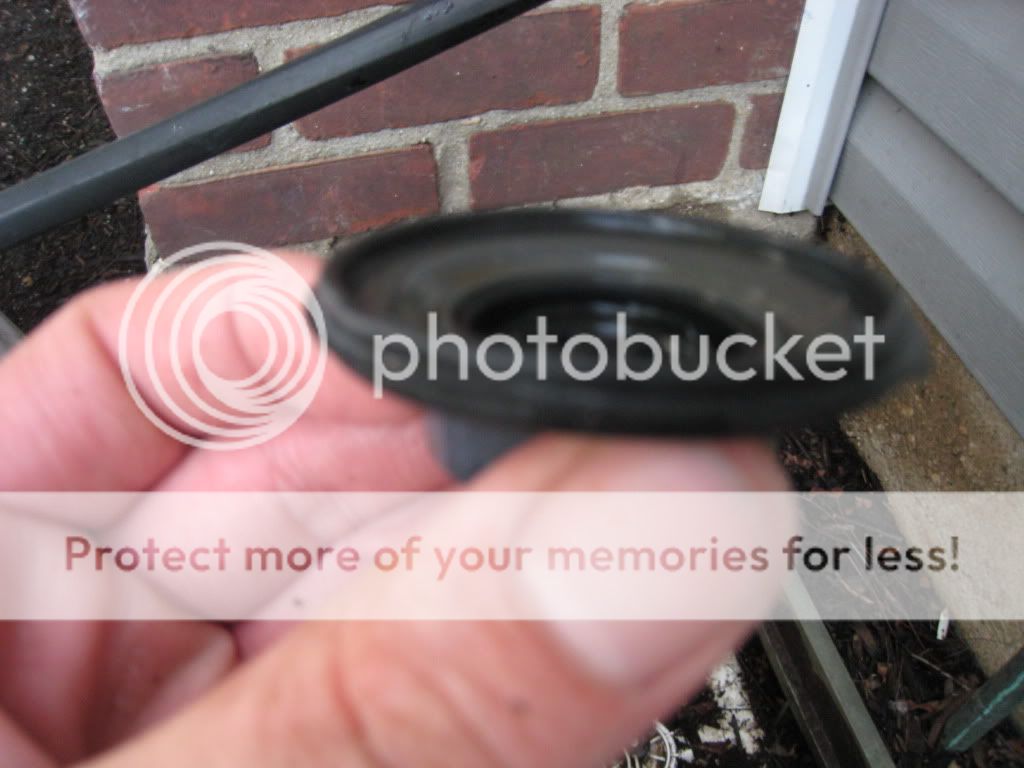
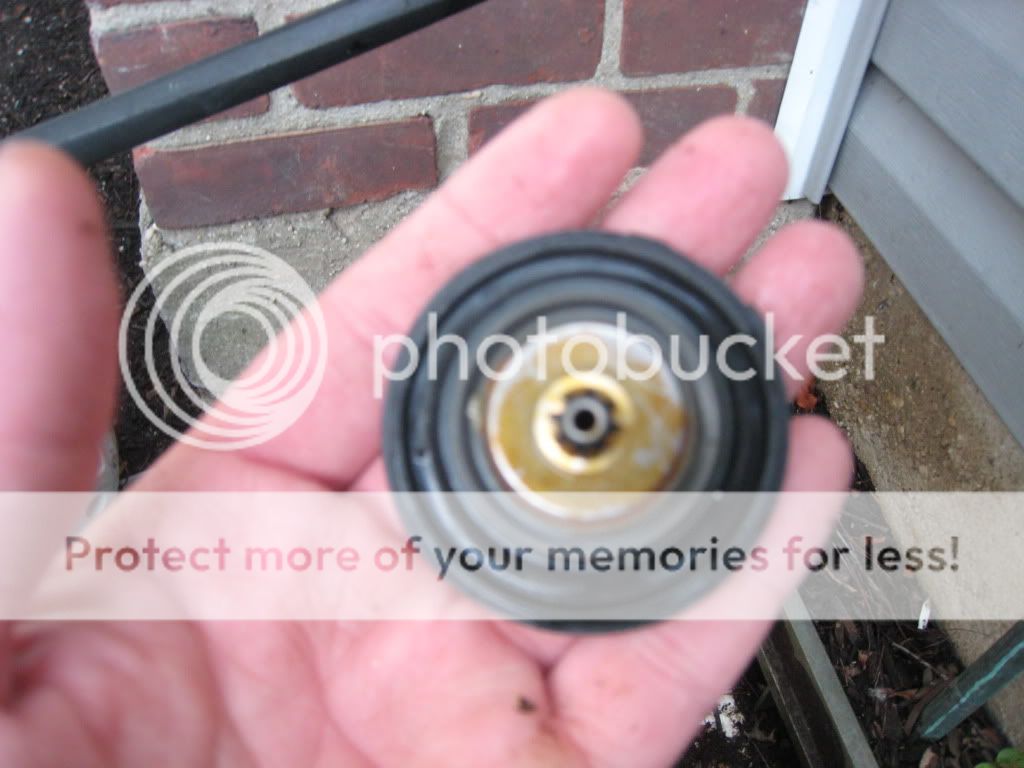
I was thinking it was a faulty solenoid so I turned on each zone individually and heard a click as well as the water running through it. That lead me to think it was a bad diaphram so I took it apart again but it seemed fine (see pics below).
I took apart a second valve and now that zone won't shut off either so I'm sure I am doing something wrong. I put the diaphram and spring on the solenoid cap (the diaphram fit in a groove) and it still will leave the zone open no matter how much I tighten it down.
My theory now is perhaps the diaphrams were so old that once I removed the cap they no longer were able to maintain a seal but I am really grasping at straws.
Any thoughts on what could be causing the issue?
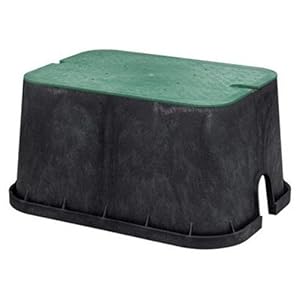
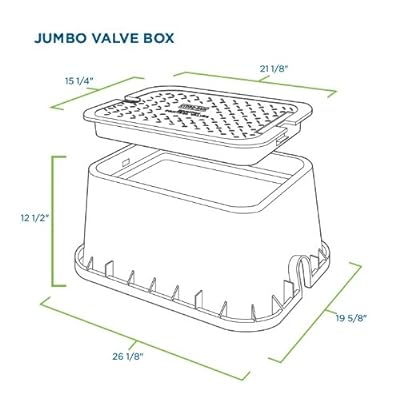
Valve Box
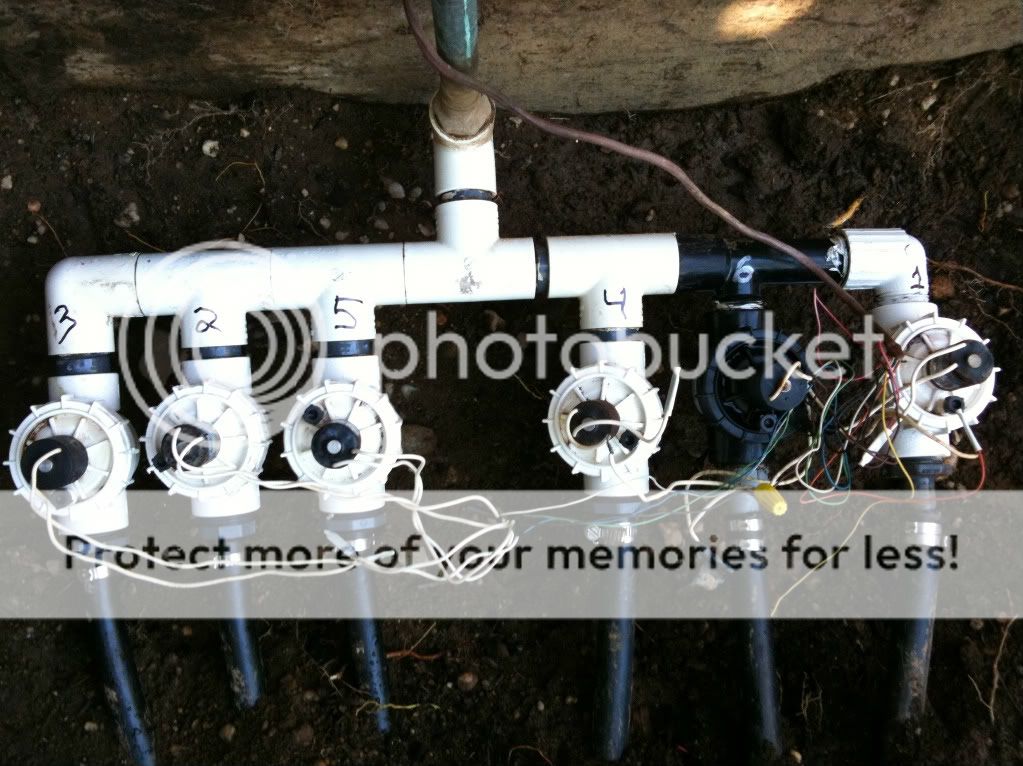
Valve Assembly

Solenoid
I know nothing about sprinklers systems other than what I found on the internet last night so I am hoping someone can provide me some guidance. My old sprinkler system was bubbling at one of the heads when the system was off and I found that the cause could be a blocked valve. I opened the valve box and unscrewed the PVC valve cover and did not find any blockage. When I went to put it back on and turned on the water the sprinkler would not shut off.
I was thinking it was a faulty solenoid so I turned on each zone individually and heard a click as well as the water running through it. That lead me to think it was a bad diaphram so I took it apart again but it seemed fine (see pics below).
I took apart a second valve and now that zone won't shut off either so I'm sure I am doing something wrong. I put the diaphram and spring on the solenoid cap (the diaphram fit in a groove) and it still will leave the zone open no matter how much I tighten it down.
My theory now is perhaps the diaphrams were so old that once I removed the cap they no longer were able to maintain a seal but I am really grasping at straws.
Any thoughts on what could be causing the issue?
Valve Box
Valve Assembly
Solenoid
")