Andy Westmoreland
New Member
I recently had an AquaSource Garner Brushed Nickel Pvd 1-Handle Tub and Shower Valve (Lowe's Item #: 40252 | Model #: 873-3804) installed.
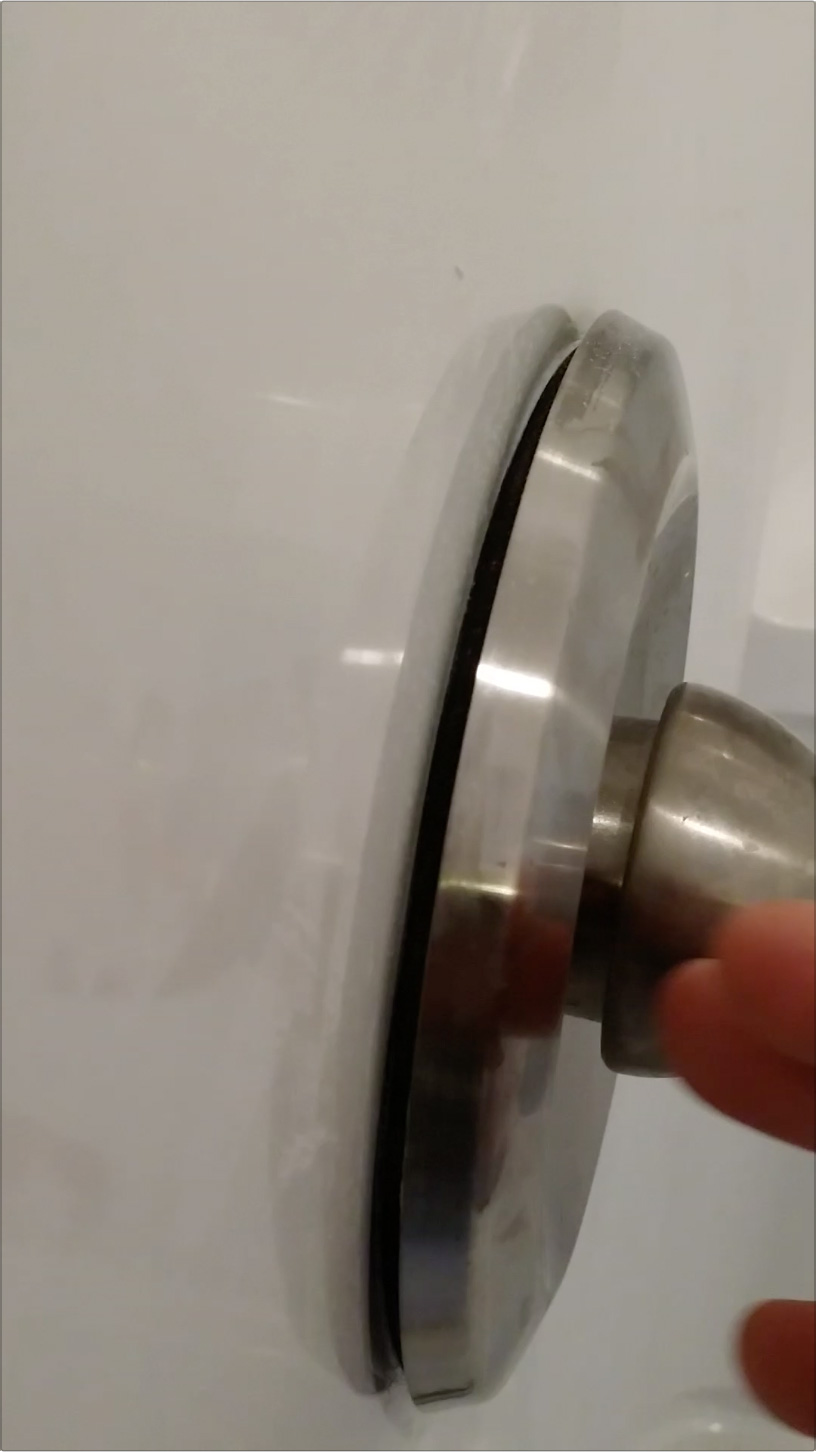
Should the valve cover be this far from the wall (see image, below)?
(Animated version showing amount of play here: http://i.imgur.com/W0Vyqay.gifv )
There's a spongy, waterproof seal behind it (like a gasket) but there are no screws or anything to pull/hold the cover closer to the shower cubicle wall.
Thanks for any feedback you can give.
")


