Sometimes we get calls to retrofit plumbing in an older 80's home. Maybe the homeowener wants to change the layout, or add a second lav. On the forum we get requests for information on this, but seldom get the pictures we need to for full answer. Here's a retrofit that I was able to take pictures of.
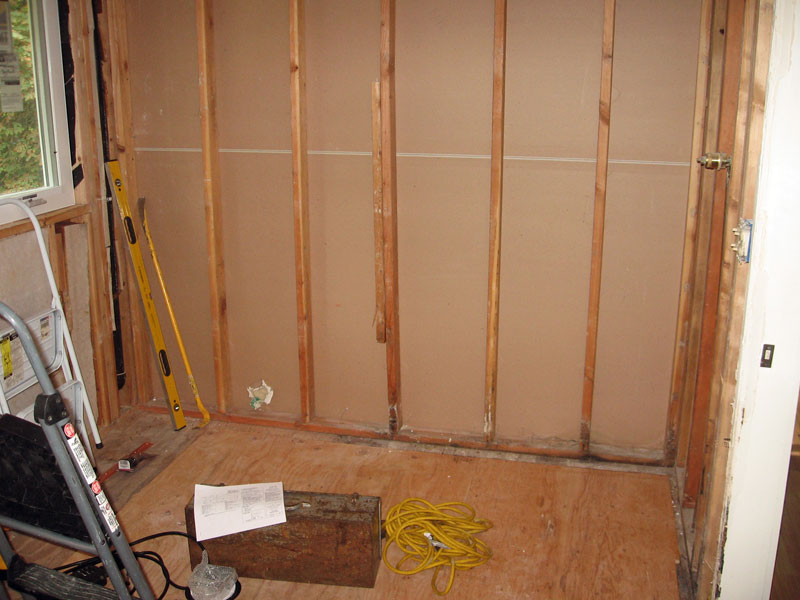
We start on one side of the room with a bare wall. It was kind of bare to start with. They had a tub and a shower along this wall draining into a 1.5" line, and vented at 8" above the floor. Not the 42" that we expect to see. There should have been a lot more pipes to see in this photo. They had notched the floor joists to install the plumbing. The first thing I did was to remove the old plumbing, and have the general slap some plywood alongside the floor joists for the repair.
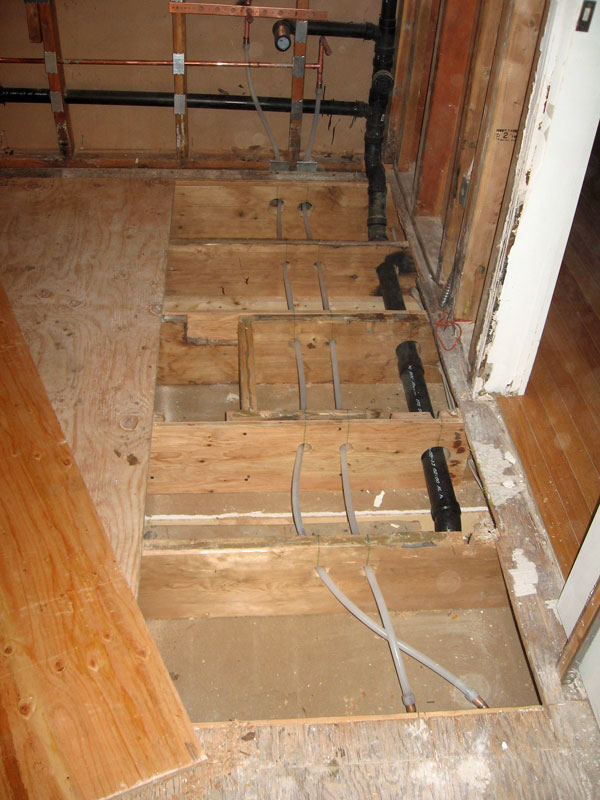
The plumbing had gone to the left here, down a 1.5" pipe. Too small for the previous tub and shower, and too small for a double lav with current plumbing codes. Bathroom lavs can get a lot of goo in them.
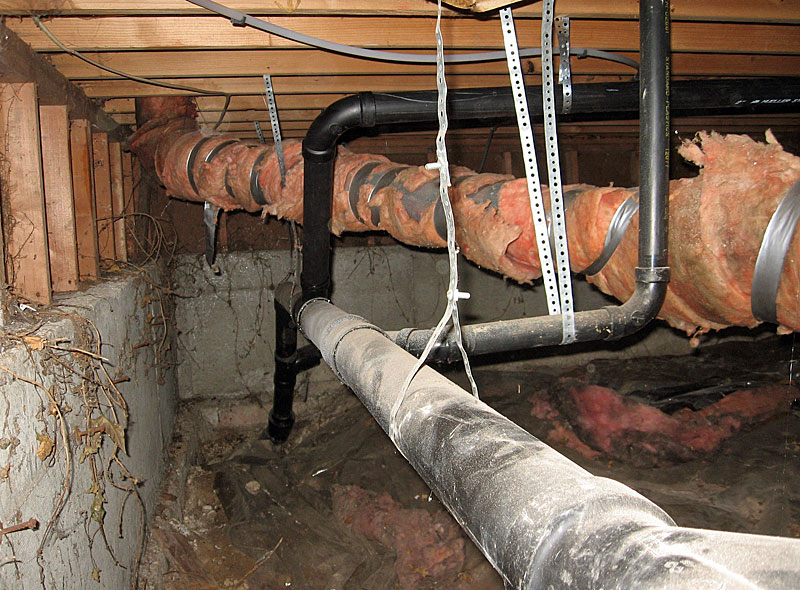
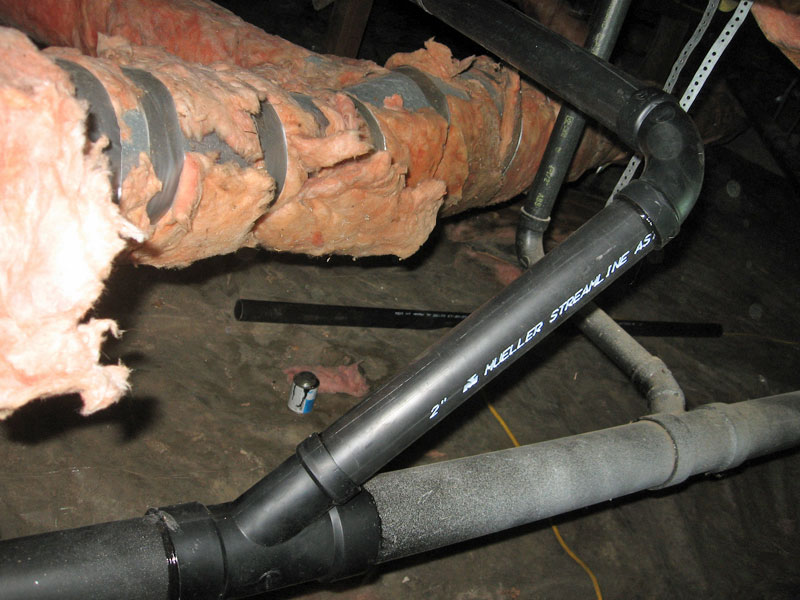
The black ABS to the right is dropping straight down a dining room wall and into the crawlspace, where it can tie into the main 3" waste line. Sometimes with a double lav, I use a double fixture cross, but since I'm dropping toward the right, this has fewer horizontal changes of direction. In plumbing, you limit the horizontal changes as much as you can. The 2" line was dropped down to the center of the floor joists, leaving at least 2" on the top and the bottom of the floor joist. The copper had been notched on the top of the floor joist before, and that was also dropped down lower. It will be impossible for someone to put a screw through those now.
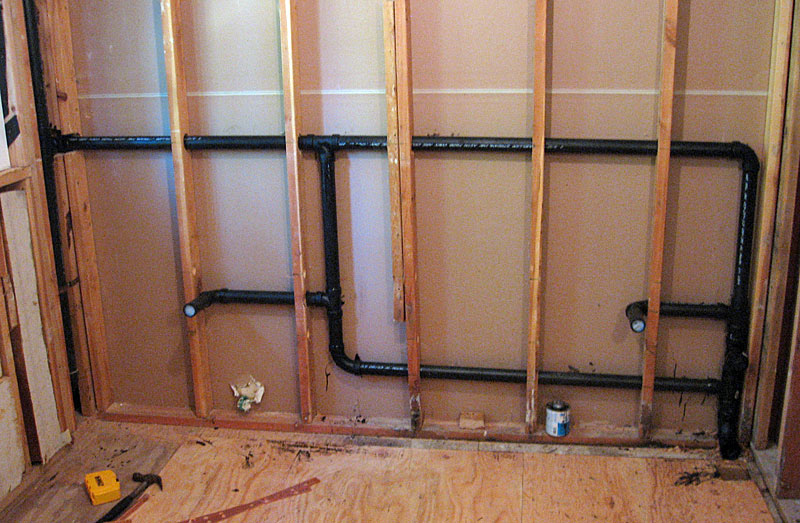
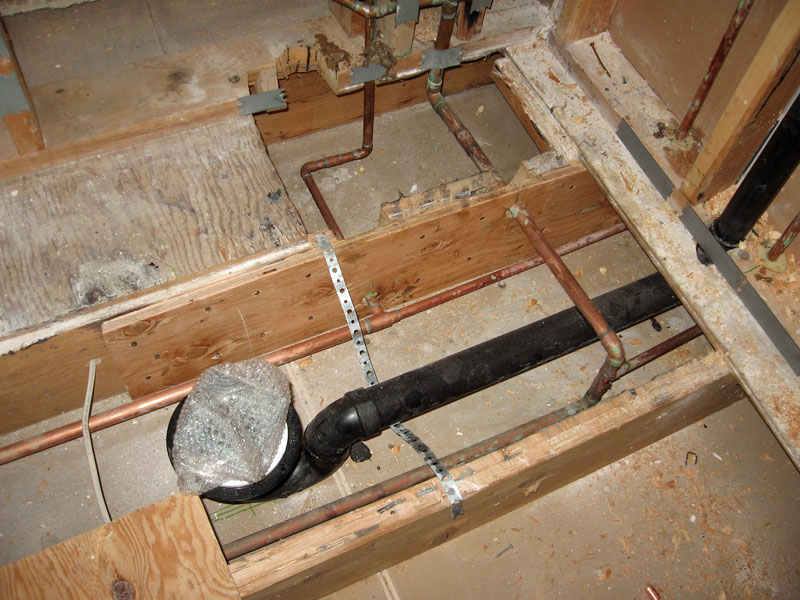
Here is the waste and vents before running water. There is a 2" cleanout to the right. In King County they don't require one on the upper floor like this on a lav, but it's nice.
The vent is 1.5" and run at 42", and ties into the existing 2" vent near the window and through the roof.
I like to use trap arms on my jobs, but I could have run the drains centered too. I like trap arms for the luxury of moving the center if the general or homeowner decides to shift the lav on the wall. It's a lot easier to cut or extend a horizontal trap arm that way. I run my lav drains at 20" for a 32" counter.
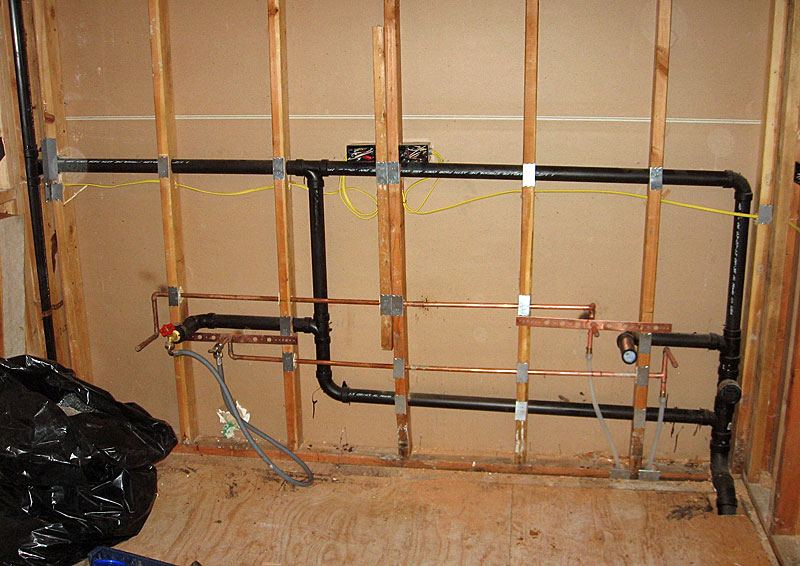
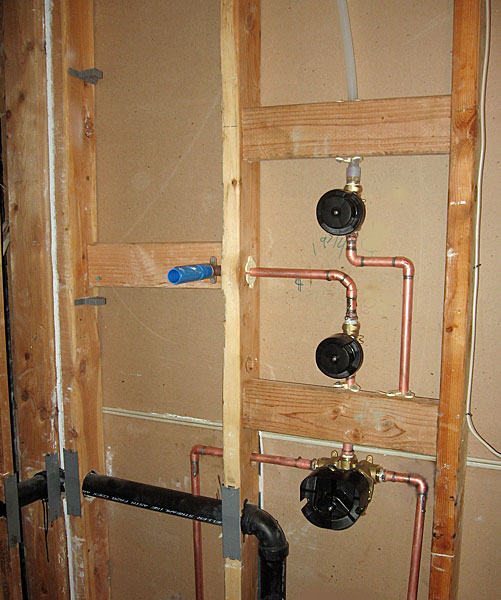
Here it is with the water run. Notice the hosebib on the left drain, and a washing machine stop, with washer hose connecting the two. This is for testing afterwards. The electritian has run his boxes and wiring too.
Plumbing goes first for that reason. The wires can find their way around the plumbing. First rule of plumbng is "Stuff runs downhill". Wires don't have that rule.
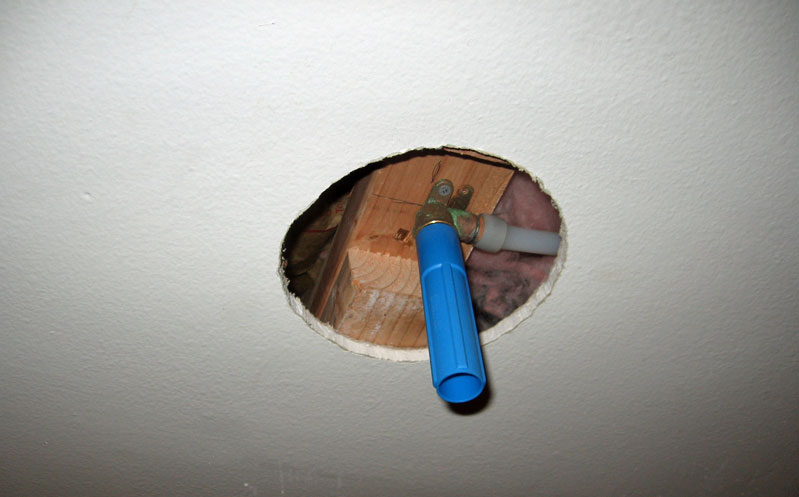
We also nail plate before covering the walls.

This is why you use nail plates.
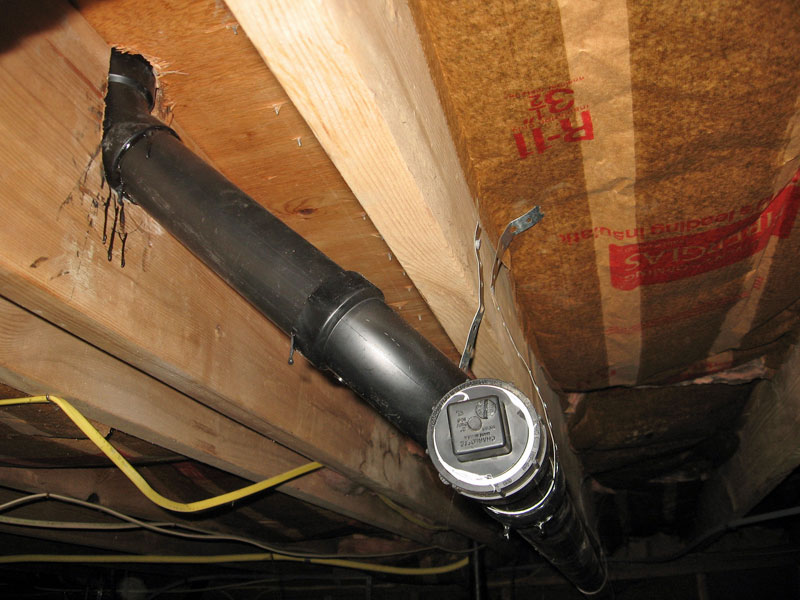
I wound up removing this section of pipe totally. This was on the other side of the room.
We start on one side of the room with a bare wall. It was kind of bare to start with. They had a tub and a shower along this wall draining into a 1.5" line, and vented at 8" above the floor. Not the 42" that we expect to see. There should have been a lot more pipes to see in this photo. They had notched the floor joists to install the plumbing. The first thing I did was to remove the old plumbing, and have the general slap some plywood alongside the floor joists for the repair.
The plumbing had gone to the left here, down a 1.5" pipe. Too small for the previous tub and shower, and too small for a double lav with current plumbing codes. Bathroom lavs can get a lot of goo in them.
The black ABS to the right is dropping straight down a dining room wall and into the crawlspace, where it can tie into the main 3" waste line. Sometimes with a double lav, I use a double fixture cross, but since I'm dropping toward the right, this has fewer horizontal changes of direction. In plumbing, you limit the horizontal changes as much as you can. The 2" line was dropped down to the center of the floor joists, leaving at least 2" on the top and the bottom of the floor joist. The copper had been notched on the top of the floor joist before, and that was also dropped down lower. It will be impossible for someone to put a screw through those now.
Here is the waste and vents before running water. There is a 2" cleanout to the right. In King County they don't require one on the upper floor like this on a lav, but it's nice.
The vent is 1.5" and run at 42", and ties into the existing 2" vent near the window and through the roof.
I like to use trap arms on my jobs, but I could have run the drains centered too. I like trap arms for the luxury of moving the center if the general or homeowner decides to shift the lav on the wall. It's a lot easier to cut or extend a horizontal trap arm that way. I run my lav drains at 20" for a 32" counter.
Here it is with the water run. Notice the hosebib on the left drain, and a washing machine stop, with washer hose connecting the two. This is for testing afterwards. The electritian has run his boxes and wiring too.
Plumbing goes first for that reason. The wires can find their way around the plumbing. First rule of plumbng is "Stuff runs downhill". Wires don't have that rule.
We also nail plate before covering the walls.
This is why you use nail plates.
I wound up removing this section of pipe totally. This was on the other side of the room.
Last edited: