Hi all,
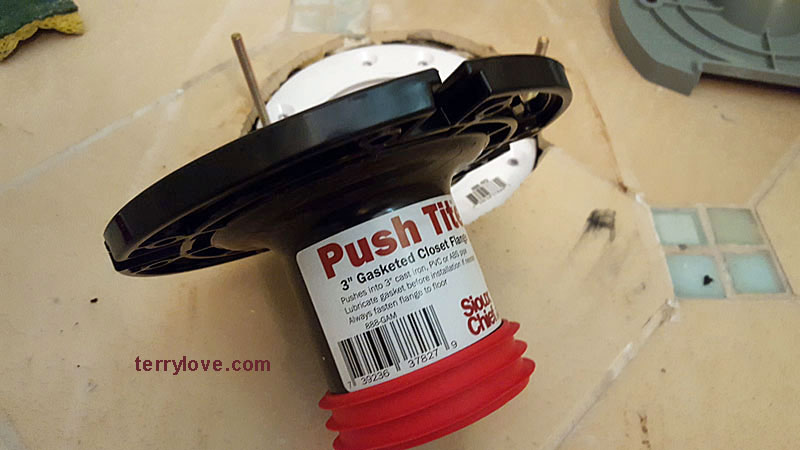
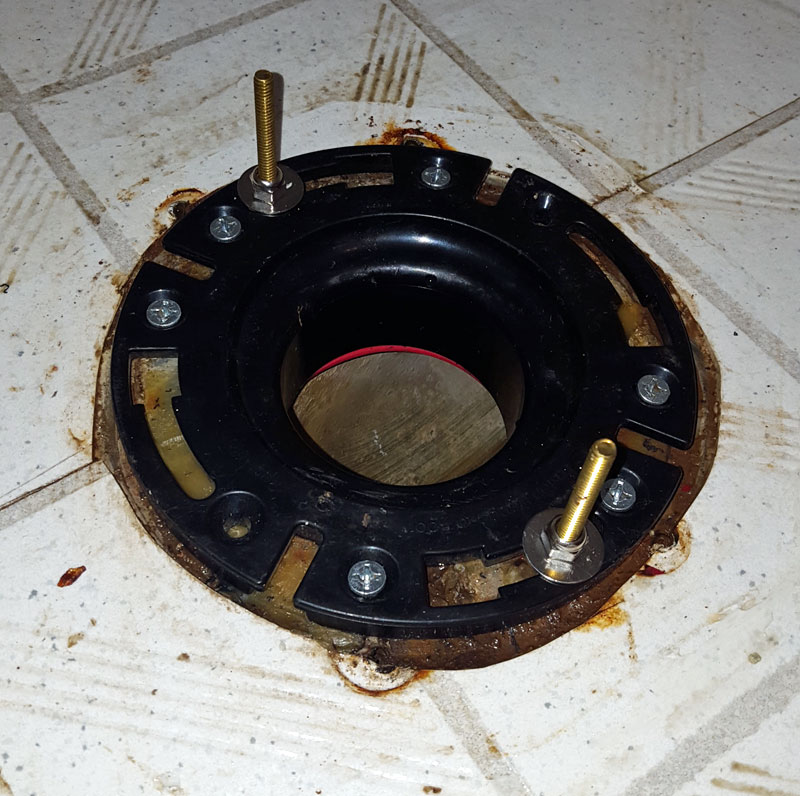
I recently went to replace a toilet, that turned into quite the project. The hardwood floor was rotten so I tore that out, found out the underlayment was rotten, tore that out, then subfloor... rotten, tore that out. Ended up replacing the subfloor, underlayment and removed all hardwood from the half bath and installed tile. Well a few issues here, my flange extenders somehow were opposite direction of the metal replacement flange (original was corroded and broken) so I made the executive decision to go without a metal flange - as you'll see below the drain pipe that was already installed is flush with the subfloor. What I ended up doing was caulking a flange extender directly to that drain and fastening the extender to the subfloor. I'm certain that's not common practice, the only real issue was that I had to put the closet bolts under the extender before screwing it down because extenders are flat by nature. It did bend the plastic a tiny amount (however thick the bottom of a closet bolt is). I then added two more extenders with silicon caulk between and screwed those down.
All said and done, 3 x 1/4 extenders to even out with the tile. Now I've placed the toilet using a fluidmaster better than wax seal to find out that my tile job is just slightly uneven. Incredibly frustrating considering I used a tile leveling system. So now I'm placing plastic shims (https://www.homedepot.com/p/Everbil...x1w0qaGWOHr6EGxqOCRoC8VUQAvD_BwE&gclsrc=aw.ds) but I cannot for the life me cut them with a razor blade as so many internet videos have suggested.
Questions: Did I totally butcher the flange situation or will it work and any suggestions on how to cut these shims?
Also I know terry recommends shimming from the back but I figure I plan on caulking the front to hide the shims anyway and that’s where the tile is low. So adding front shim makes the toilet completely level.


