My Ensuite Renovation WIP

Users who are viewing this thread

Suceress

Active Member
Messages
320
Reaction score
37
Points
28
Location
LA
Got three pieces of horizontal trim up & a corner trim piece. Friend started feeling sick from the smell of the adhesive (I didn't even notice a smell from it at all but my allergies have my nose plugged up a bit).
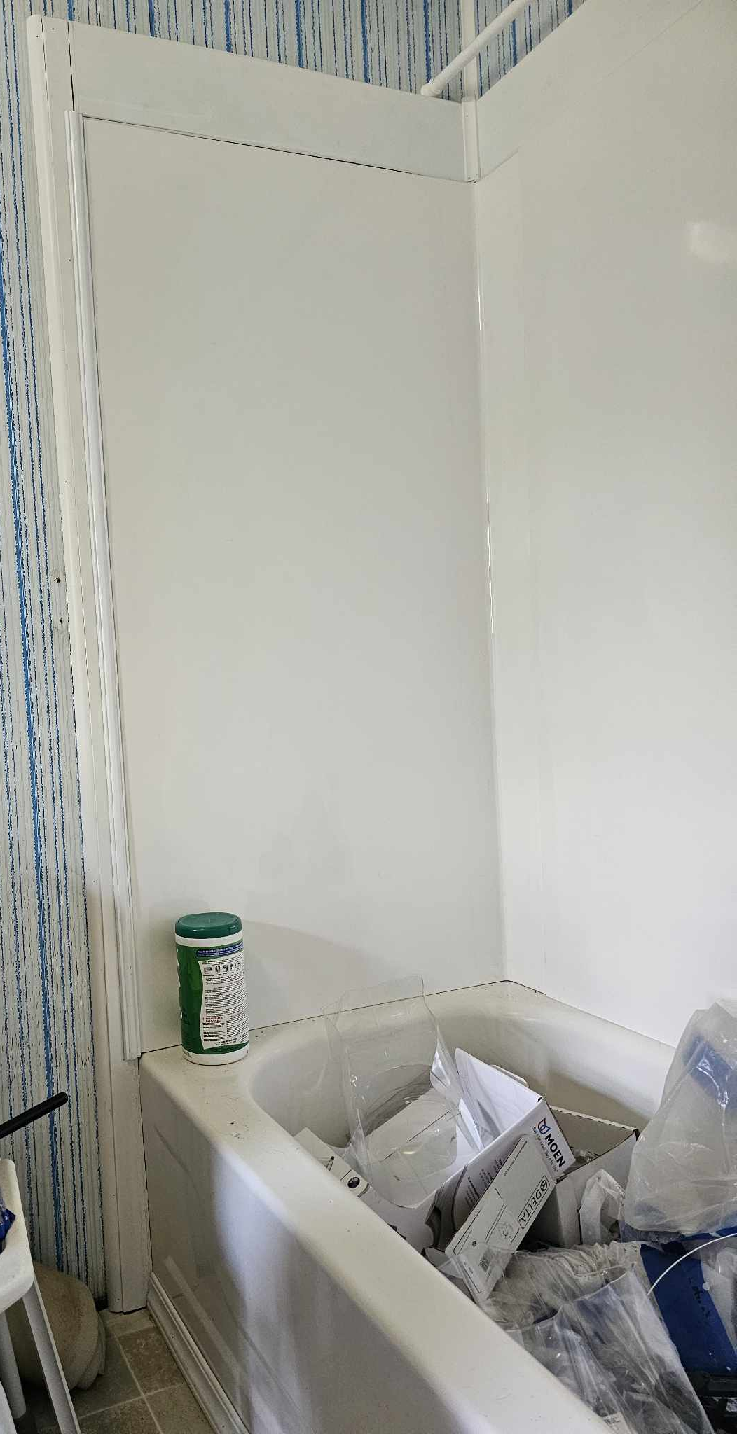
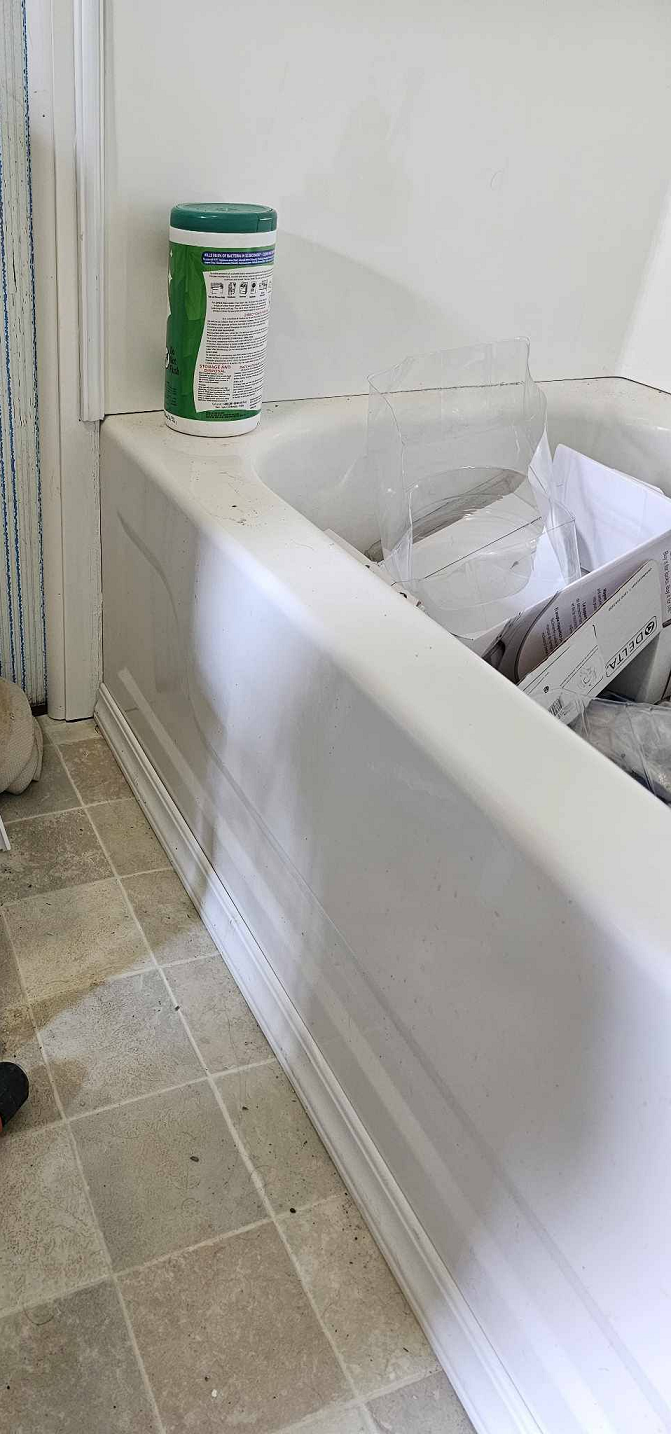
Because of how I shimmed on the side wall (due to how it tilts) I didn't have to cut the corner trim's edge out of the way. I also didn't have to notch the vertical trim. I took a scrap from the part cut off the top and am going to rip it to 1/2" to fill in the gap under the L-bead on the right side. I may have to shim behind, but I will see how it fits without first. The side pieces are cut to size. The come up a little short because I wanted a slight expansion gap between the boards and the floor just in case.
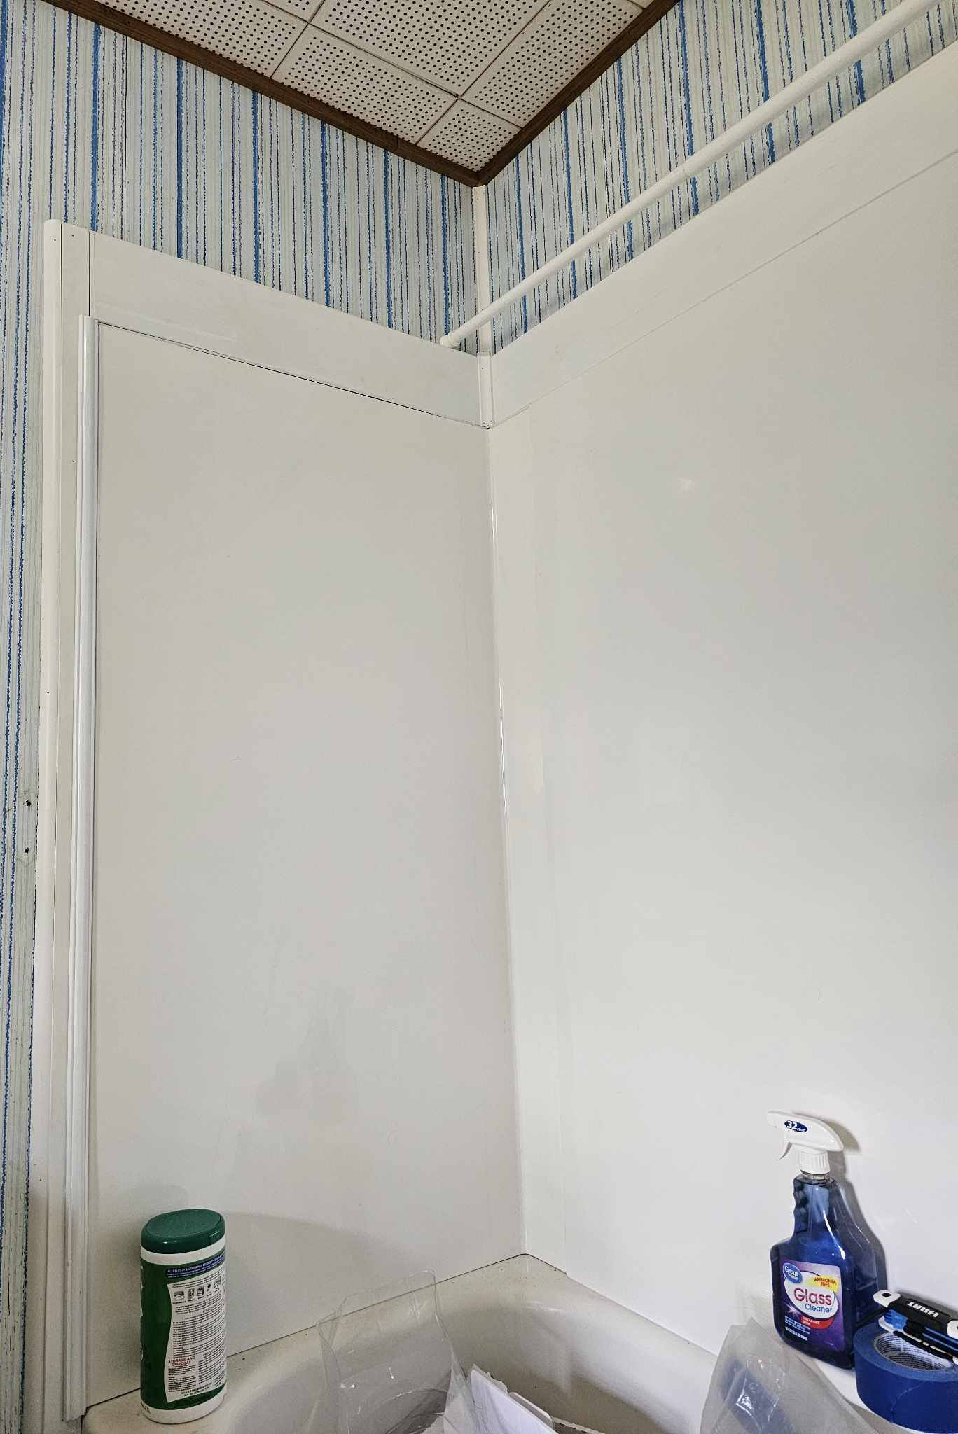
Since my friend started feeling sick after the corner trim, back wall trim, and right wall trim were up, he messed up cuts for left wall. Ended up with a 1/8" gap. But he had a 1/8" too long that he had to cut off on another board so I can use that piece to fill the gap.
1686062333999.png

1686062282931.png
1686062405046.png

The corner trim covers the ugly edges of the printed plywood panels nicely.
1686062541540.png

Gap on the left side trim
1686062740823.png


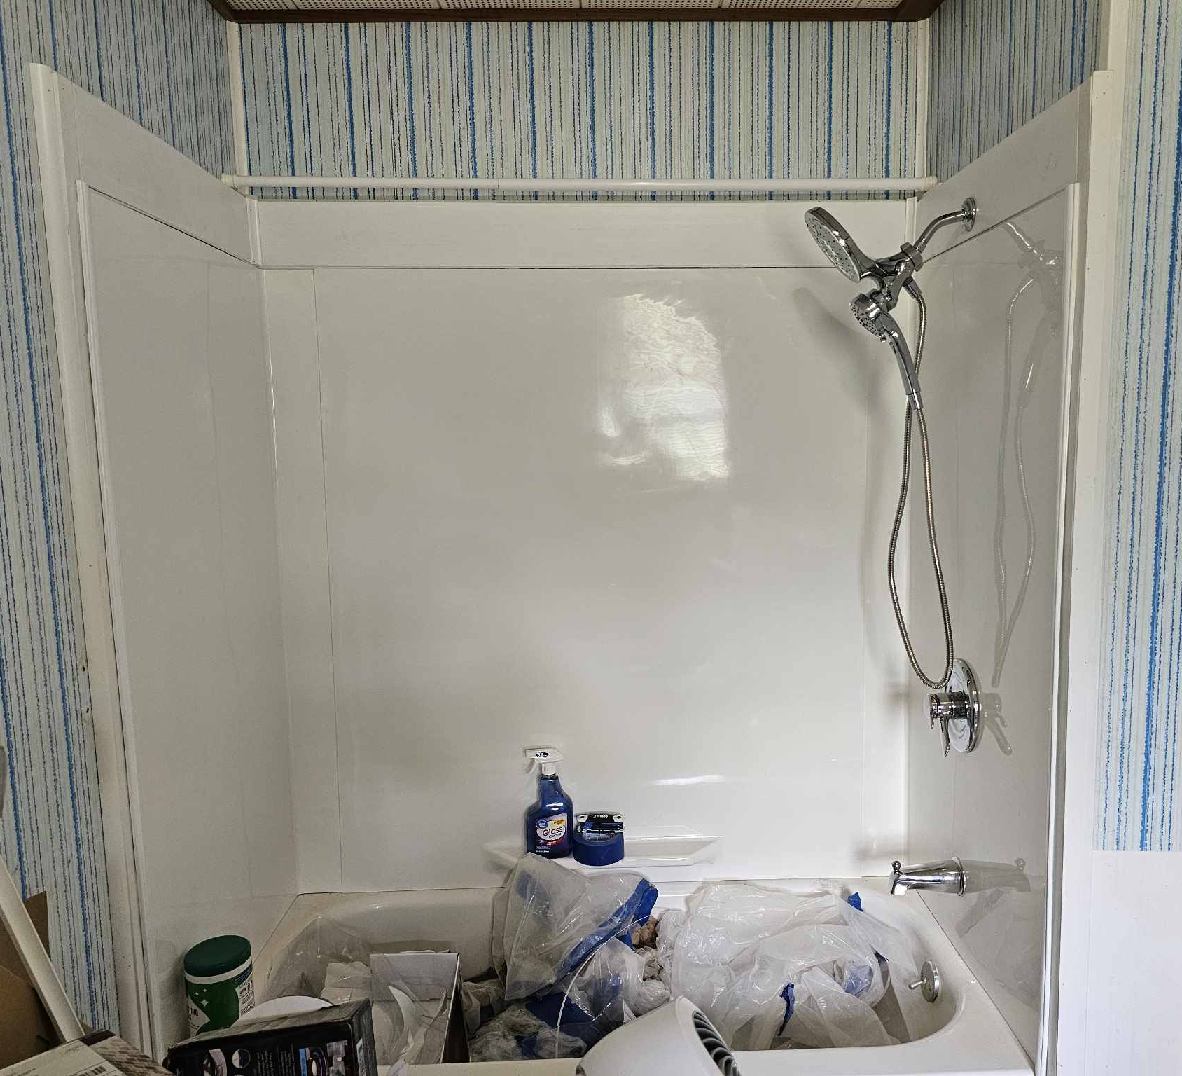
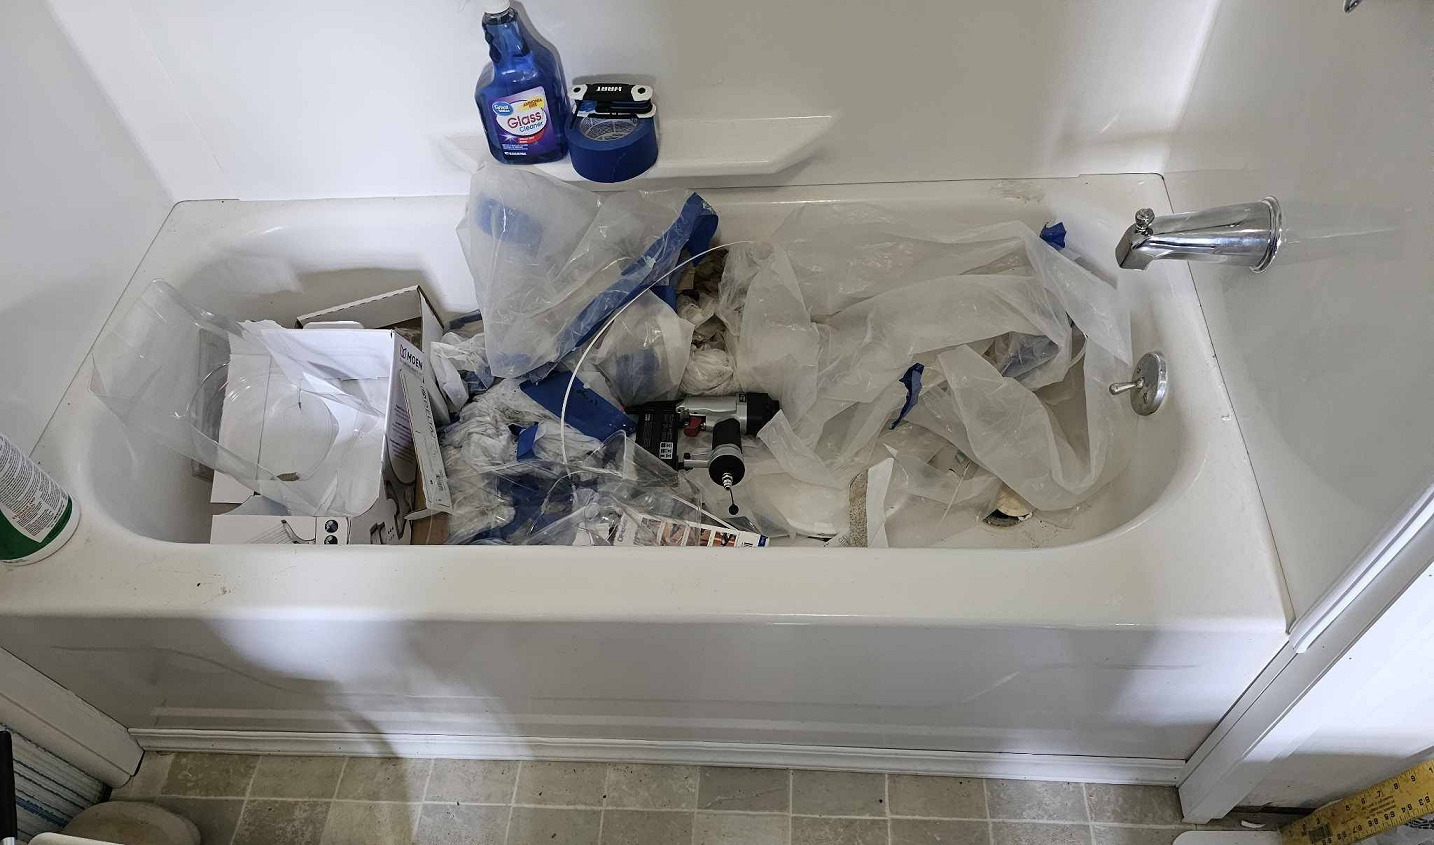
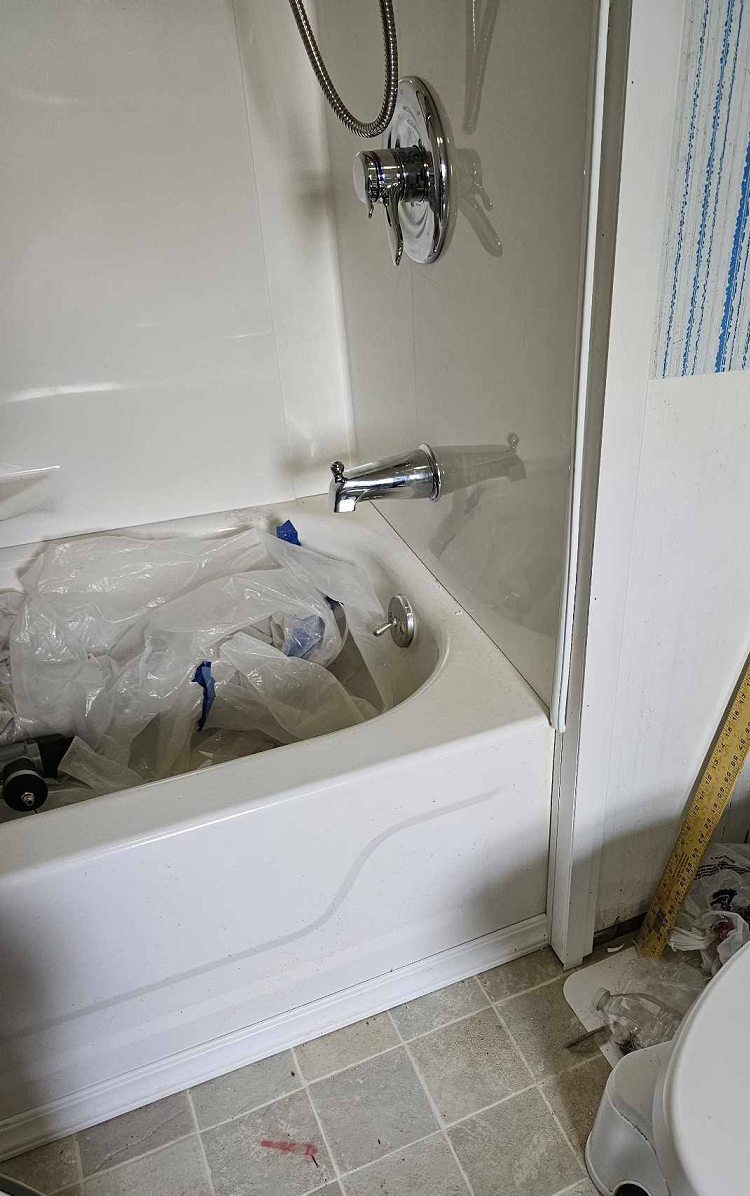
After my friend took a break and got some air outside, he came back in & hooked up some of the plumbing. Cleared the lines before connecting them to the valve. The flange for the control's trims is loosely on. We have to wait 48hrs for construction adhesive to cure before trying to drill through the trim for the showerhead. Once the showerhead is in place we can secure everything, drill the holes for the screws/bolts on the shower controls, and caulk around stuff.
 

Suceress

Active Member
Messages
320
Reaction score
37
Points
28
Location
LA
There have been some hangups and delays but I've made a lot of progress.
Things done since last post:
*Cut a piece to fill in gap between the top trim and side trim a bit better
*Vacuumed & cleaned up a bit (but stuff got dirty/messy again)
*Patched damage to sheet vinyl where mouse chewed
*Used scrap pieces of tear away strip from L-bead trim to cover some gaps between top of surround and trim
*Frankensteined pieces of the pvc trim together to cover more of the gap between side trim and tub
*Caulked & painted the Frankensteined side trim
*Nailed up side trim
*Nailed up 3/4" quarter round next to left side trim to cover gap (it had to be shimmed to be flush with surround & other trim)
*Nailed up flat trim (don't remember measurements) to cover gap between right side trim & corner trim
*Nailed top trim over the other trim to cover gaps so nothing can fall down between trim and wall
*Got plumbing all hooked up (which was a bear because of things not being straight)
*Shower arm, flange, & showerhead installed
*Shower controls and trim installed
*Tub spout installed
*Baseboard in front of tub nailed up
*Rear shower curtain rod up (to hold hooks for loofahs, back scrubbers, etc)
*Nailed up cove moulding to inside corners
*Glued up flexible trim to cover gaps between surround &

I need to caulk, touch-up paint, clean up, and put main curtain rod & shower curtain up in order to use the shower. Well, touch-up paint can wait. Spent 5 hours working on it yesterday & my feet were swollen & back was spasming. My friend did most of the work but I helped hold things in place, handed tools, helped align things, etc.

The escutcheon for the shower trim doesn't want to sit flush against the wall for some reason so I will have to caulk. It's not much of a gap, but enough that I want to caulk around it.

Every time I try to post a picture I get "Oops We ran into some problems" message. I'll see if I can post later.
 

Suceress

Active Member
Messages
320
Reaction score
37
Points
28
Location
LA
I'm going to see if the pictures work now.
Ok, apparently not. I'm unable to upload or even paste images in. Anyone have any idea why? When I tried to upload there were no images. Just blank. Not sure what I'm doing wrong. In the past I could just paste images in and they would attach but I keep getting an error every time.
Going to try to link from a tumblr page to see if that works.
a7f0174c4be36ad778d75163a8aaf93a927879ce.png
4c611e848d2c7ef7347bdca8b3db4cc292c2104a.png
84e6b37875048cf831d8c8fd1a098942164d0056.png
9ea1ece94d187cca55fe382da6934e68060720e2.png
fecf3e5ea7d04f0aedcc49be861ebb778357fe2c.png
e3a9f25f98ffb4d05ce9a674ea43245f9decb39f.png
615d44a1dad3c59e4e3a93d8d3edc08f5d4480f4.png

Ok. I give up. I don't know why nothing is working.
 
Last edited:

Reach4

Well-Known Member
Messages
38,903
Reaction score
4,439
Points
113
Location
IL
It is not something that you are doing. There is a problem with the site. Your tumbler pages did not work, as you may or may not be able to see. You may need to log in to see the photos. If you see the photos, it is because you were logged into that site. Be patient.
 

Suceress

Active Member
Messages
320
Reaction score
37
Points
28
Location
LA
It is not something that you are doing. There is a problem with the site. Your tumbler pages did not work, as you may or may not be able to see. You may need to log in to see the photos. If you see the photos, it is because you were logged into that site. Be patient.
I saw a thread about the image problem. Really not sure what the issue is. I'm logged in to tumblr but can't see the images. I hope whatever is wrong gets fixed soon. I want to share the photos.

Stomach hates me today bc of something I ate yesterday that had me sick all day. I shouldn't have eaten that stew with onions. I know they are bad for me and make me sick but the stew was so good. LOL. I have a love hate relationship with onions. Love the taste, hate what they do to my guts.

If they fix the issue with the images I will try to post pics later.
 

Reach4

Well-Known Member
Messages
38,903
Reaction score
4,439
Points
113
Location
IL
You might try this Google search:
google make pictures public

Here are similar search terms to try for Tumblr pictures:
tumblr make pictures public url

I don't have experience on that myself.
 
Last edited:

Suceress

Active Member
Messages
320
Reaction score
37
Points
28
Location
LA
They should be public. They've always worked in the past. I'll mess with it later. Right now I'm resting my back. I finished caulking today. Just waiting for it to cure.
 

Suceress

Active Member
Messages
320
Reaction score
37
Points
28
Location
LA
Pics are still not working but caulking, priming, & painting are done. I just took down the tape and plastic and am letting the paint dry.
Still another 48hrs before the caulk fully cures I think. The paint seems to dry somewhat quickly, but I'll give it 24hrs I think. They no longer make that paint and the paint spilled on the instructions on the container. Got it back in 2008 but its still good.
 

Suceress

Active Member
Messages
320
Reaction score
37
Points
28
Location
LA
Looks like Tumblr pics worked now. But I'm going to try to post some here and see how it goes. Finished caulking & painting, got shower curtain rods up, curtain up, hooks on back wall rod for backscrubbers/body scrubbers, got a suction cup bin to hold bath gloves & hide the patch job over where the tub was gouged. Got tp holder and towel bar up.

Still need to clean up more and get the robe hook up. Tring to determine what height to put it at. What I plan to hang on it is not very long. I have a board with pegs for taller stuff right near the door. I want something closer to the shower to put on a wrap right after getting out.

Prepped for painting by taping and putting up super thin plastic.
1689568557641.png
1689568603829.png
1689568646666.png
1689568686895.png
1689568722923.png
1689568749907.png
1689568786832.png
1689568855911.png

More pictures in next post.
 

Suceress

Active Member
Messages
320
Reaction score
37
Points
28
Location
LA
Pictures (continued).
After removing tape-- its very sloppy and nowhere near perfect but I'm satisfied with it. I do need to fill in the holes from the old towel bar but that is not urgent.
1689569049092.png
1689569074215.png
1689569133195.png
1689569203659.png
1689569245198.png
1689569330485.png
1689569453503.png
1689569677624.png
1689569849583.png

more pictures in next post (not sure how many can fit in one post).
 

Suceress

Active Member
Messages
320
Reaction score
37
Points
28
Location
LA
More pictures. Last pic was of the toilet paper holder (I cleaned up the floor after that-- the messed up wall painted white will be covered with wainscoting). Towel bar. Please excuse the distortion. It got all weird because I had to resize smaller so the image could be posted.
1689569975280.png
1689570093648.png

I added the clear plastic bin thingy for the gloves to hide the sloppy repair job on the side of the tub. The anti-slip mat inside is soft/cushiony and can be stuck to the wall to dry after a shower.
1689570199483.png
1689570283647.png

I got a foot scrubber to make it easier and safer to clean feet. It has suction cups to hold it in place and can be put on the wall to dry.
1689570341823.png

Back scrubbers (the blue ones are mine-- gray are for my brother once he brings his shampoo, bodywash, etc in). He has more products than I do.
1689570416147.png

Next steps:
Hang robe hook
Clean up bathroom- get rid of junk, put away tools, etc
Sand and paint vanity (after caulking to get rid of some gaps)
Put new hinges on vanity doors
Install vanity door and drawer hardware
Sand & paint dresser
Install new knobs on dresser
Install wainscoting, baseboard, chair rail, & corner trim
Sand & paint ceiling trim
Sand & paint window trim
Replace faucet
Replace vanity trim (ugly wood) with vinyl cove moulding
Make & install new mirror
Replace drain
Install vanity light and add new switch
Replace switches for vent-a-light heater in ceiling
Install light over shower (shower rated)
Cut open wall behind toilet & fix DWV
Cut access panel under tub from closet side to replace drain & overflow
Sister up and make box for cut joist under tub
Either move board with pegs so door no longer hits it or trim pegs that hit the door shorter
Sand & paint door & its trim (possibly replace trim)
Put mirror on door
Replace knob on door
Install holder for mop & broom
Add shelving or cabinets on wall above laundry cart
Install johnny cabinet (aka tank topper cabinet) above toilet
Install shelf above tp holder to hold wet wipes
 

Suceress

Active Member
Messages
320
Reaction score
37
Points
28
Location
LA
Knocked one more thing off the list:
Mounted the robe hook. It was a pain because the screws stripped out (I pre-drilled but they were designed to go into drywall anchors and I was trying to put them into a stud). They got stuck almost all the way in and removing them was a pain. I accidentally scraped the wall trying to get them out.
I had to put the opening of my cordless drill around the heads and draw them out. I used star head deck screws instead and that worked out much better. Used a small magnetic level to make sure the bracket was straight (although the walls are not straight so it looked a bit crooked).

Used a precision screwdriver for the set screw. Also tightened the set screws on the tp holder bc they weren't as tight as I liked and I only recently found the screwdriver set.

Still need to hang the towel hook (I don't want it in the same place as the old one) and try to hide the damage to the wall. Eventually I want to add shelves and cabinets.
1697437226587.png
1697437253209.png
1697437271027.png

Obviously I still need to clean up and get rid of the clutter.
 

johnfunkhayes

New Member
Messages
1
Reaction score
2
Points
3
Location
Sioux Falls
Your journey with bathroom renovations sounds like quite the challenge! From dealing with old carpets and damaged subfloors to struggling with leveling compounds, you've put in a lot of effort to improve the space. Despite the hurdles, your progress is commendable, and sharing pictures can inspire others facing similar challenges. Keep up the good work!
 

Suceress

Active Member
Messages
320
Reaction score
37
Points
28
Location
LA
Thanks. I haven't posted in awhile. Whole family got Covid and my mother almost died-- not from Covid, but from a kidney stone that triggered diabetic ketoacidosis and put her in ICU for awhile. I will have to dig up the photo, but I added a suction cup towel bar for my washcloth. It keeps falling off so I may need to resort to using the sticky tape things it is supposed to stick to, but its very easy to put back on.

Haven't gotten rid of the clutter yet. Been busy will all sorts of other things and my back doesn't like me.
 

Suceress

Active Member
Messages
320
Reaction score
37
Points
28
Location
LA
Here's the suction cup towel bar. It keeps falling off so I may have to use the included adhesive disks, but its very easy to put back on so it hasn't bothered me too much.
30502-d7f27f299ccd0539e160aa92c105d929.data

Today I put up a new shelf. Cheap one from clearance at Walmart. It's not quite level but I will move it and level it when I do the wainscoting and chair rail moulding.
30501-71c487a97fcbc7799bc16321be179e83.data

Now I need to find a place to mount my shattaf. I decided to go with that instead of a bidet seat attachment. I don't want to hang it off of a hook on the toilet tank. It looks something like this:
rBVaEFdmsyuAAVq8AAHURZe7nbE306.jpg
 
Top
Hey, wait a minute.

This is awkward, but...

It looks like you're using an ad blocker. We get it, but (1) terrylove.com can't live without ads, and (2) ad blockers can cause issues with videos and comments. If you'd like to support the site, please allow ads.

If any particular ad is your REASON for blocking ads, please let us know. We might be able to do something about it. Thanks.
I've Disabled AdBlock    No Thanks