JohnfrWhipple
BATHROOM DESIGN & BUILD
Tile Tip of the Day
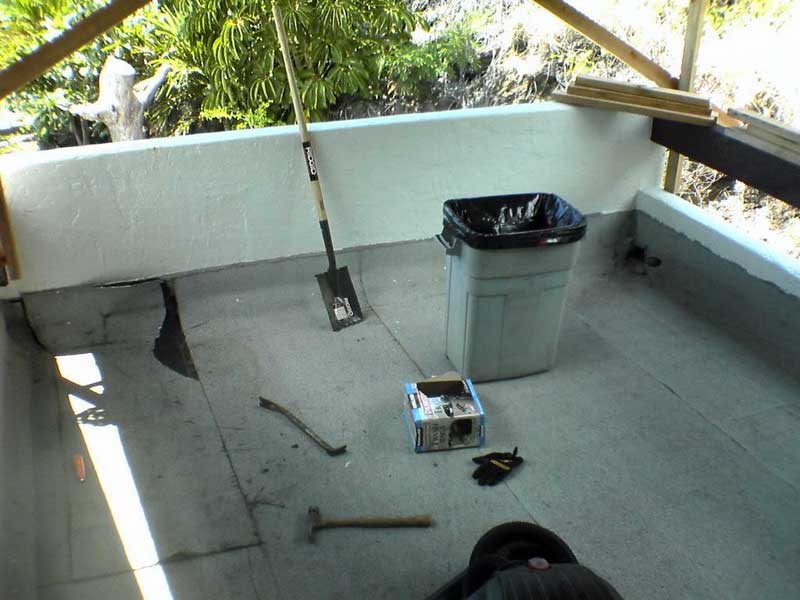
Look at the intersection of the backer board and the shower pan? What's wrong?
The backer board is shown behind the shower pan. There is no plastic lapping the shower pan. With an install like this a topical approach to waterproofing should have been taken.
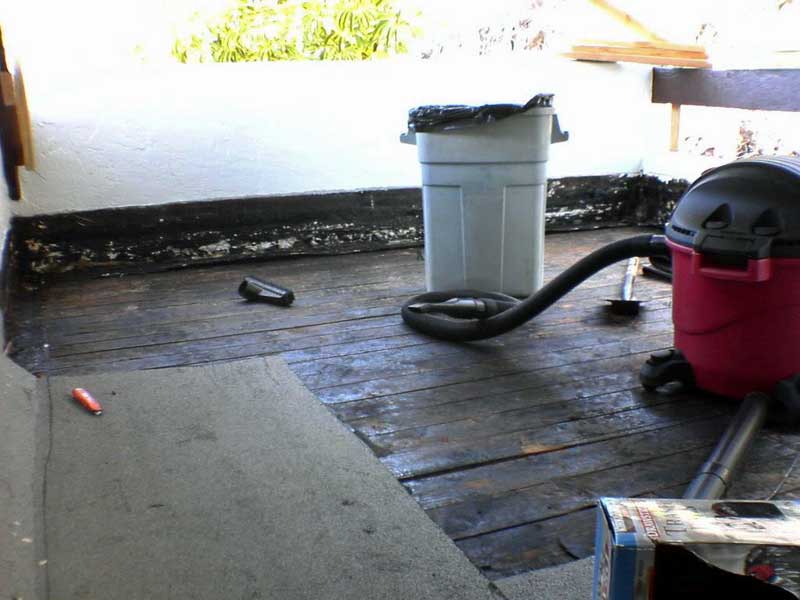
Look at the intersection of the backer board and the shower pan? What's wrong?
The backer board is shown behind the shower pan. There is no plastic lapping the shower pan. With an install like this a topical approach to waterproofing should have been taken.
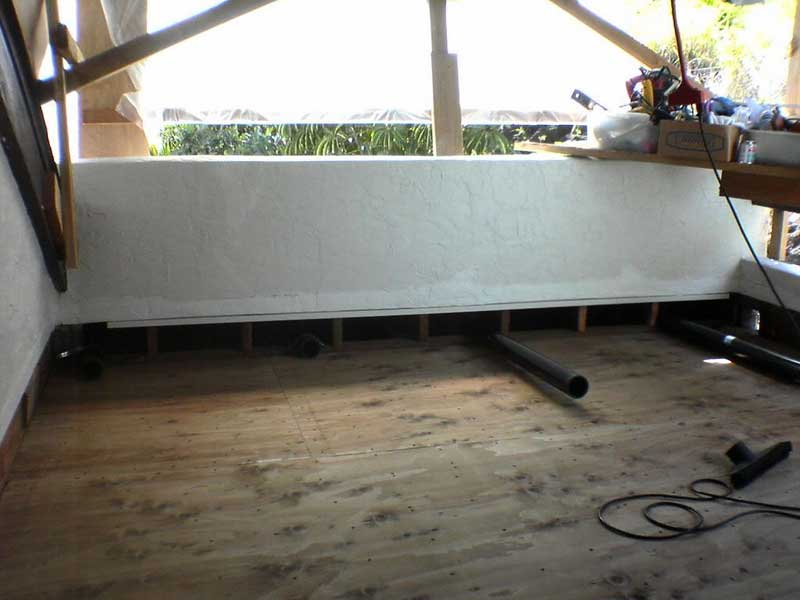
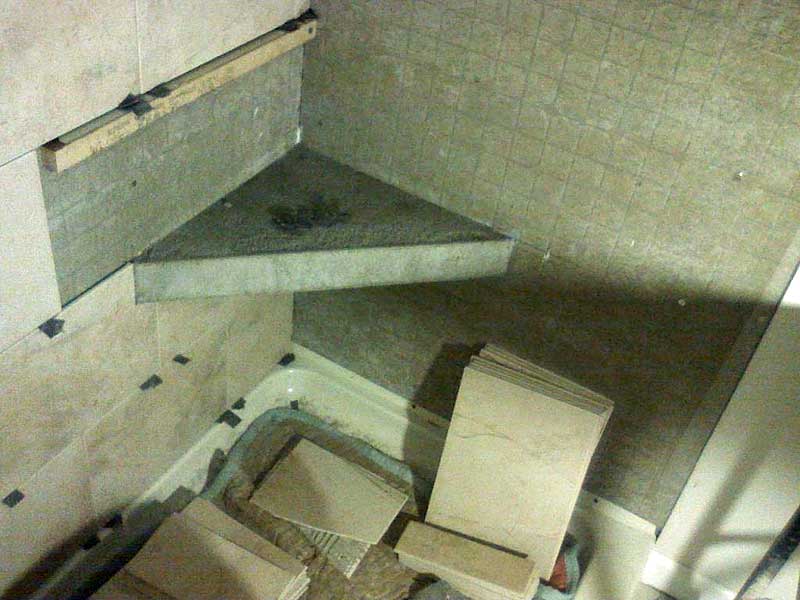
Look at the intersection of the backer board and the shower pan? What's wrong?
The backer board is shown behind the shower pan. There is no plastic lapping the shower pan. With an install like this a topical approach to waterproofing should have been taken.
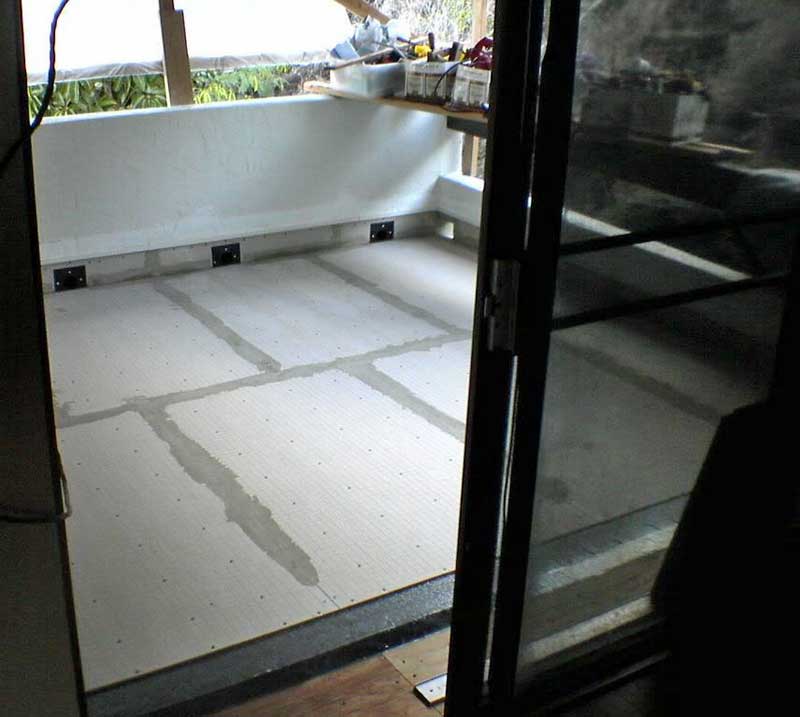
Look at the intersection of the backer board and the shower pan? What's wrong?
The backer board is shown behind the shower pan. There is no plastic lapping the shower pan. With an install like this a topical approach to waterproofing should have been taken.
Last edited by a moderator: