I could't figured out how the rigid supply lines to toilets and lavatories worked. While I tugged to remove and replace, I ended up cutting them and going to flex.
The pros knew, and have been doing it no-problem for years. For those who don't know, here is how I think it works, but I have yet to try it. I am looking forward to it.
The picture below shows a pipe inserted farther into a fitting/valve than it would usually be at the end of the process,
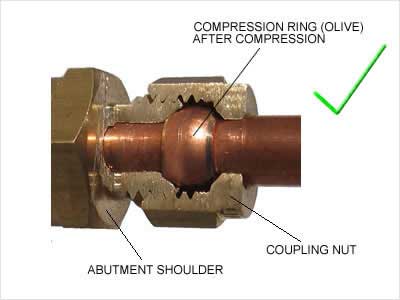
I got the picture from https://www.eevblog.com/forum/projects/crimp-*and*-solder-a-crimp-connector-good-bad/75/
The pros knew, and have been doing it no-problem for years. For those who don't know, here is how I think it works, but I have yet to try it. I am looking forward to it.
- Get the stop valve pointing the right way (in line) if it is not that way already.
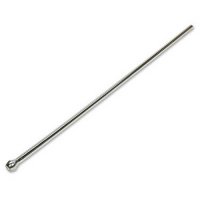
- Cut the supply line just short enough to clear the compression-output stop valve. Debur if needed.
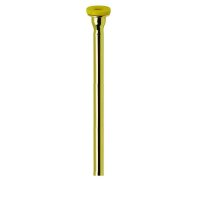
- Slide the top nut, the compression nut and ferrule onto the supply line.
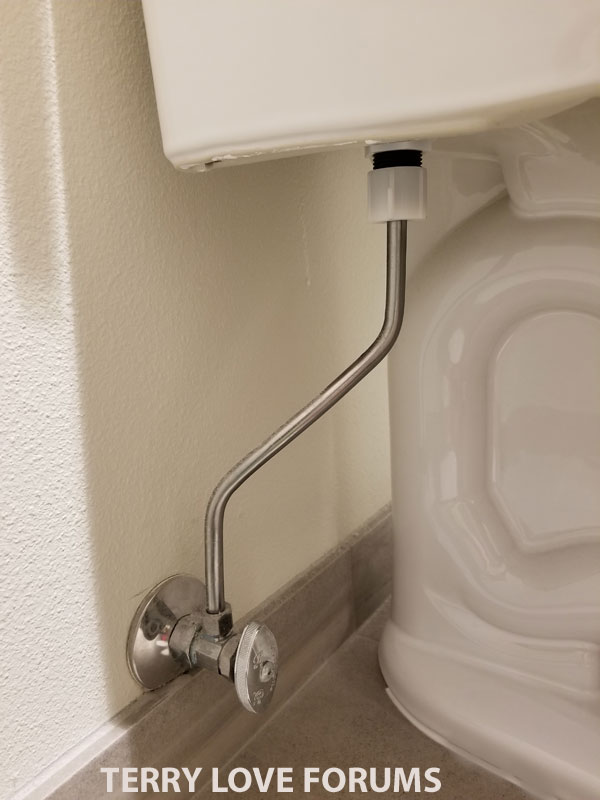
- insert the cut end of the supply line into the valve, as deep as it wants to go. That was the revelation for me: the valve has extra space for the pipe to be inserted past the ferrule area.
- Now the top end can be attached to the fill valve or fixture being supplied. The supply line telescopes in and out as you handle the top of the supply line. Tighten it.
- As you tightened the top, the supply line pulled out of the valve a bit. There is still enough inside that the ferrule will still be completely over the pipe.
- Slide the ferrule down. While it is not common, you can lube the ferrule with plumbing grease or pipe compound to lubricate tightening.
- Slide the nut down, and tighten.
The picture below shows a pipe inserted farther into a fitting/valve than it would usually be at the end of the process,
I got the picture from https://www.eevblog.com/forum/projects/crimp-*and*-solder-a-crimp-connector-good-bad/75/
Last edited by a moderator: