I hear you and felt the same way at first, but after much research and self-education I'm getting very comfortable with this.
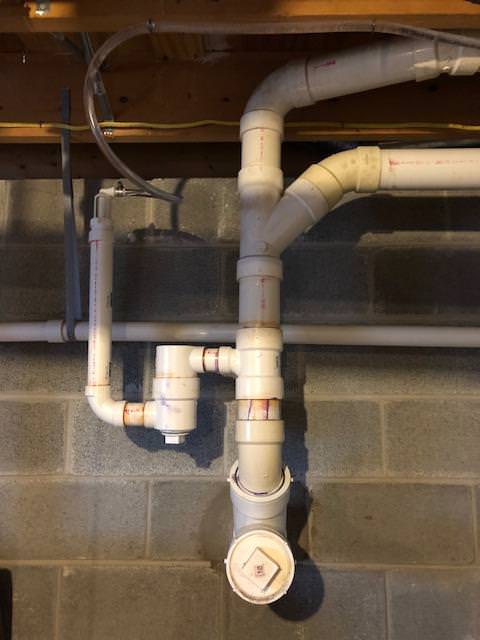
I'm planning on building the entire standpipe system first, and I will then cut into my main sewer line (4 inches), and attach the built standpipe system with mission couplings (rubber sleeves). That's the way the pros do it, because you can't stretch that main sewer line enough to fit a glue-in coupling. So there is no way to mess that up since there will be no glue up of the PVC at the sewer line.
For the supply I'm going to challenge myself a little bit. I don't trust sharkbites so I will cut into my main line (1 inch) and sweat some copper. I'm going to teach myself that skill before, because I've never done any sweating. PEX yes but that's easy. If you can avoid sharkbite I would, I just can't trust an o-ring to outlast me. There is no effing way I'm going to allow a fitting to flood my house and cause $xx,xxx's in damages. There are excellent videos on YouTube on how to sweat copper and honestly it doesn't look hard at all. I figure if you're on this forum you must have some DIY tendencies. You can do it.
I'm literally saving thousands by DIYing this. For me that's worth it. The moment you call a plumber for the smallest thing, all your savings are going out the window. The other day I called a plumber to replace my water heater, and he charged me about $1,000/hour for labor alone (of course this wasn't detailed on the invoice, I just know how much the heater costs). That's outrageous. I bet he would show up at clients in a Lamborghini if he could fit his tools.

")