Howard M Emerson
Member
- Messages
- 224
- Reaction score
- 14
- Points
- 18
- Location
- Huntington Station, NY
- Website
- www.howardemerson.com
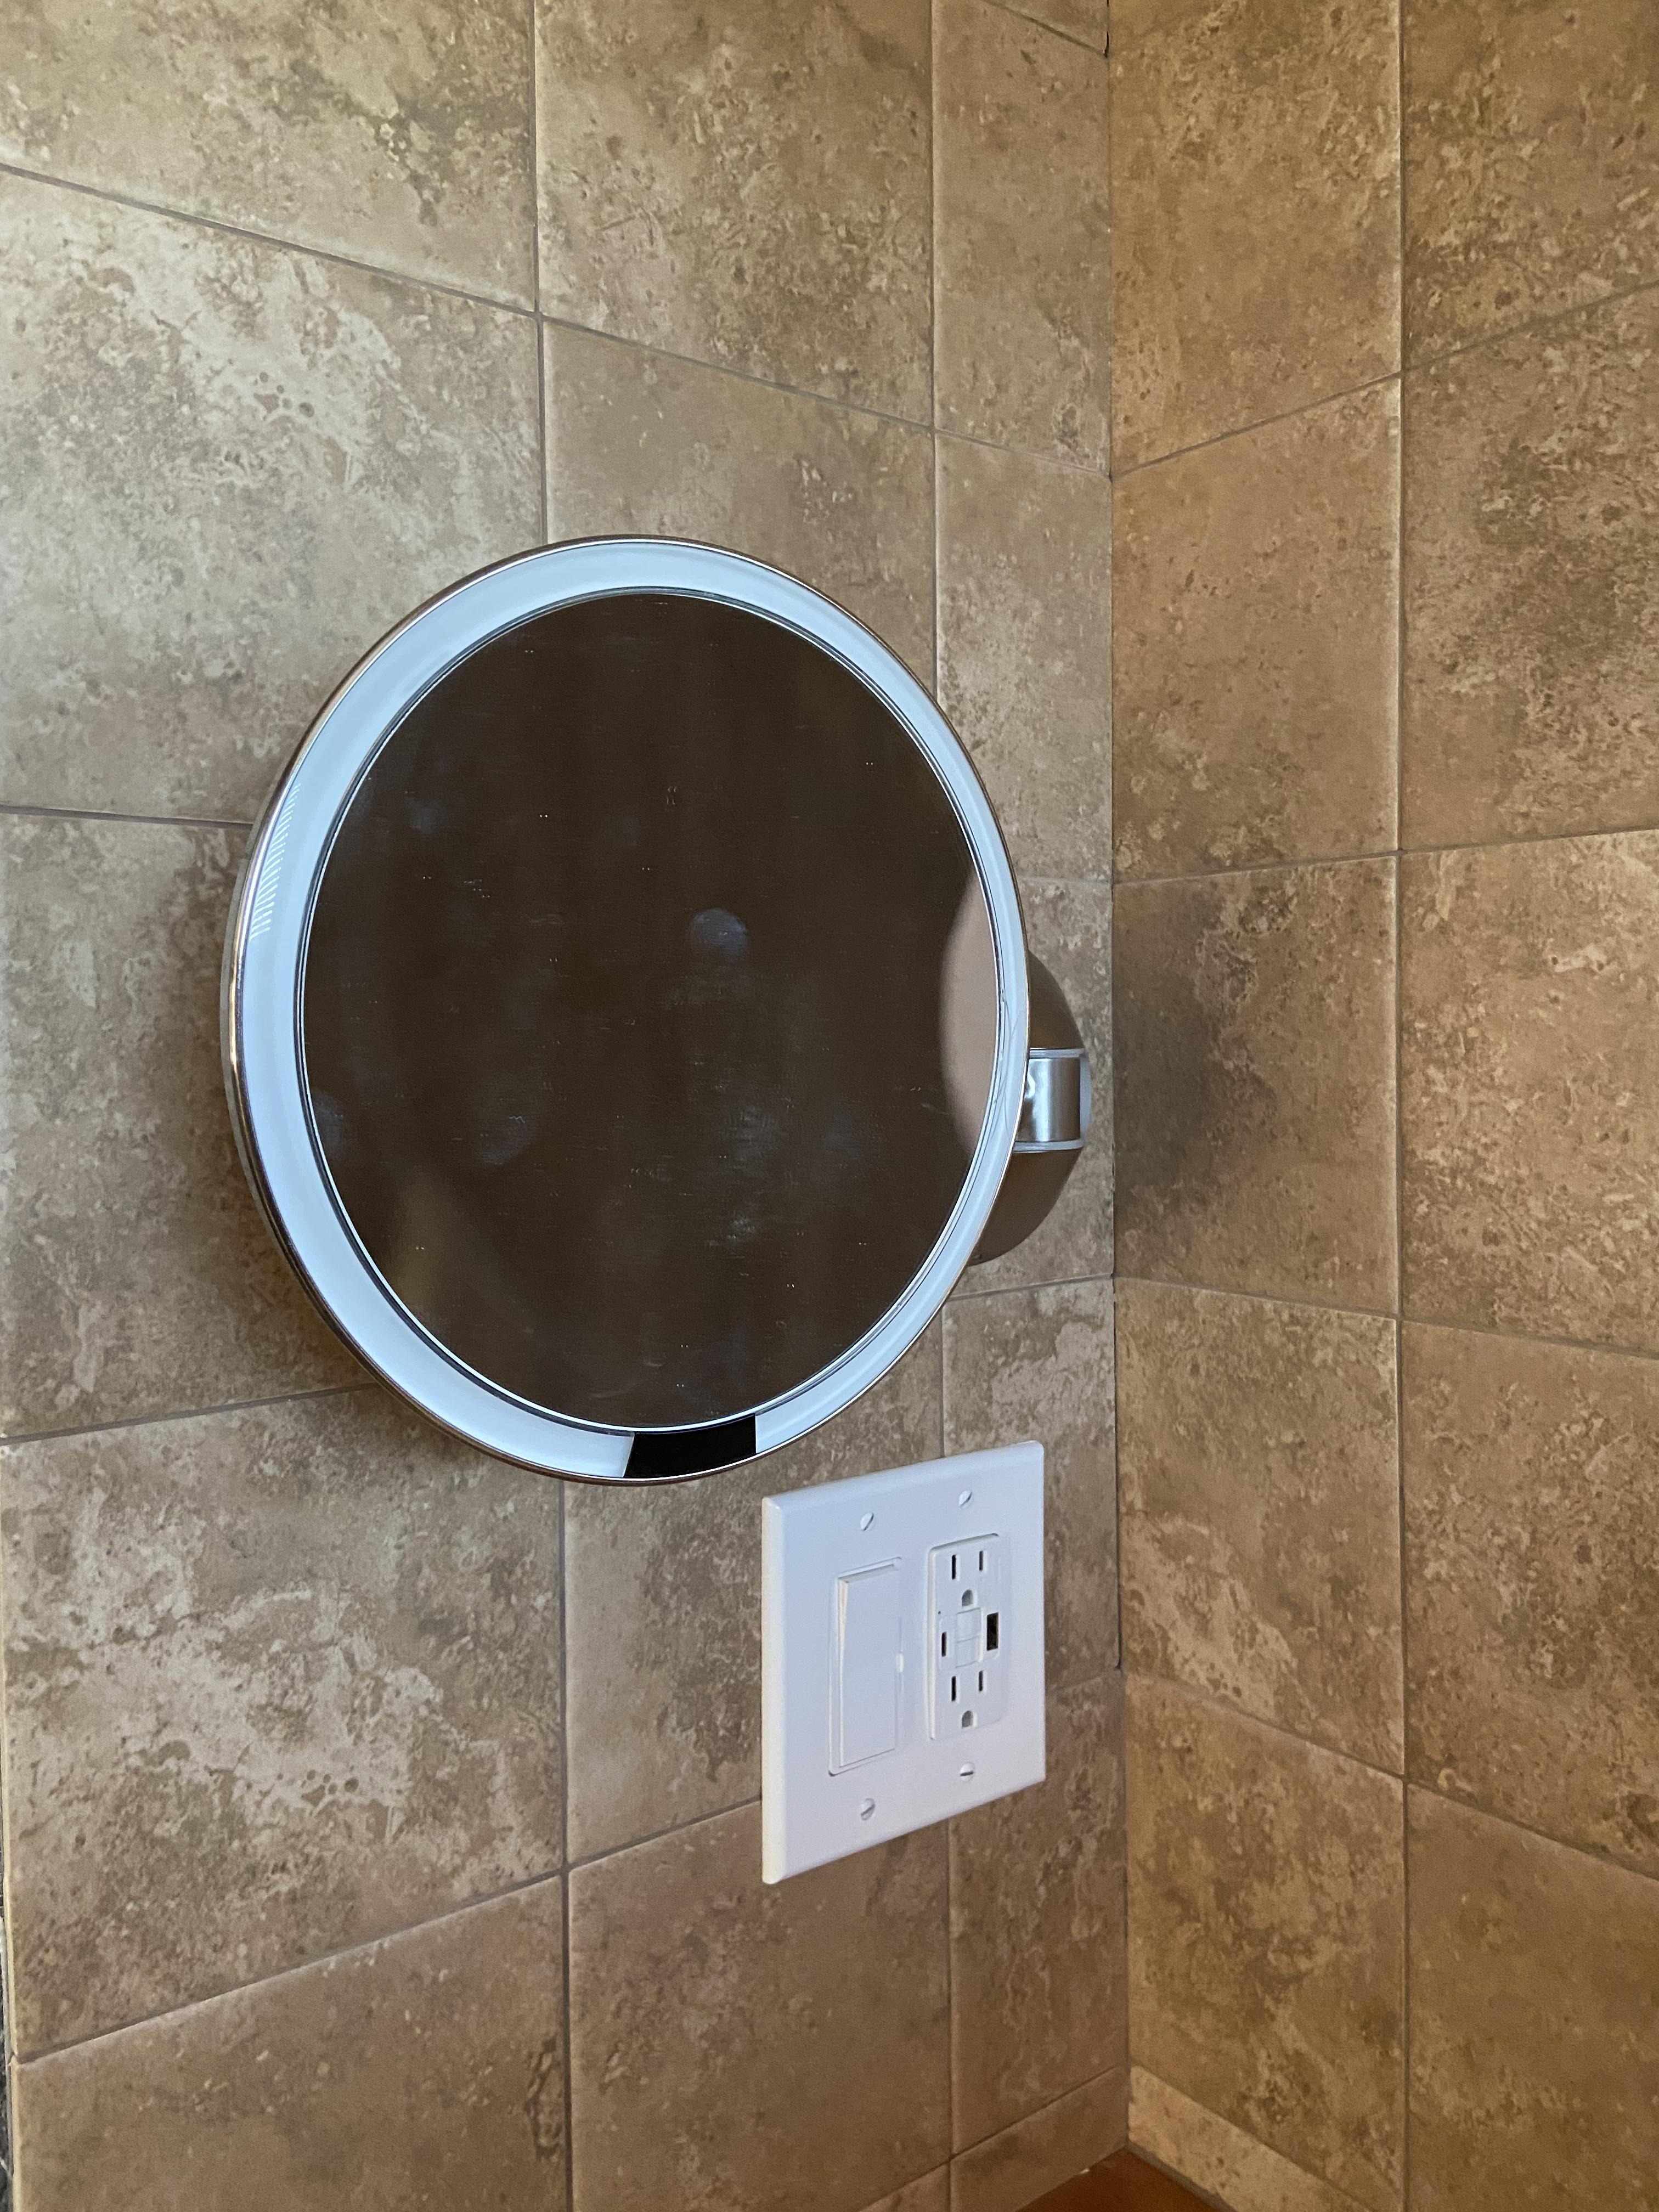
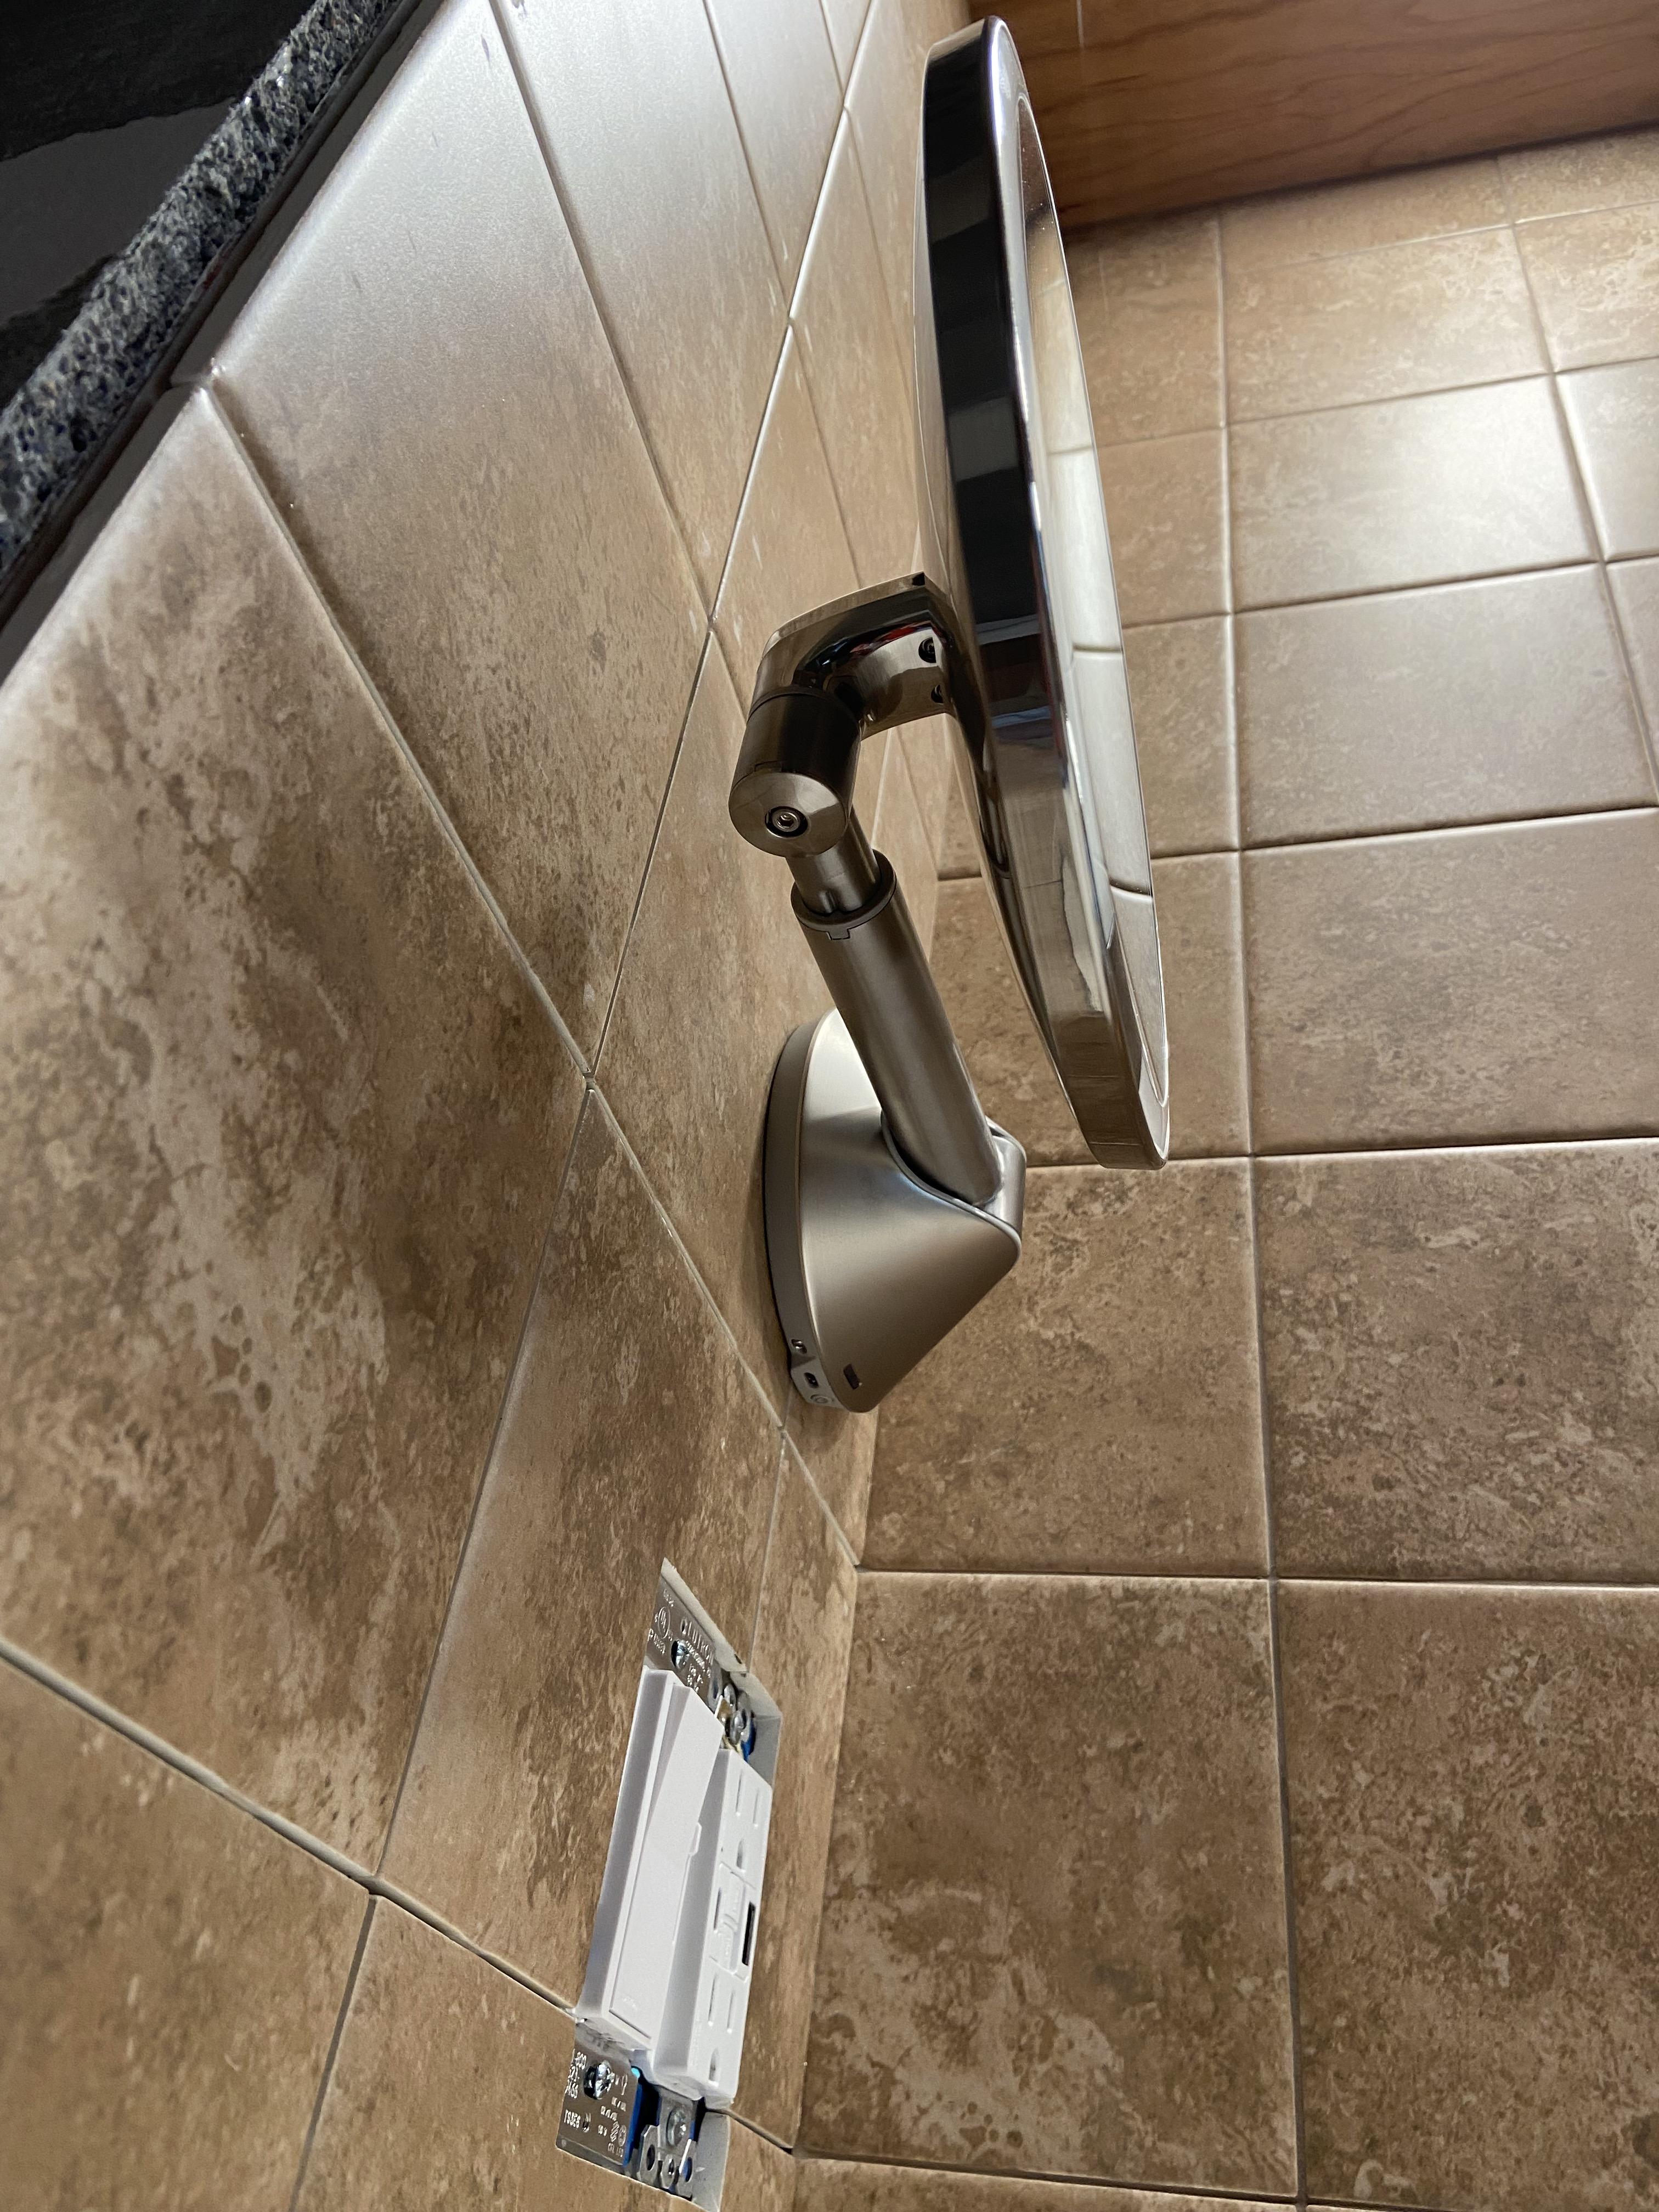
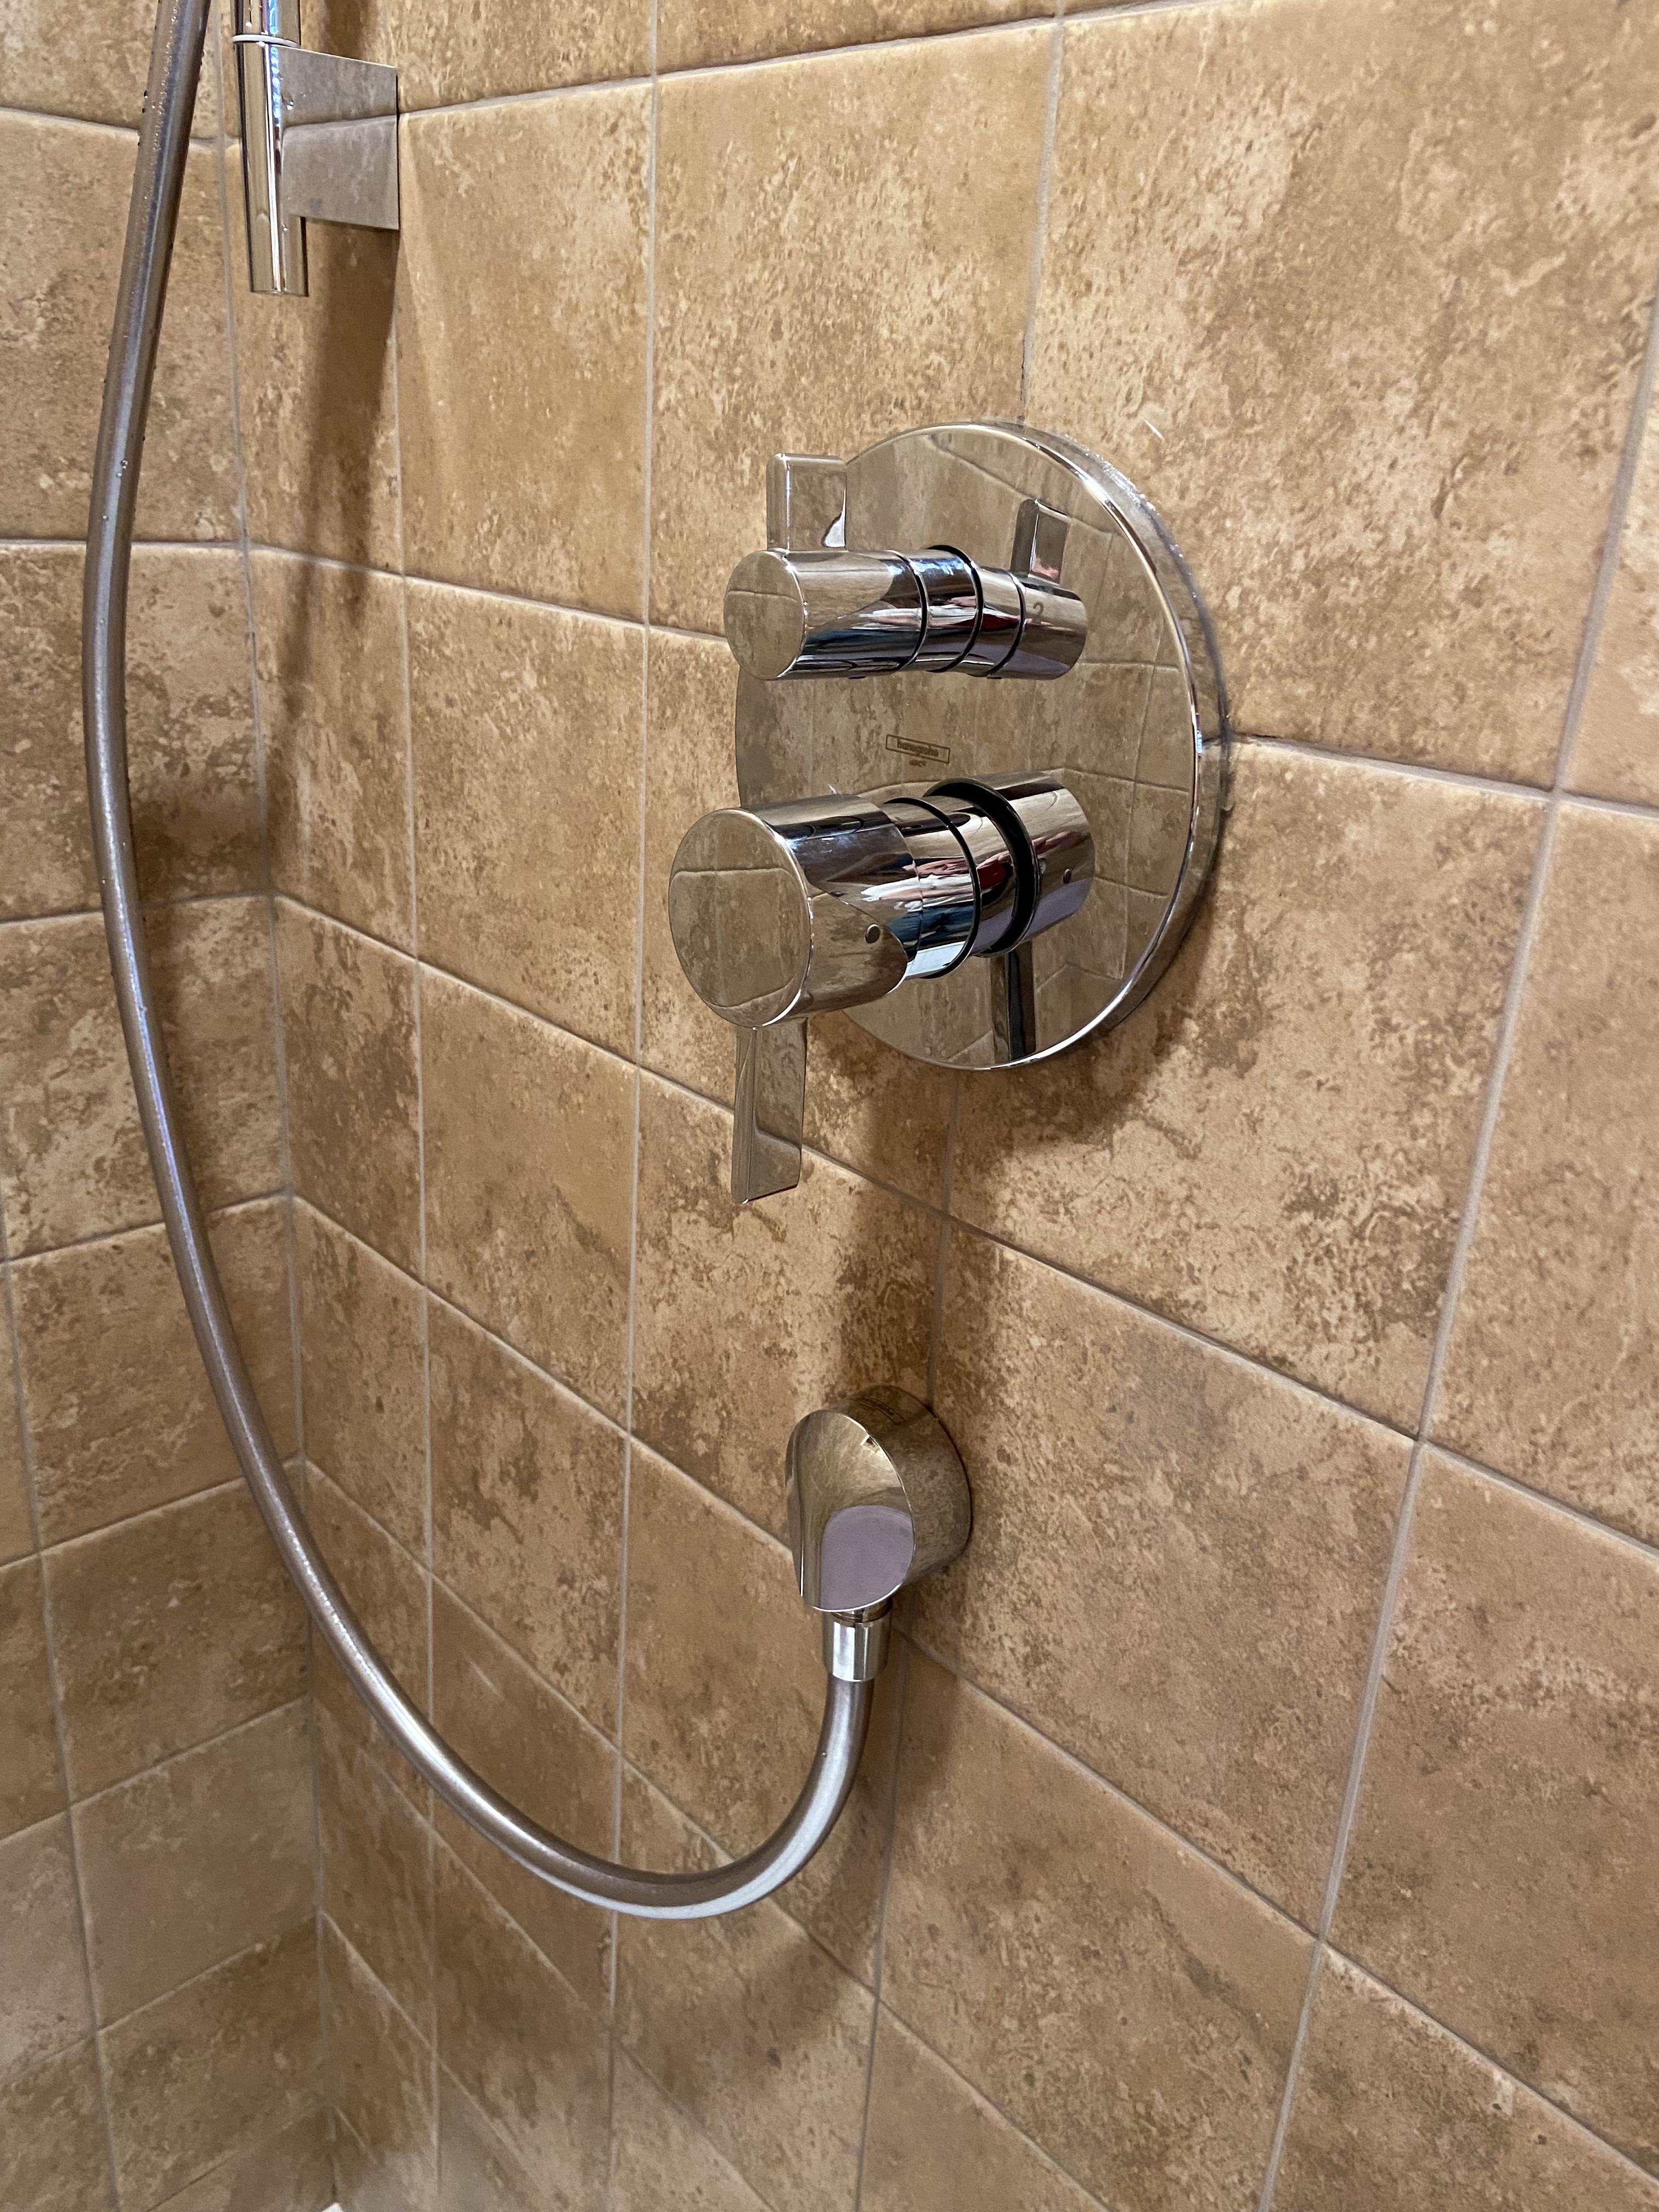
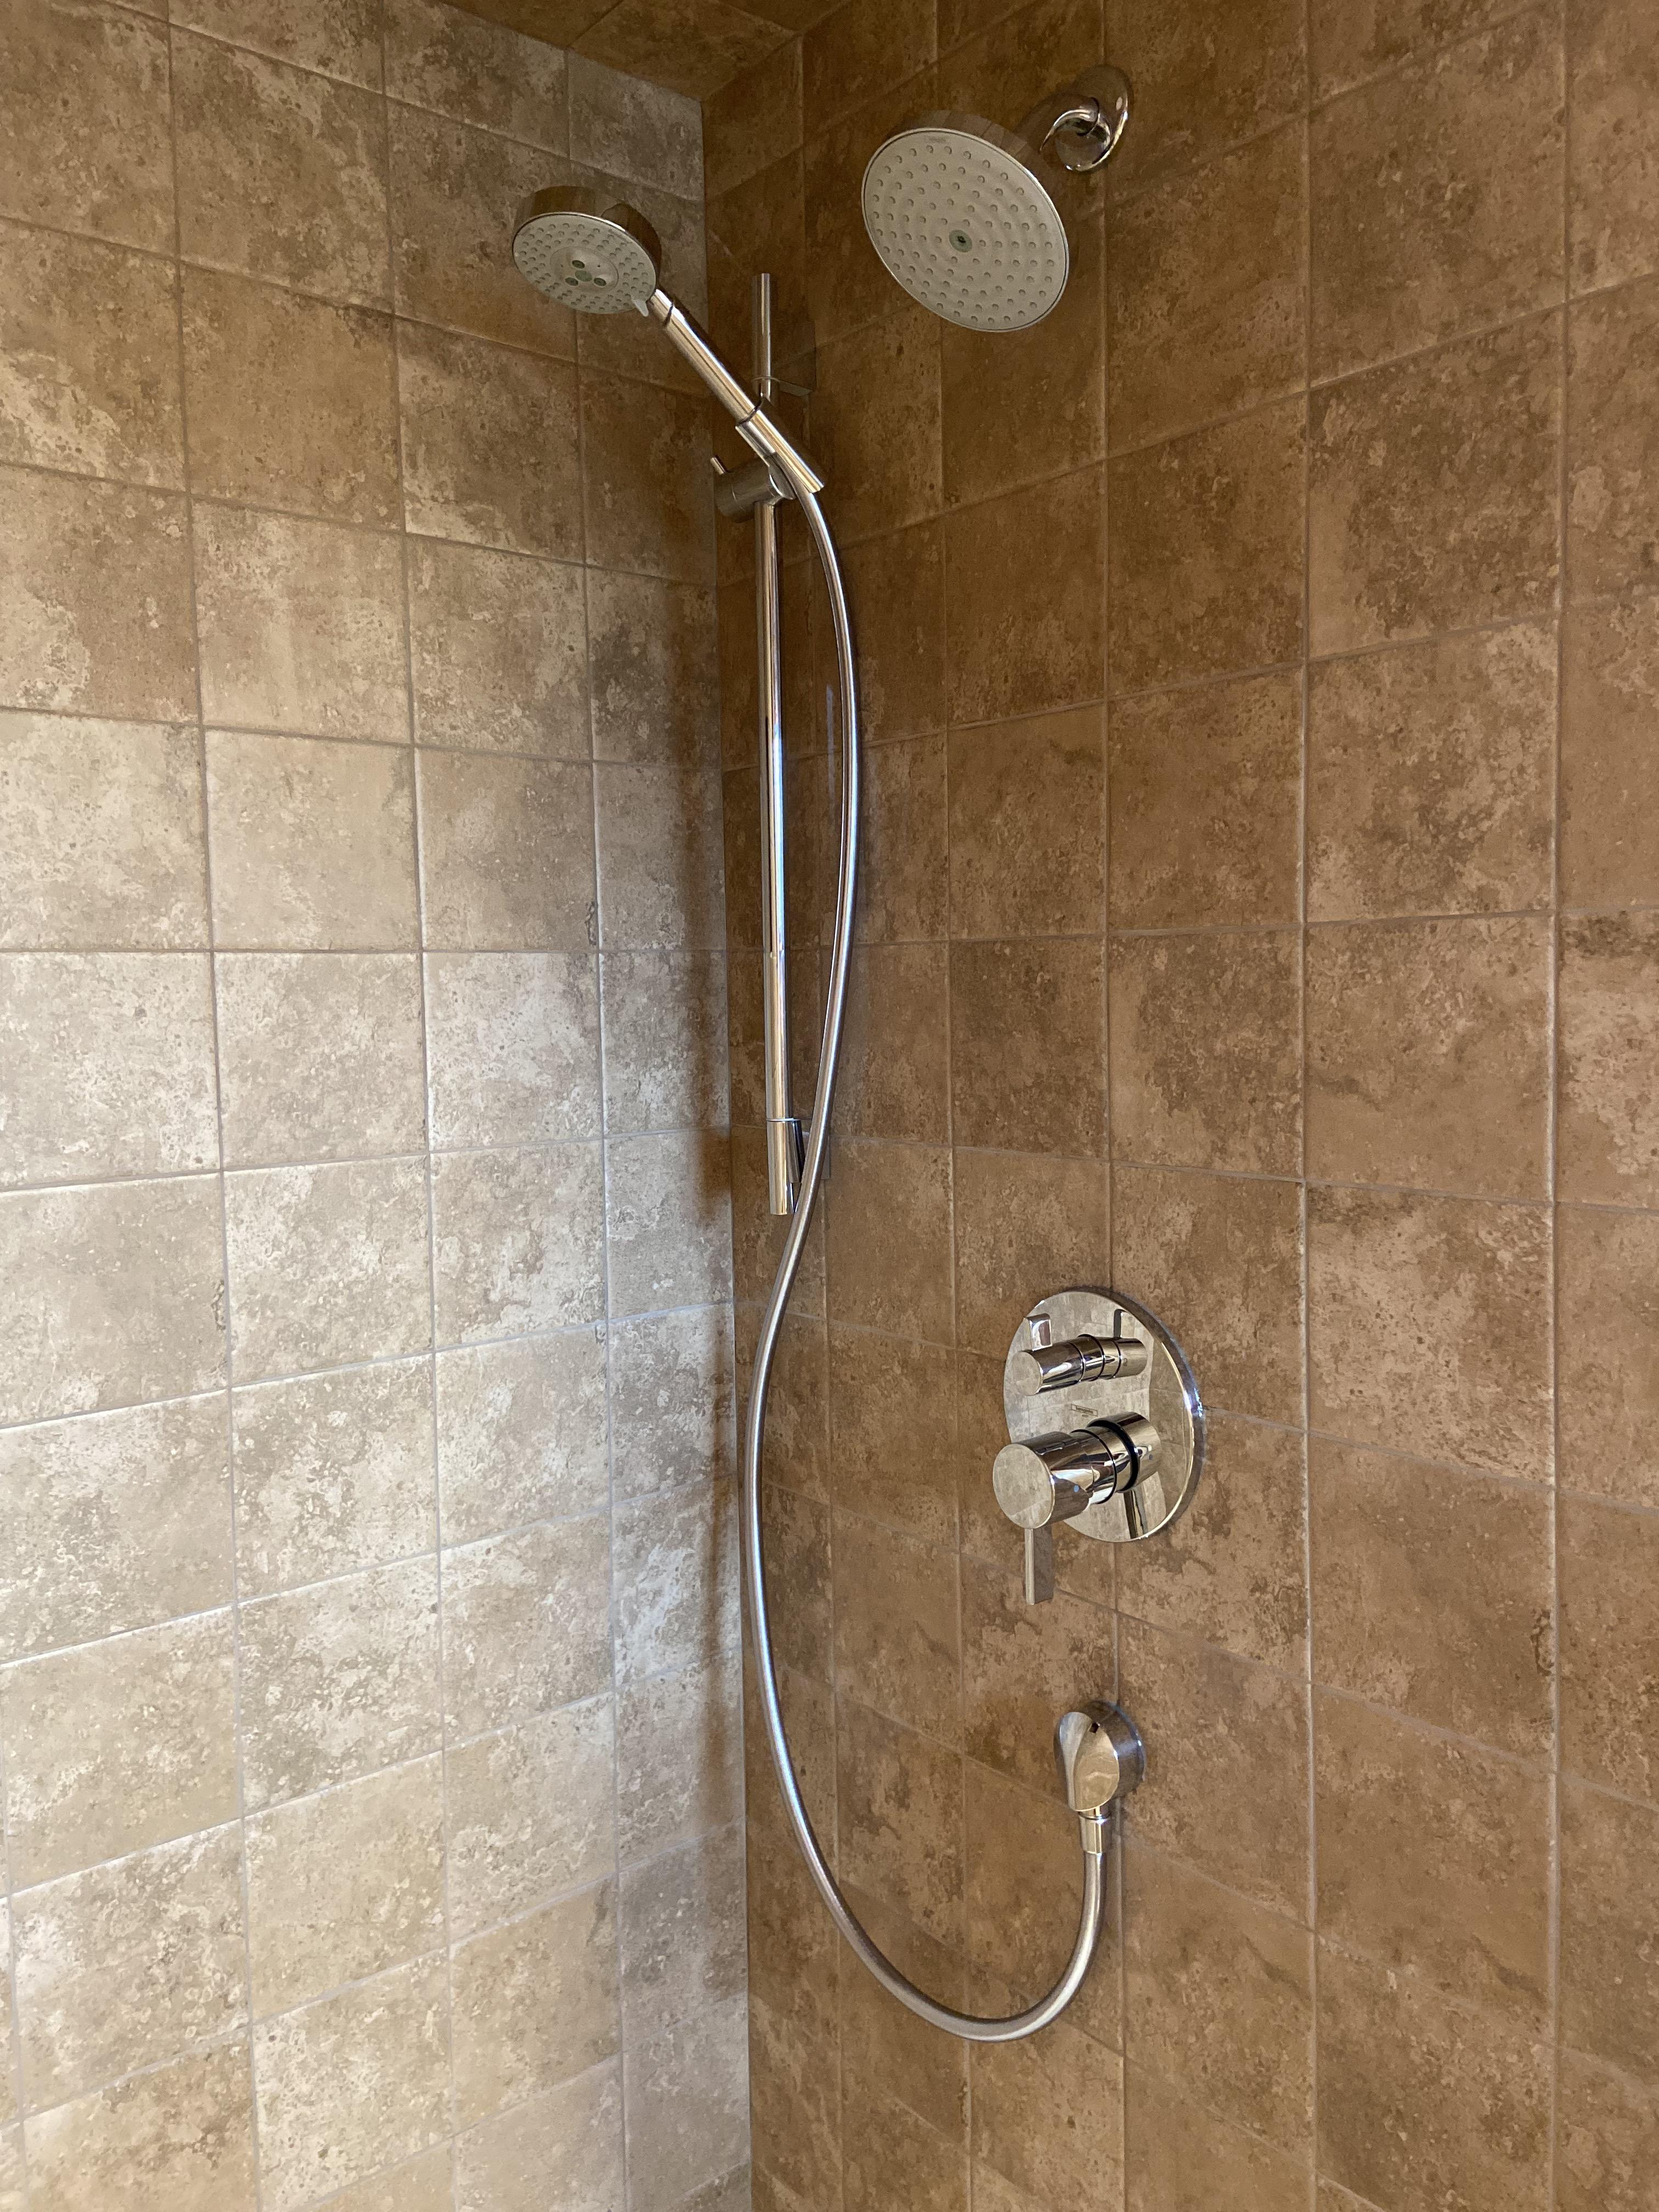
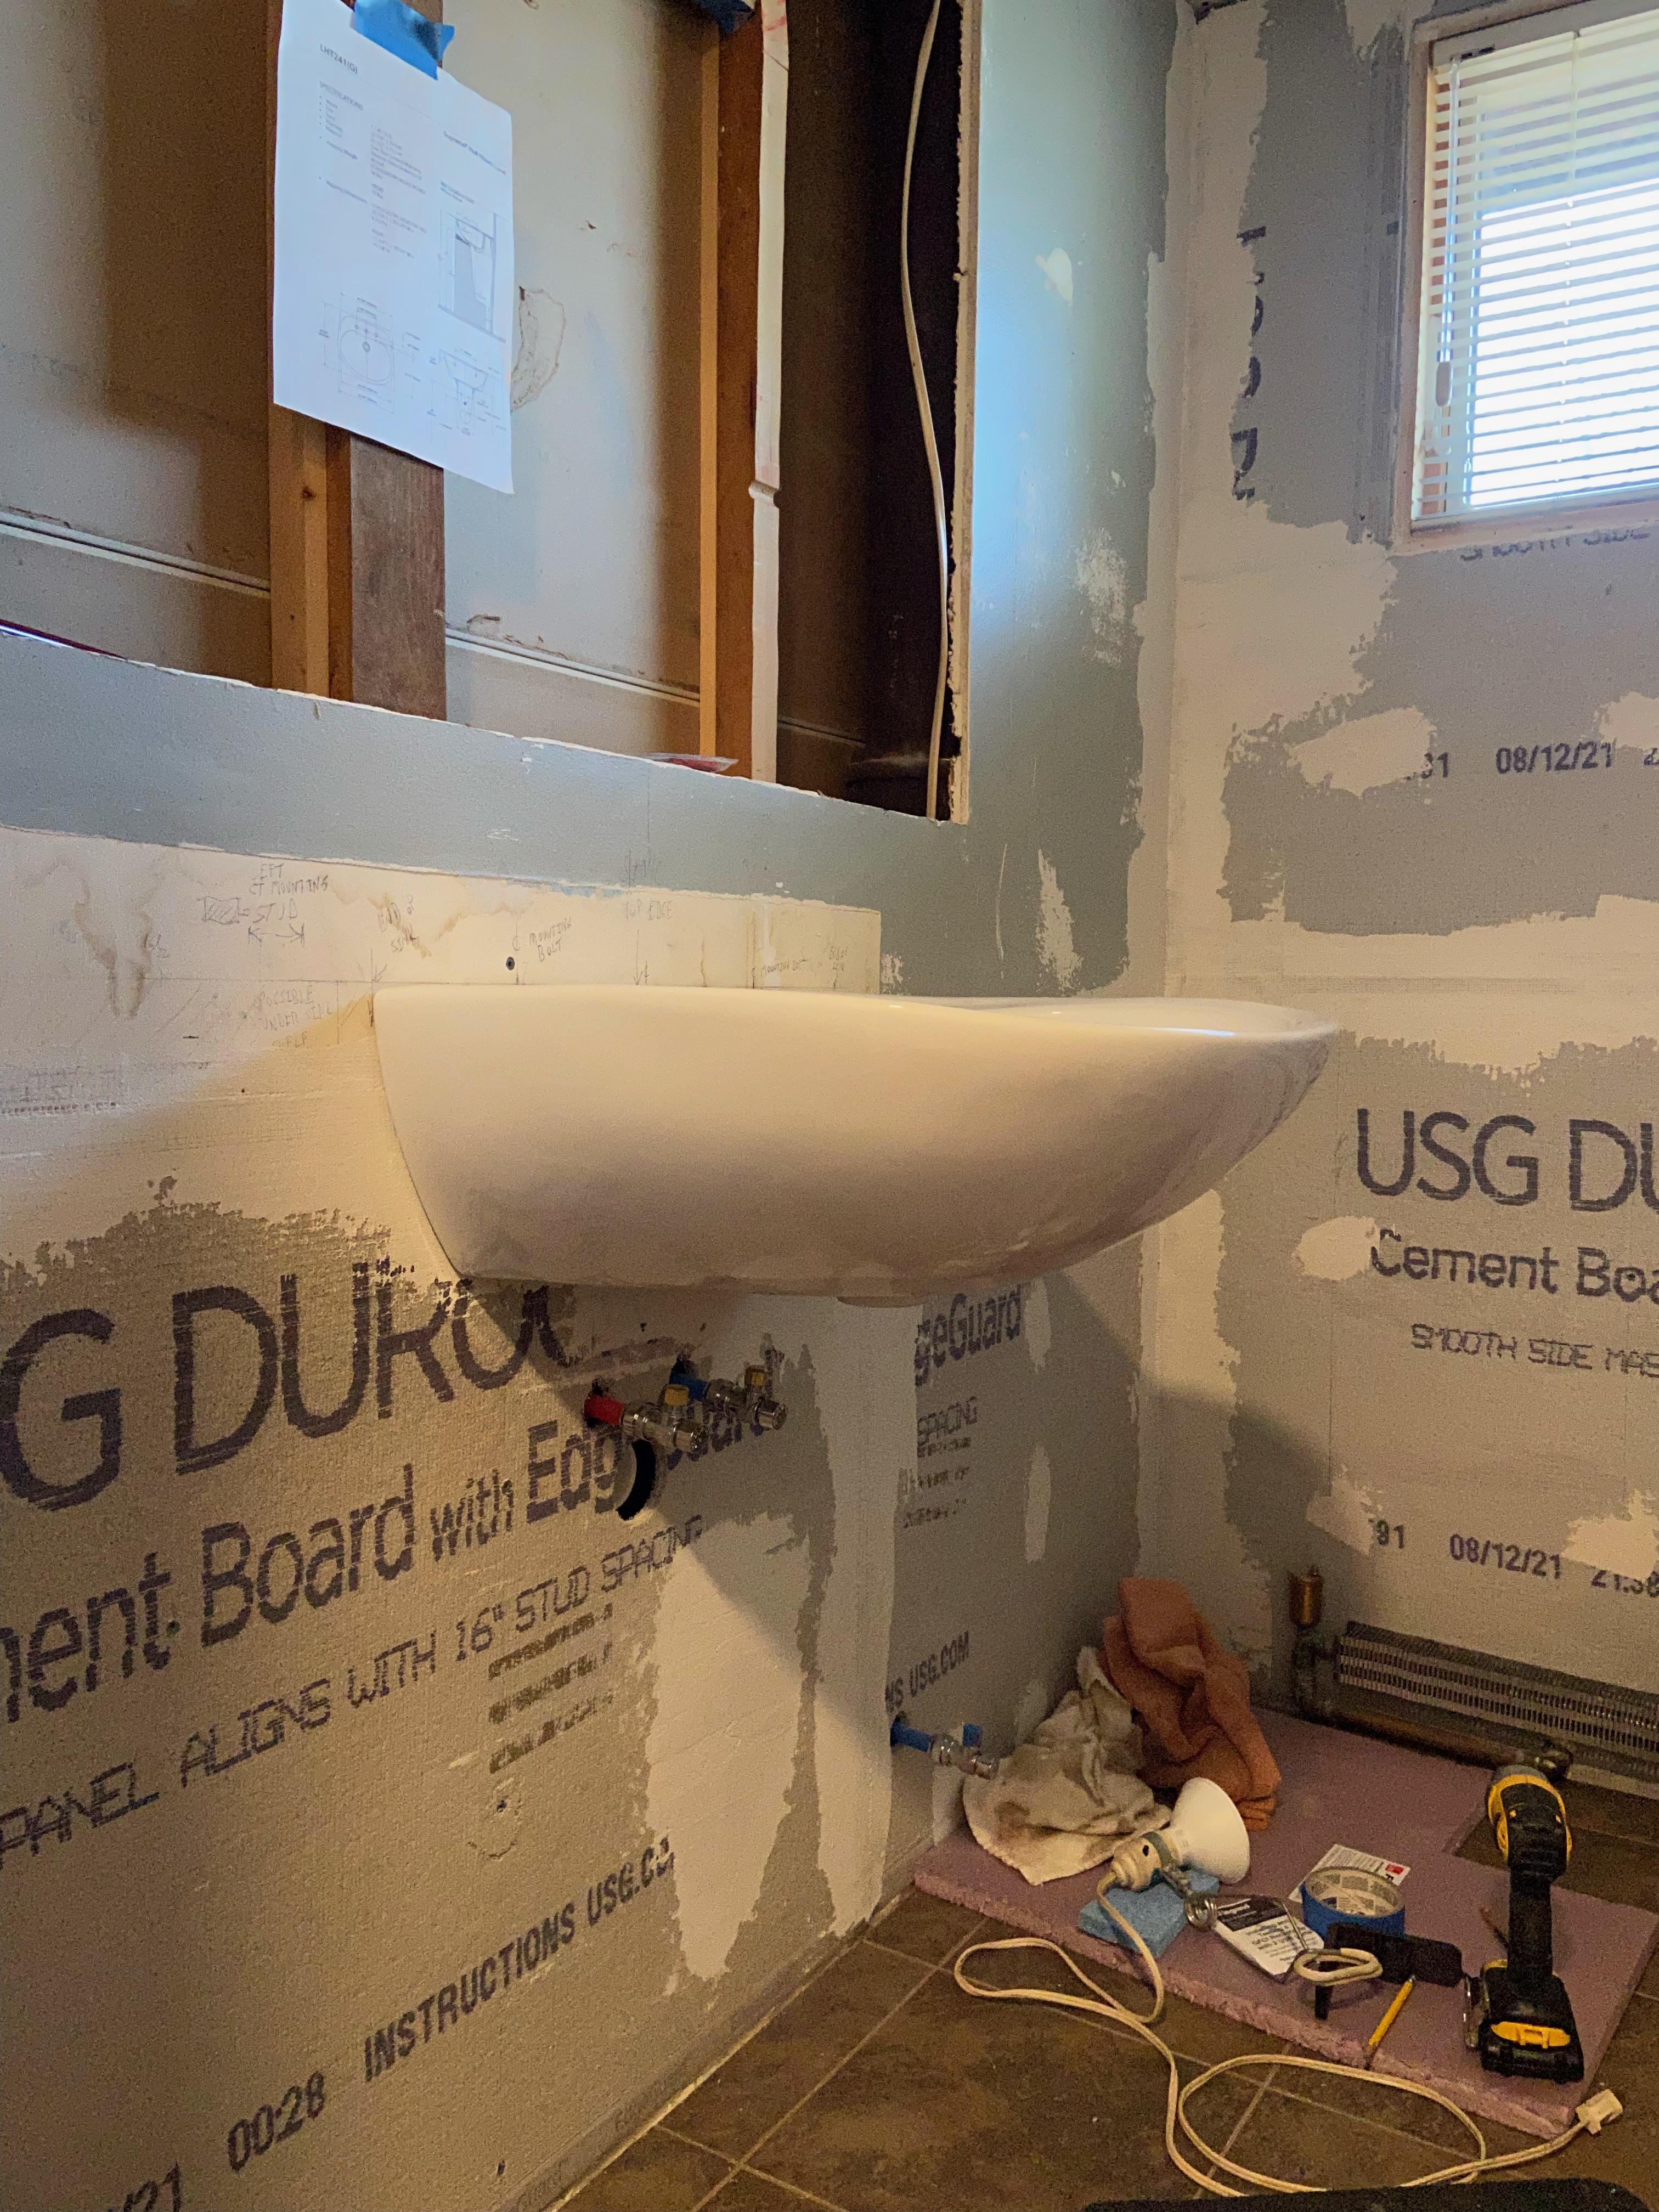
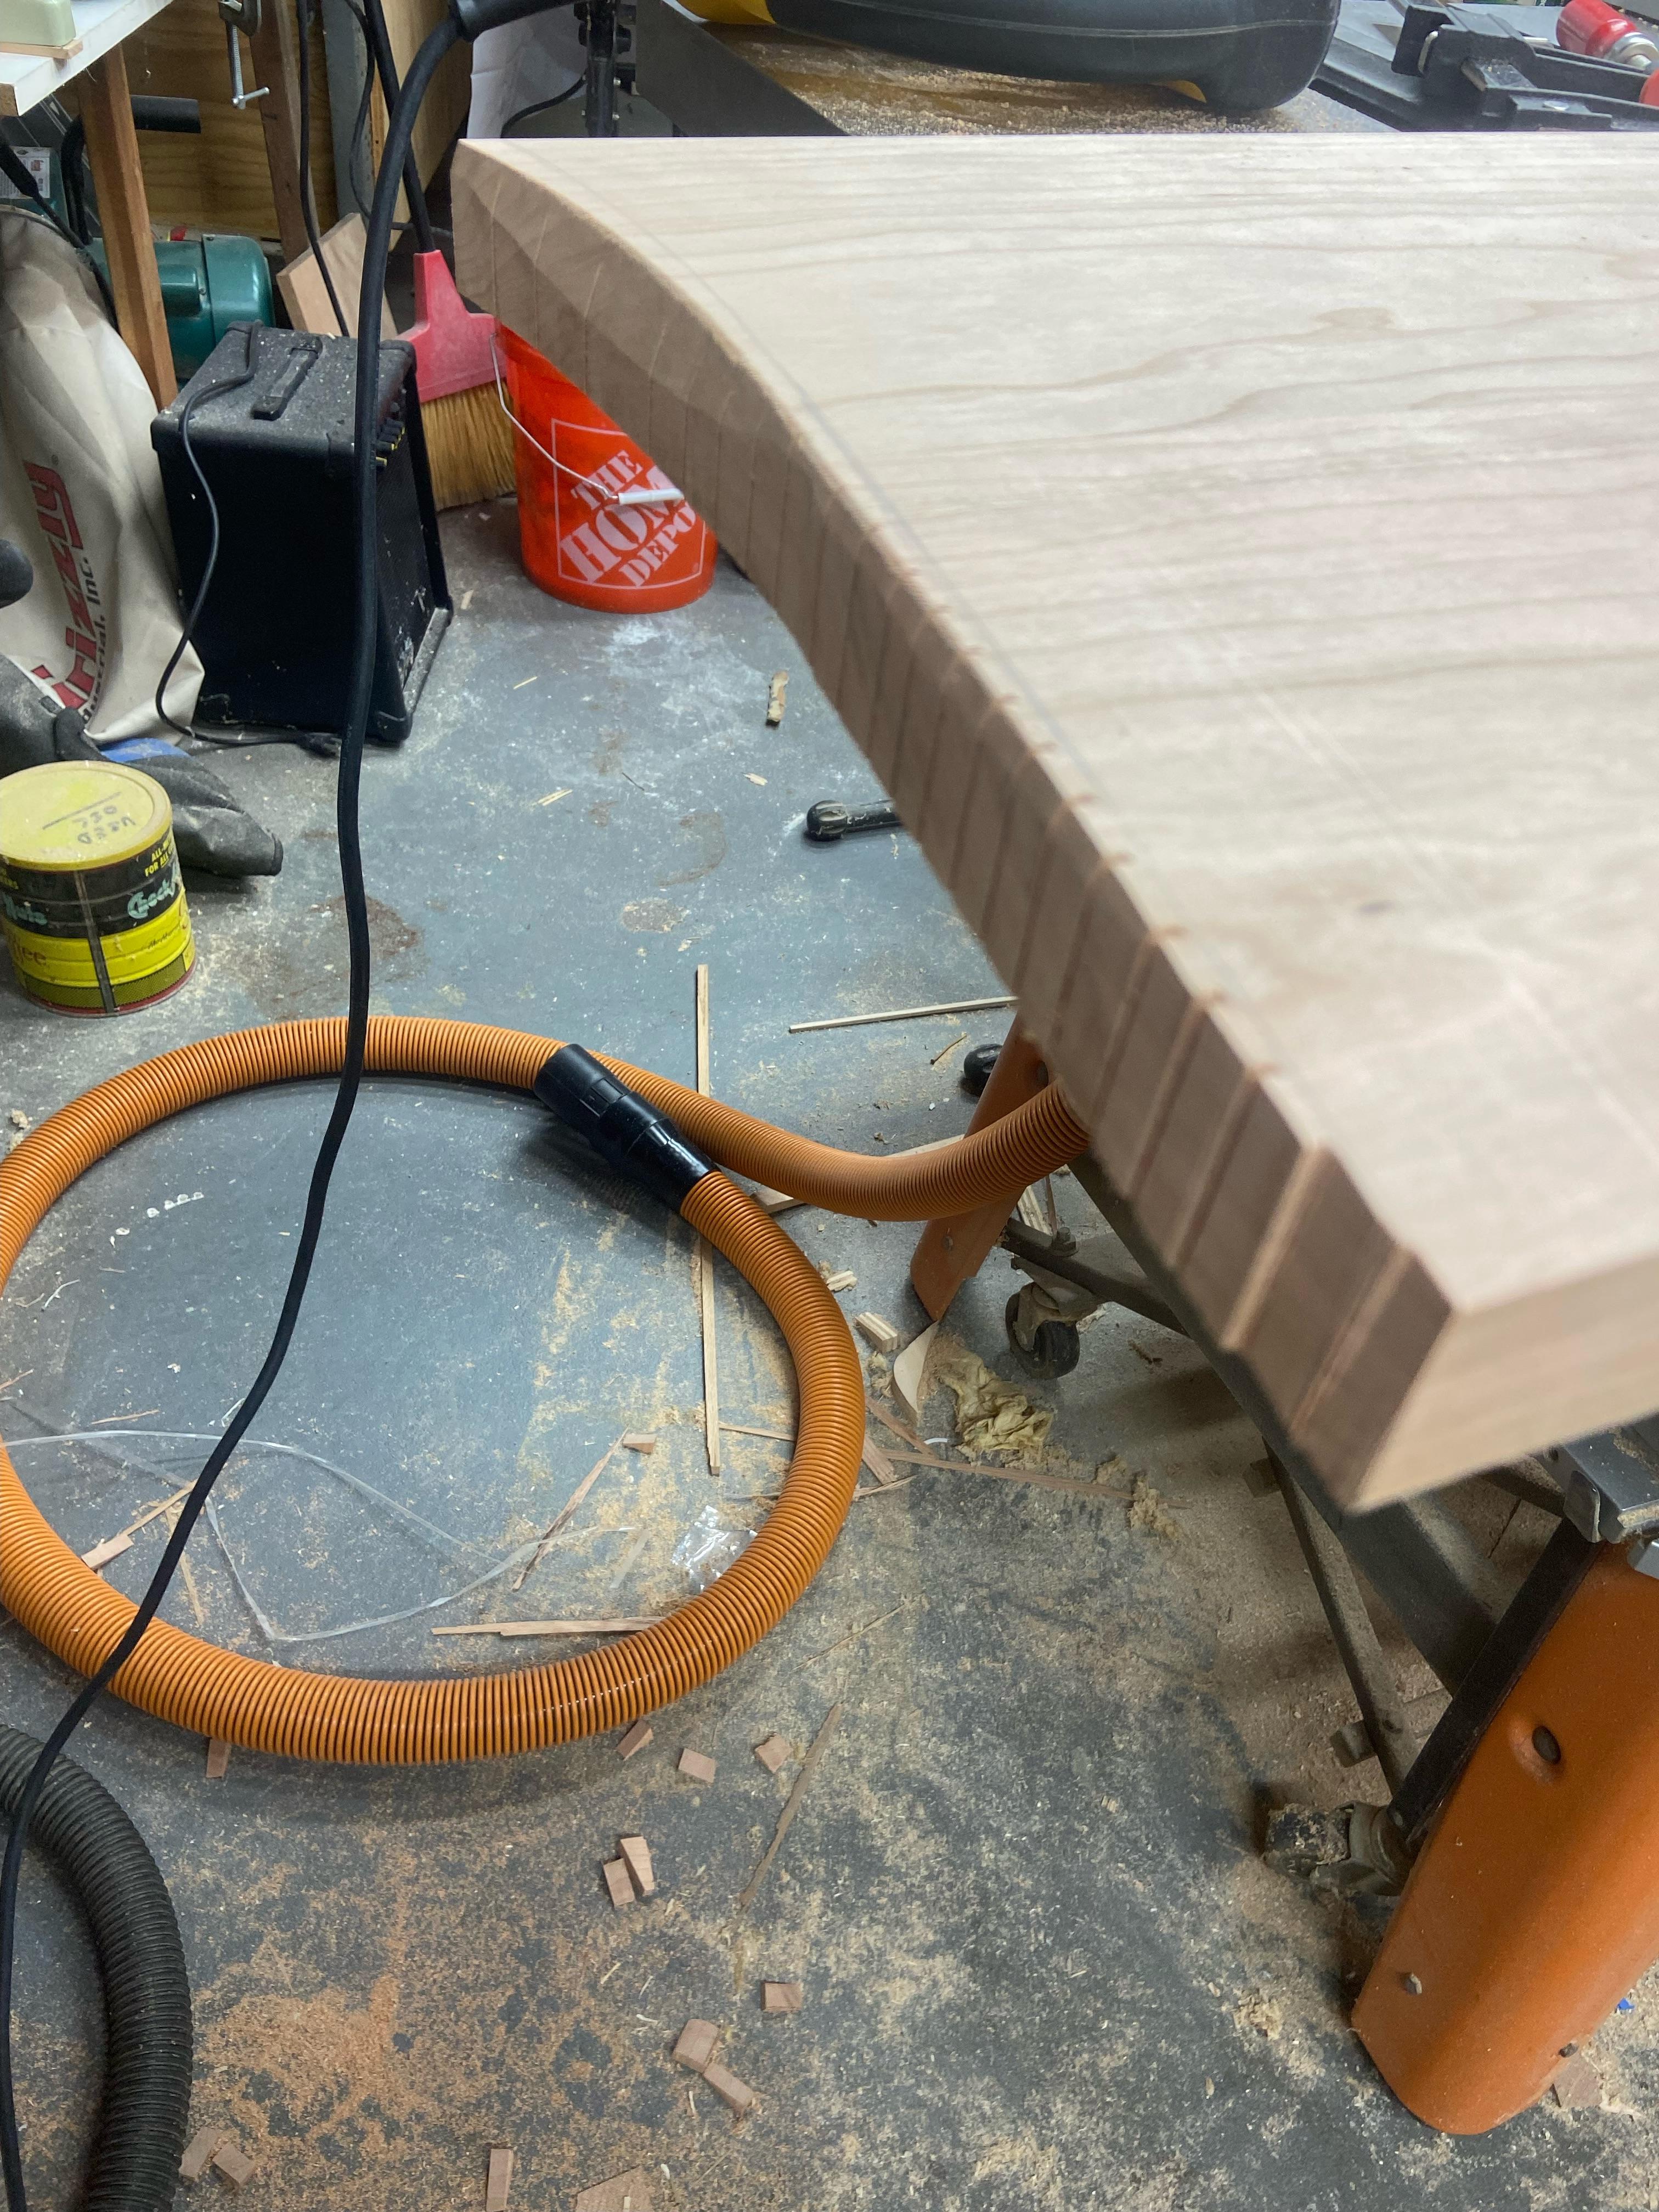
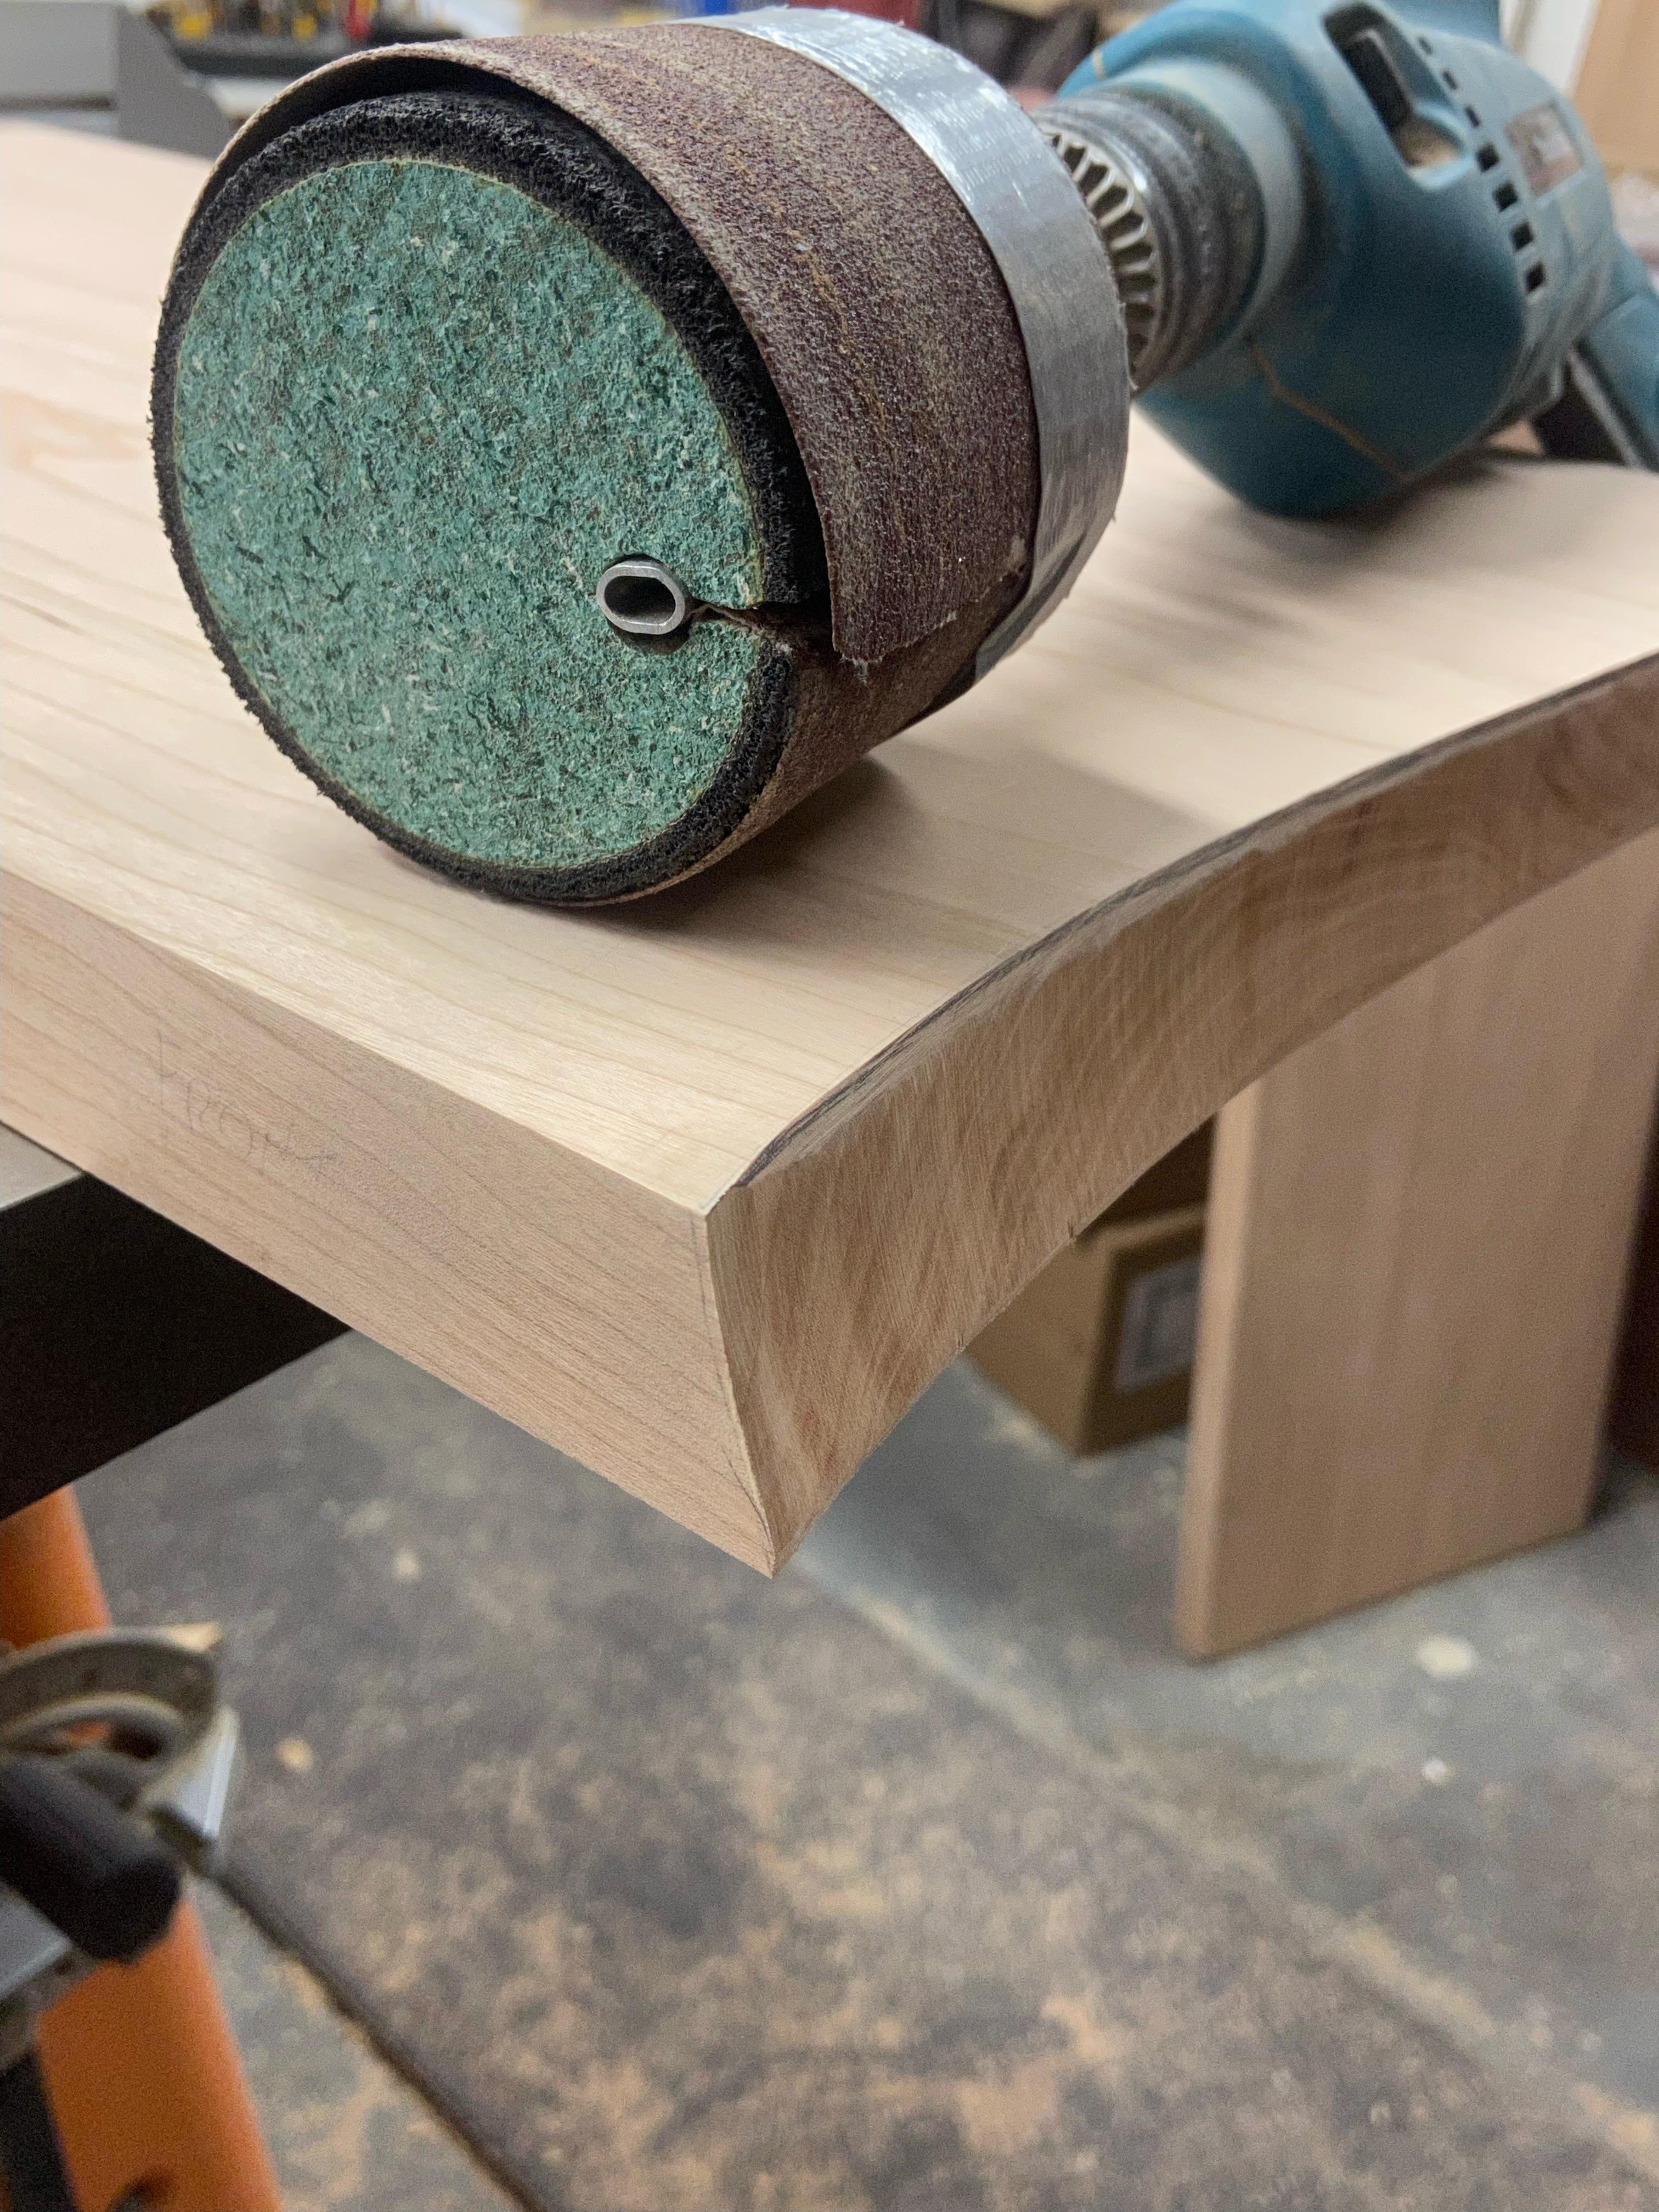
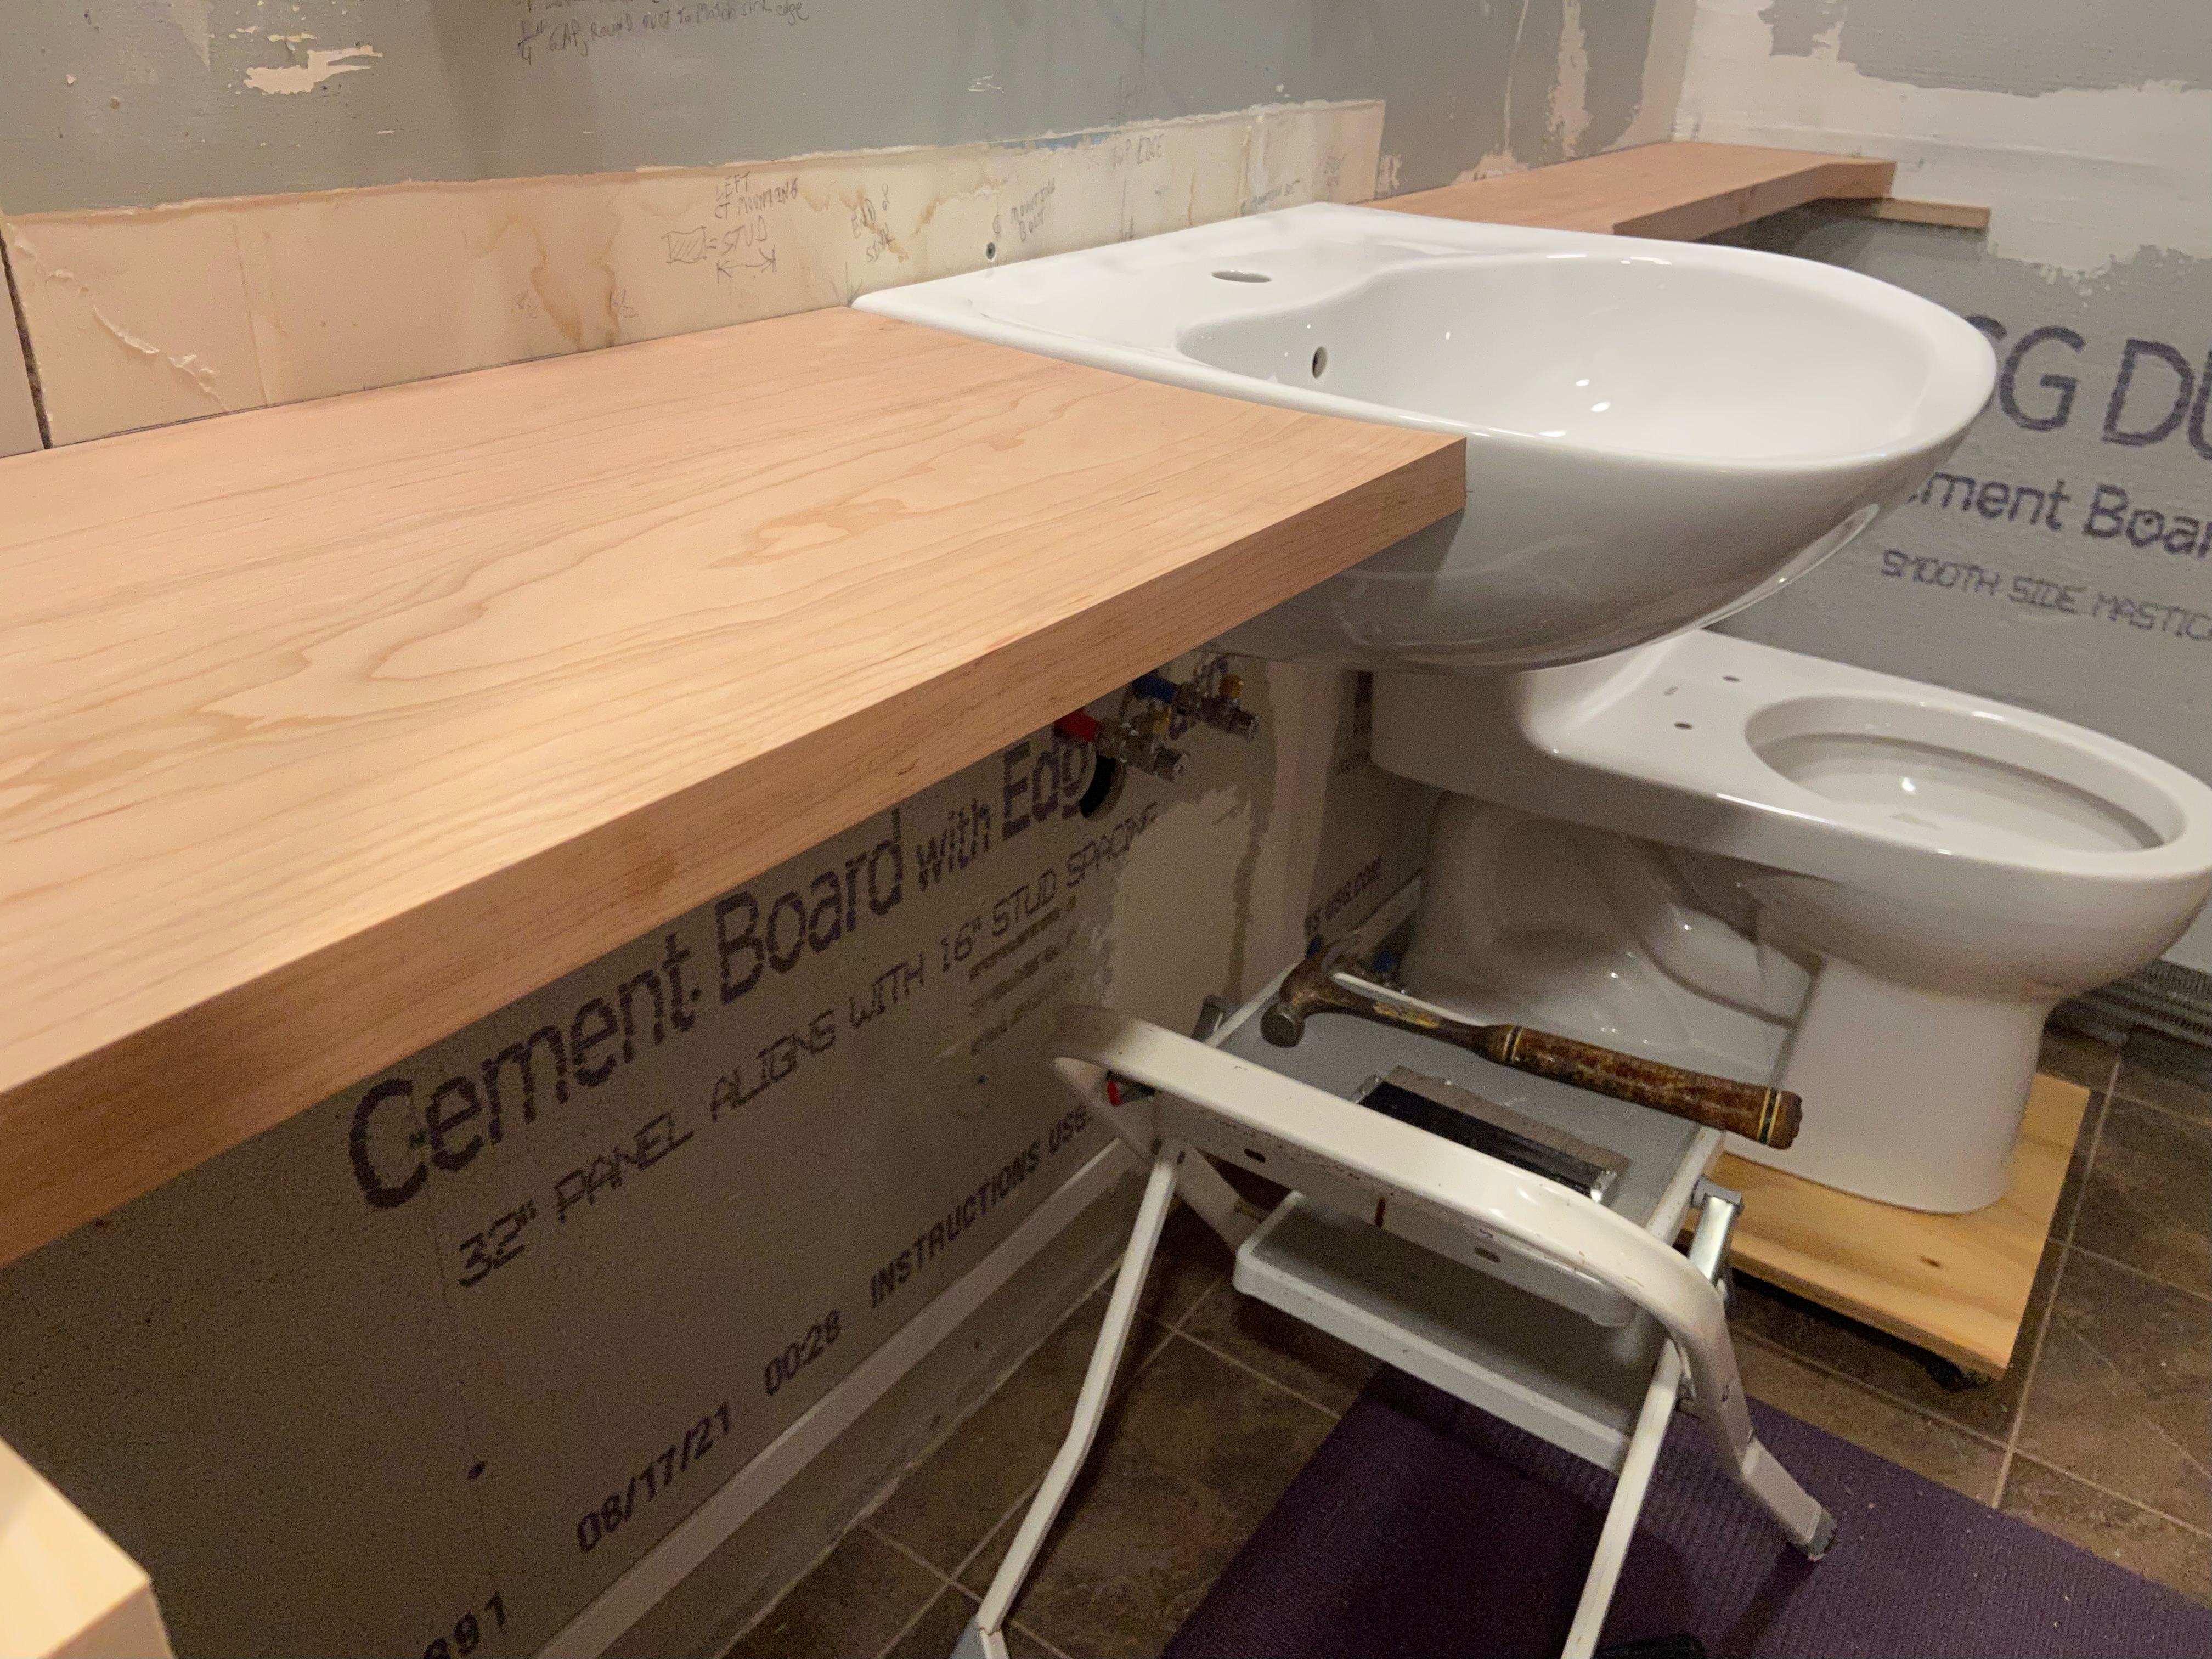
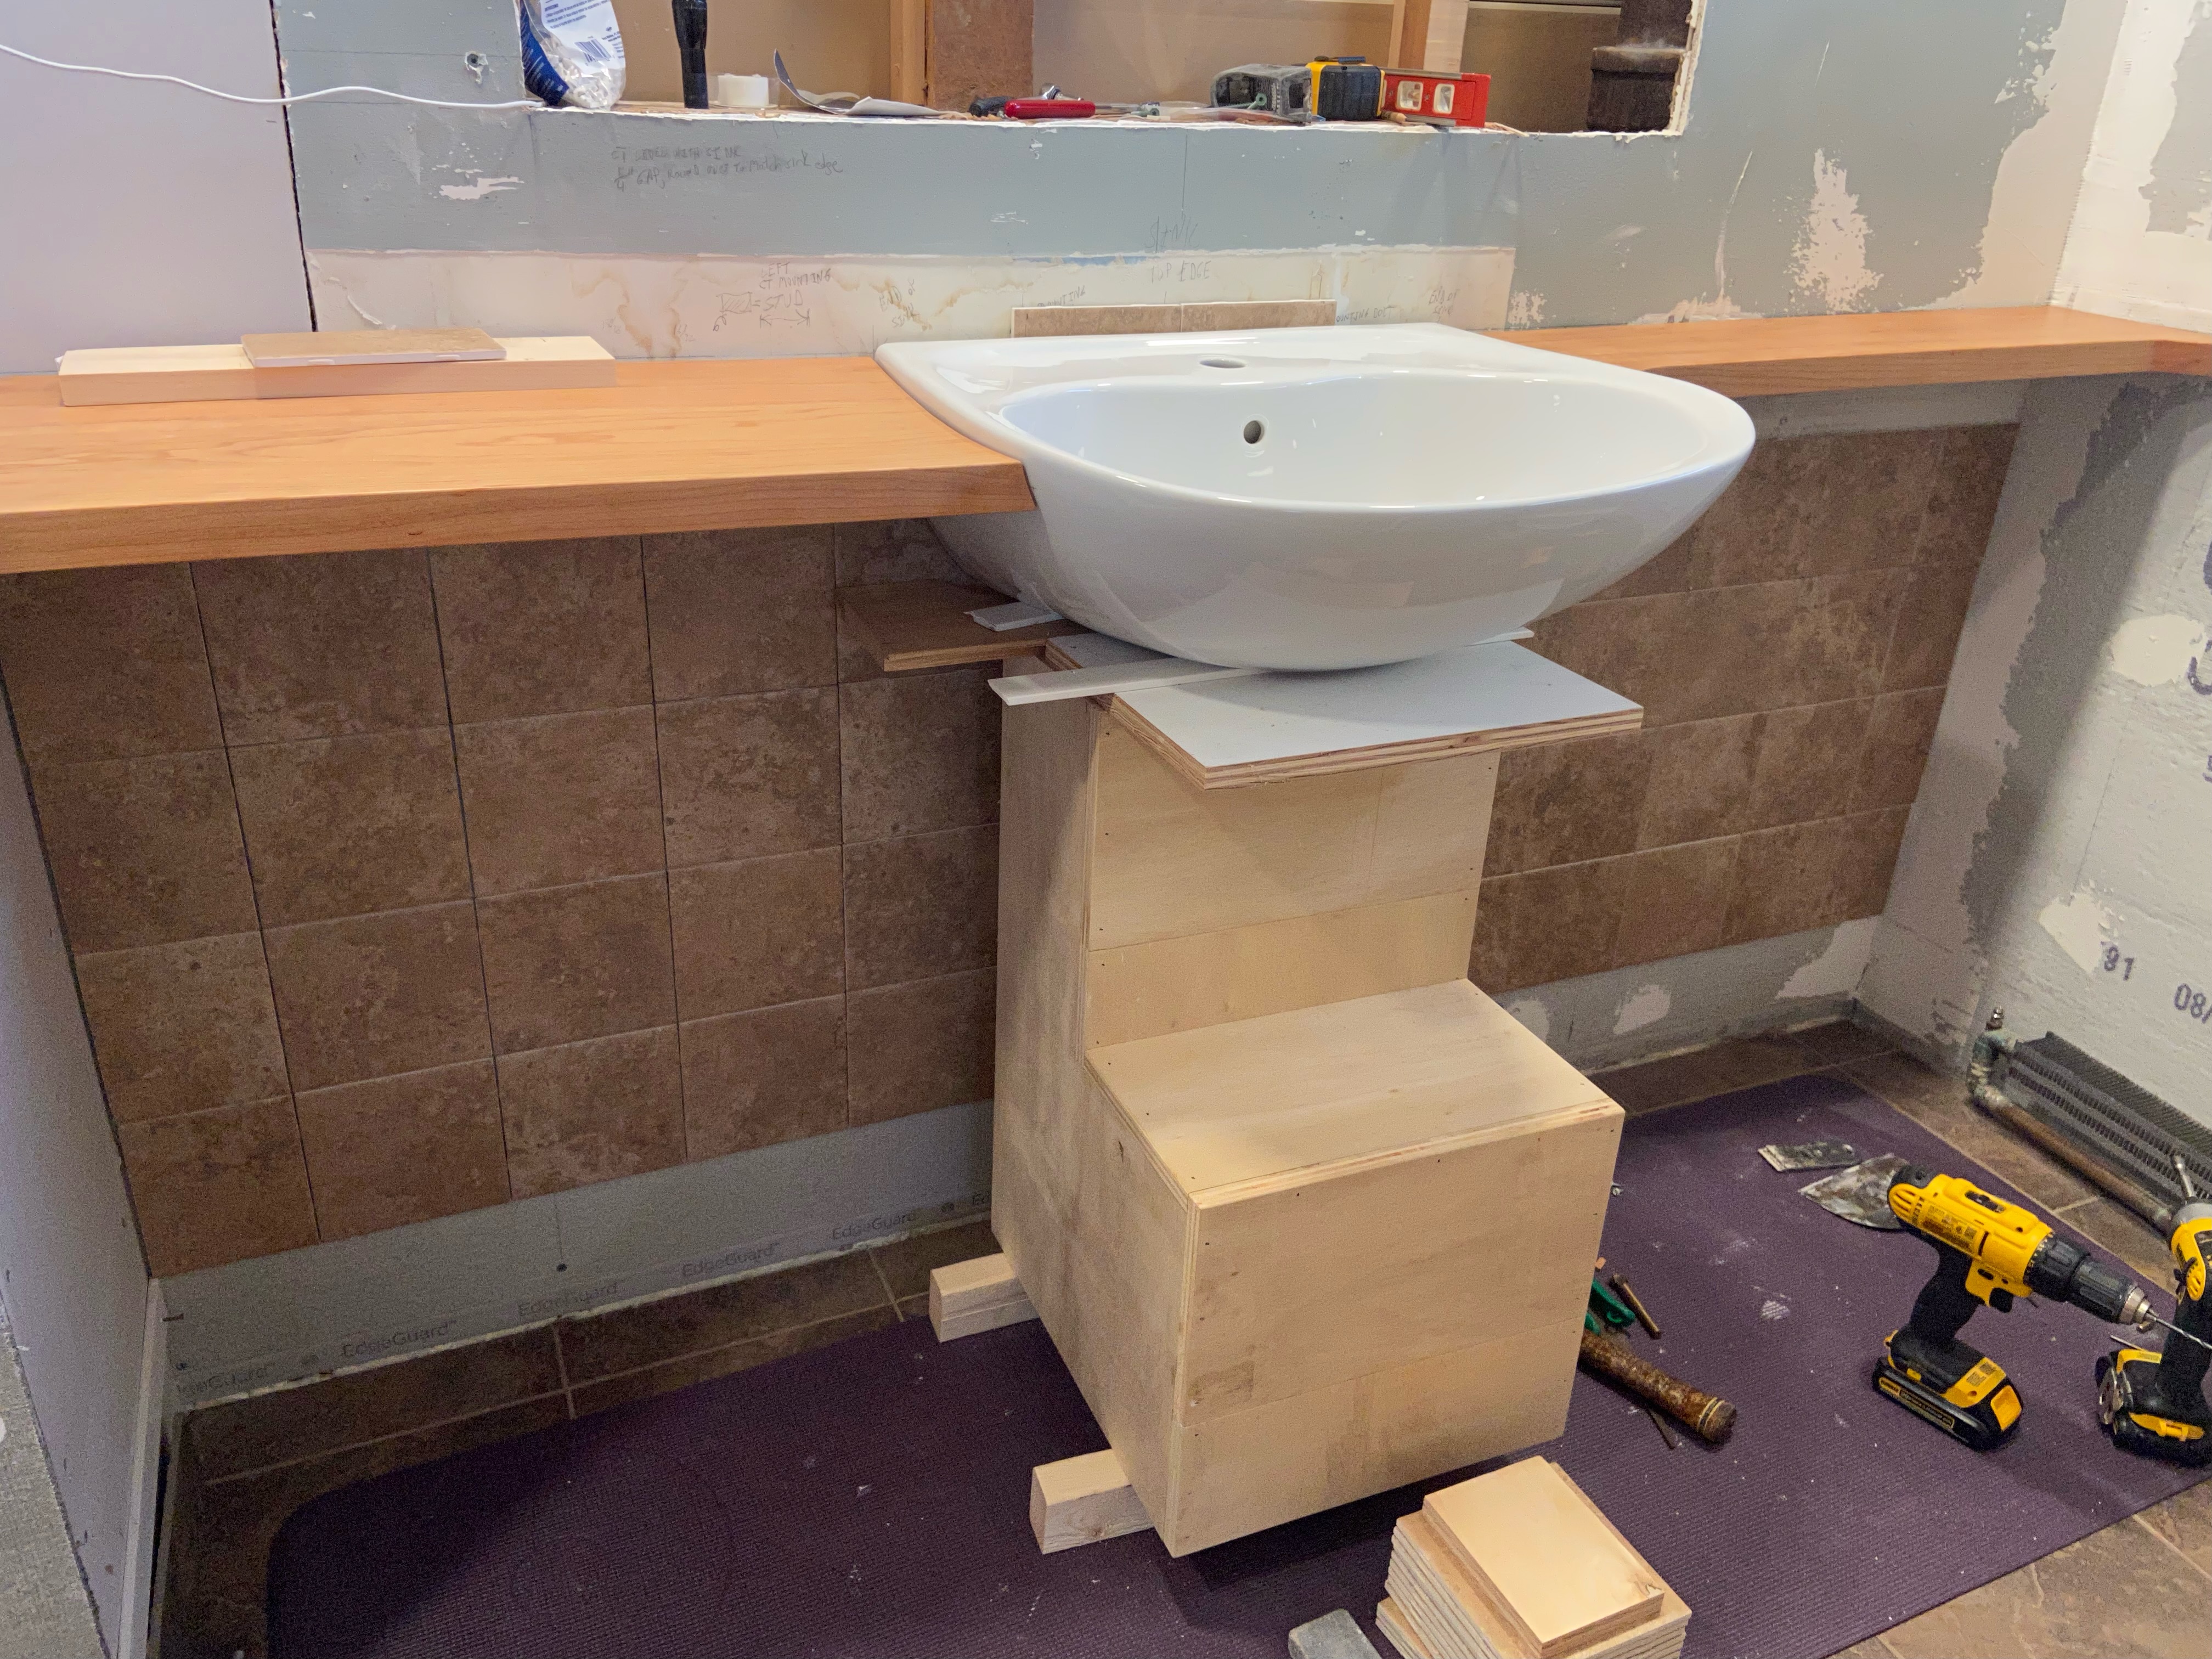
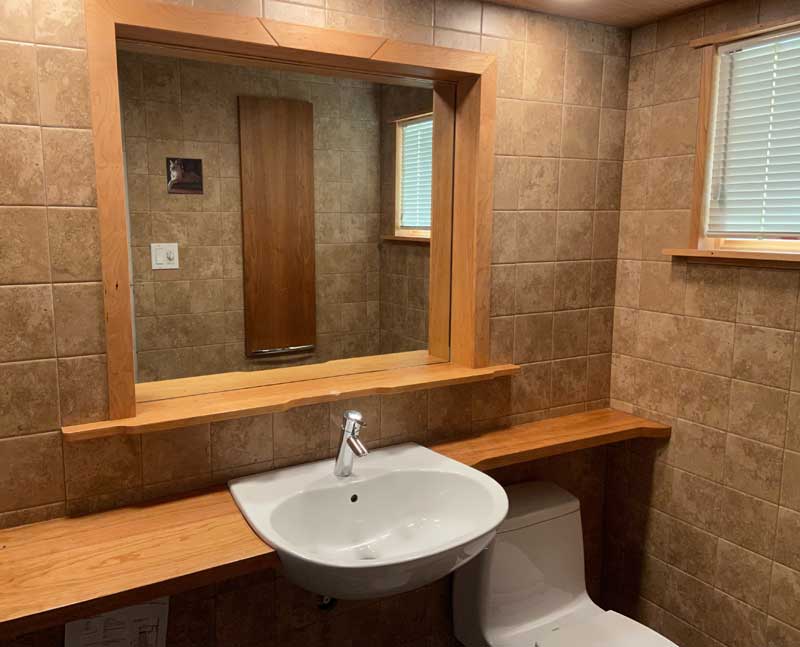
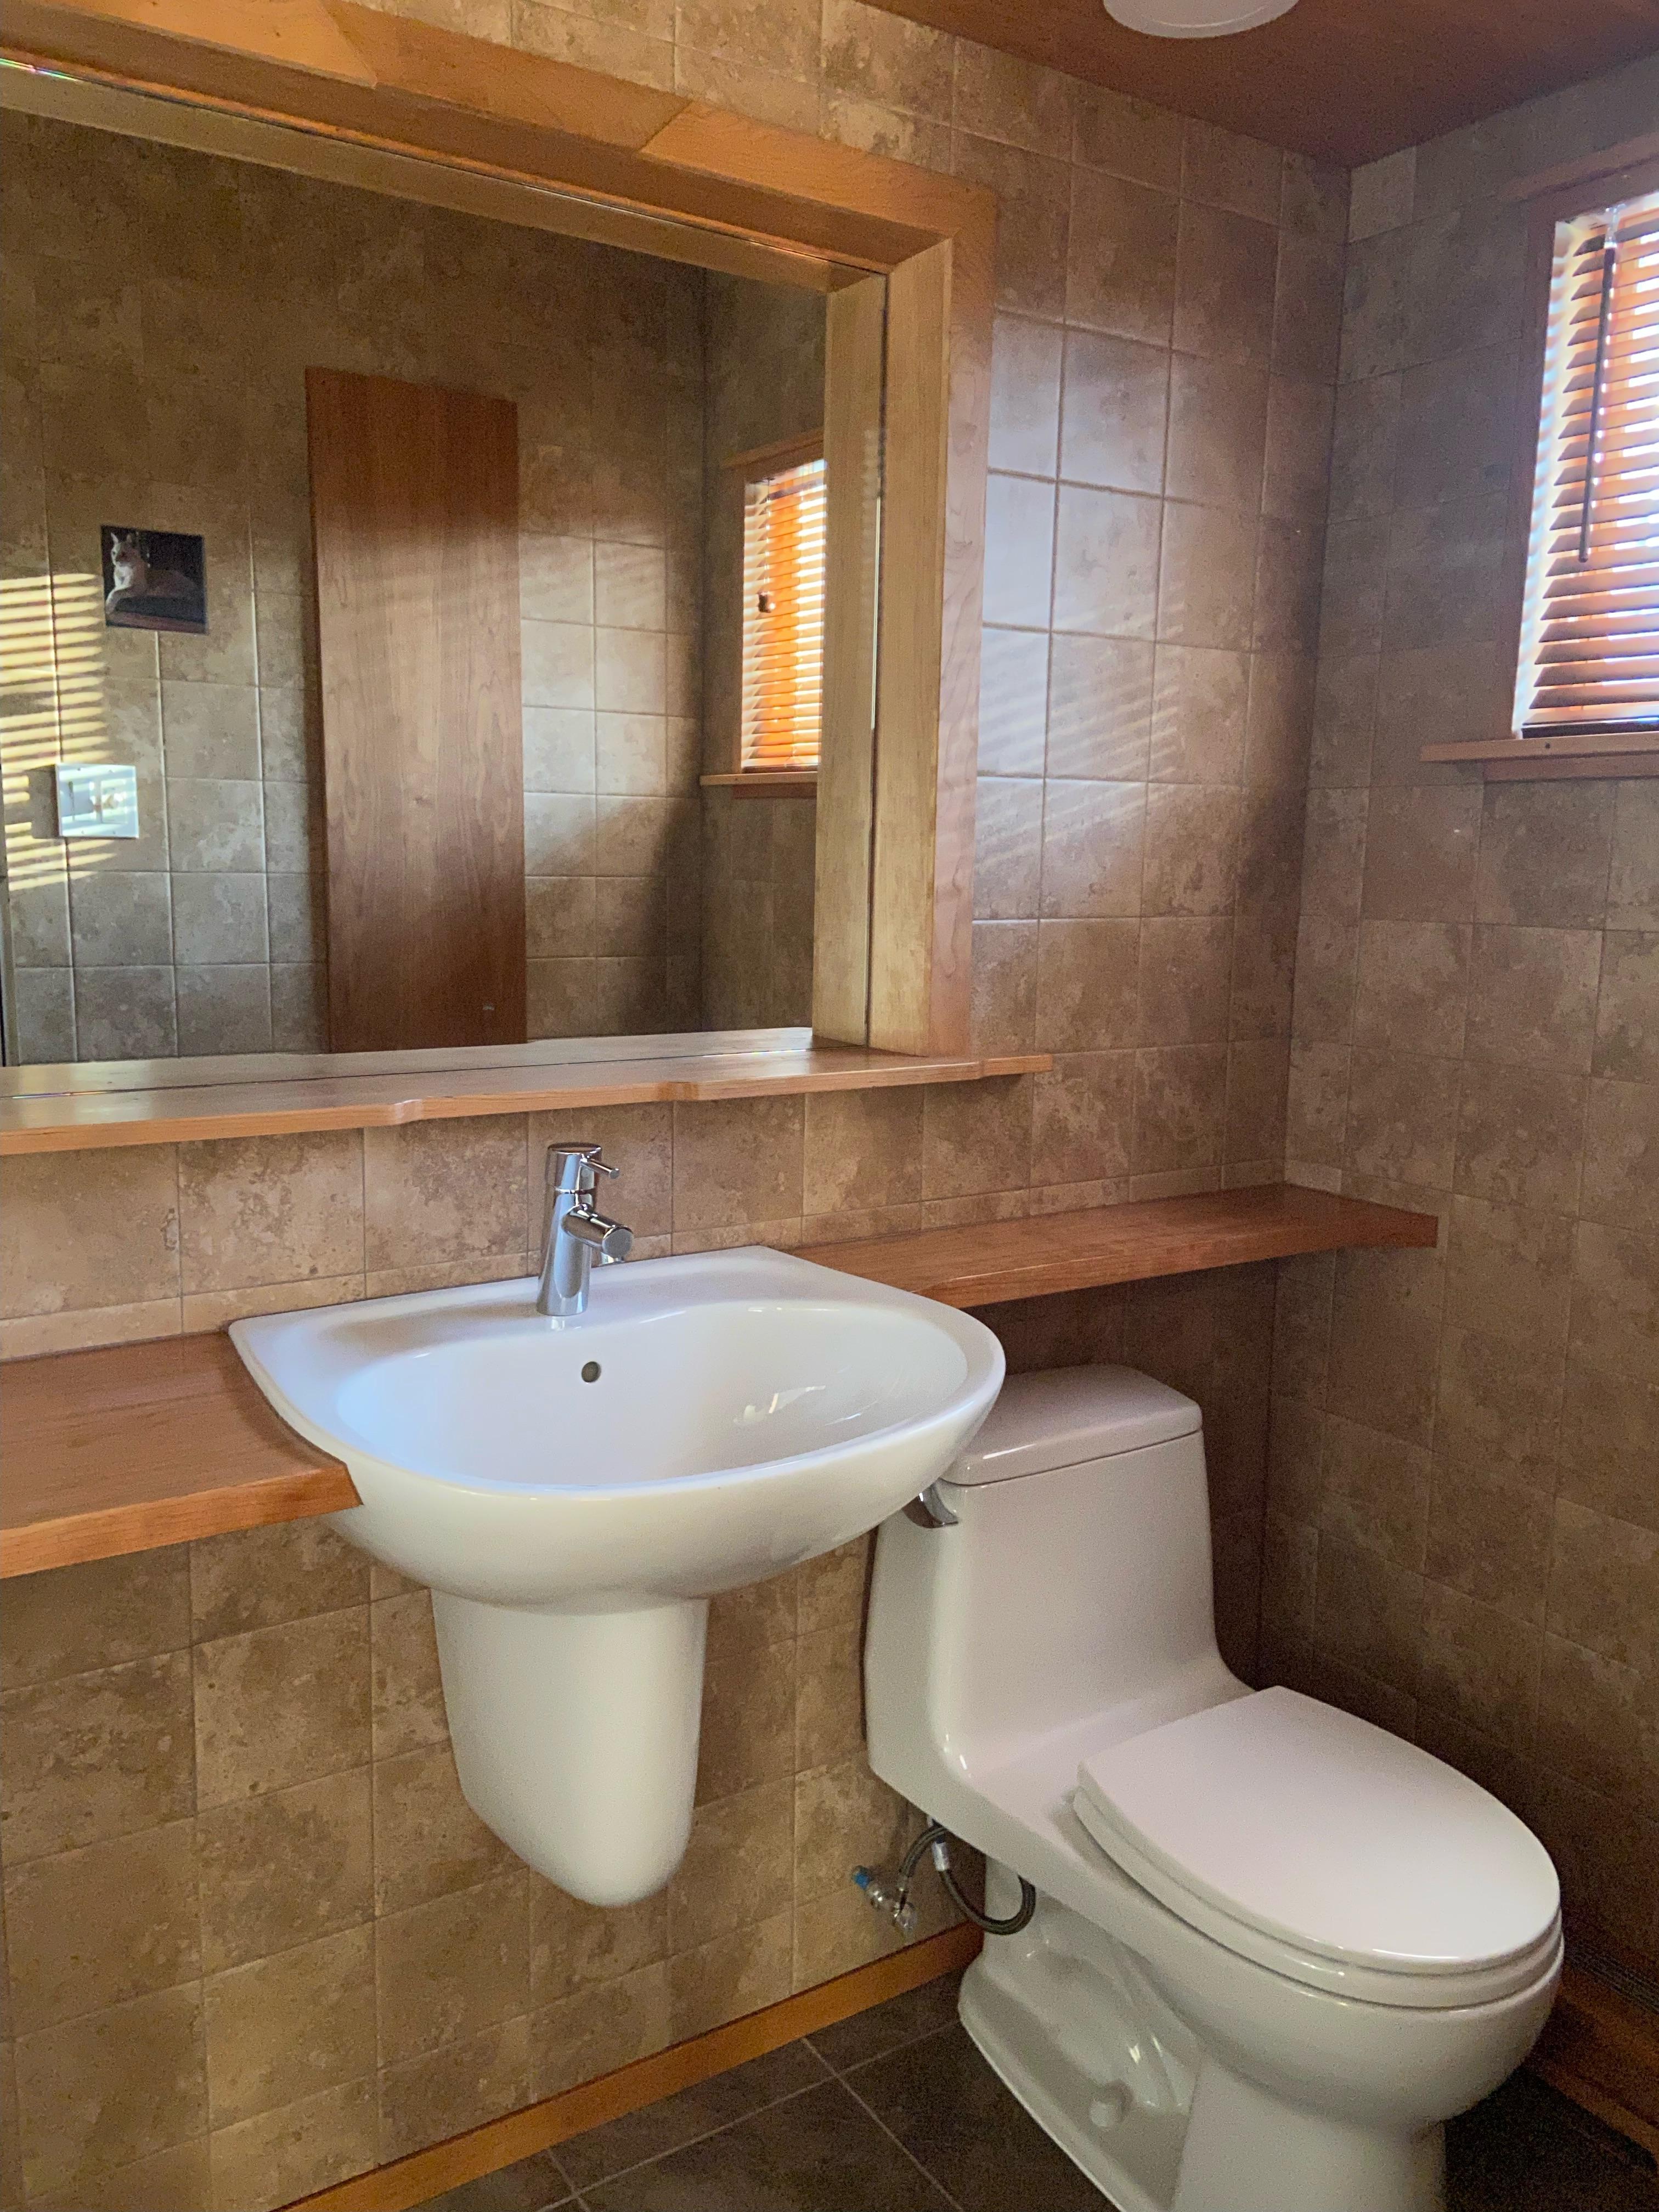
Nobody will ever accuse me of rushing things. I made a 'sketch' of an idea over 10 years ago, and this past October I decided to just do it. My wife had, hours earlier, left to visit the kids in Toronto, so it was time for 'dust with impunity'. I'll let the pictures do the talking, but basically I've done everything, and will shortly be grouting what's been tile so far. This will allow final mounting of the Toto wall sink with shroud and setting of a Toto toilet. Herewith.......
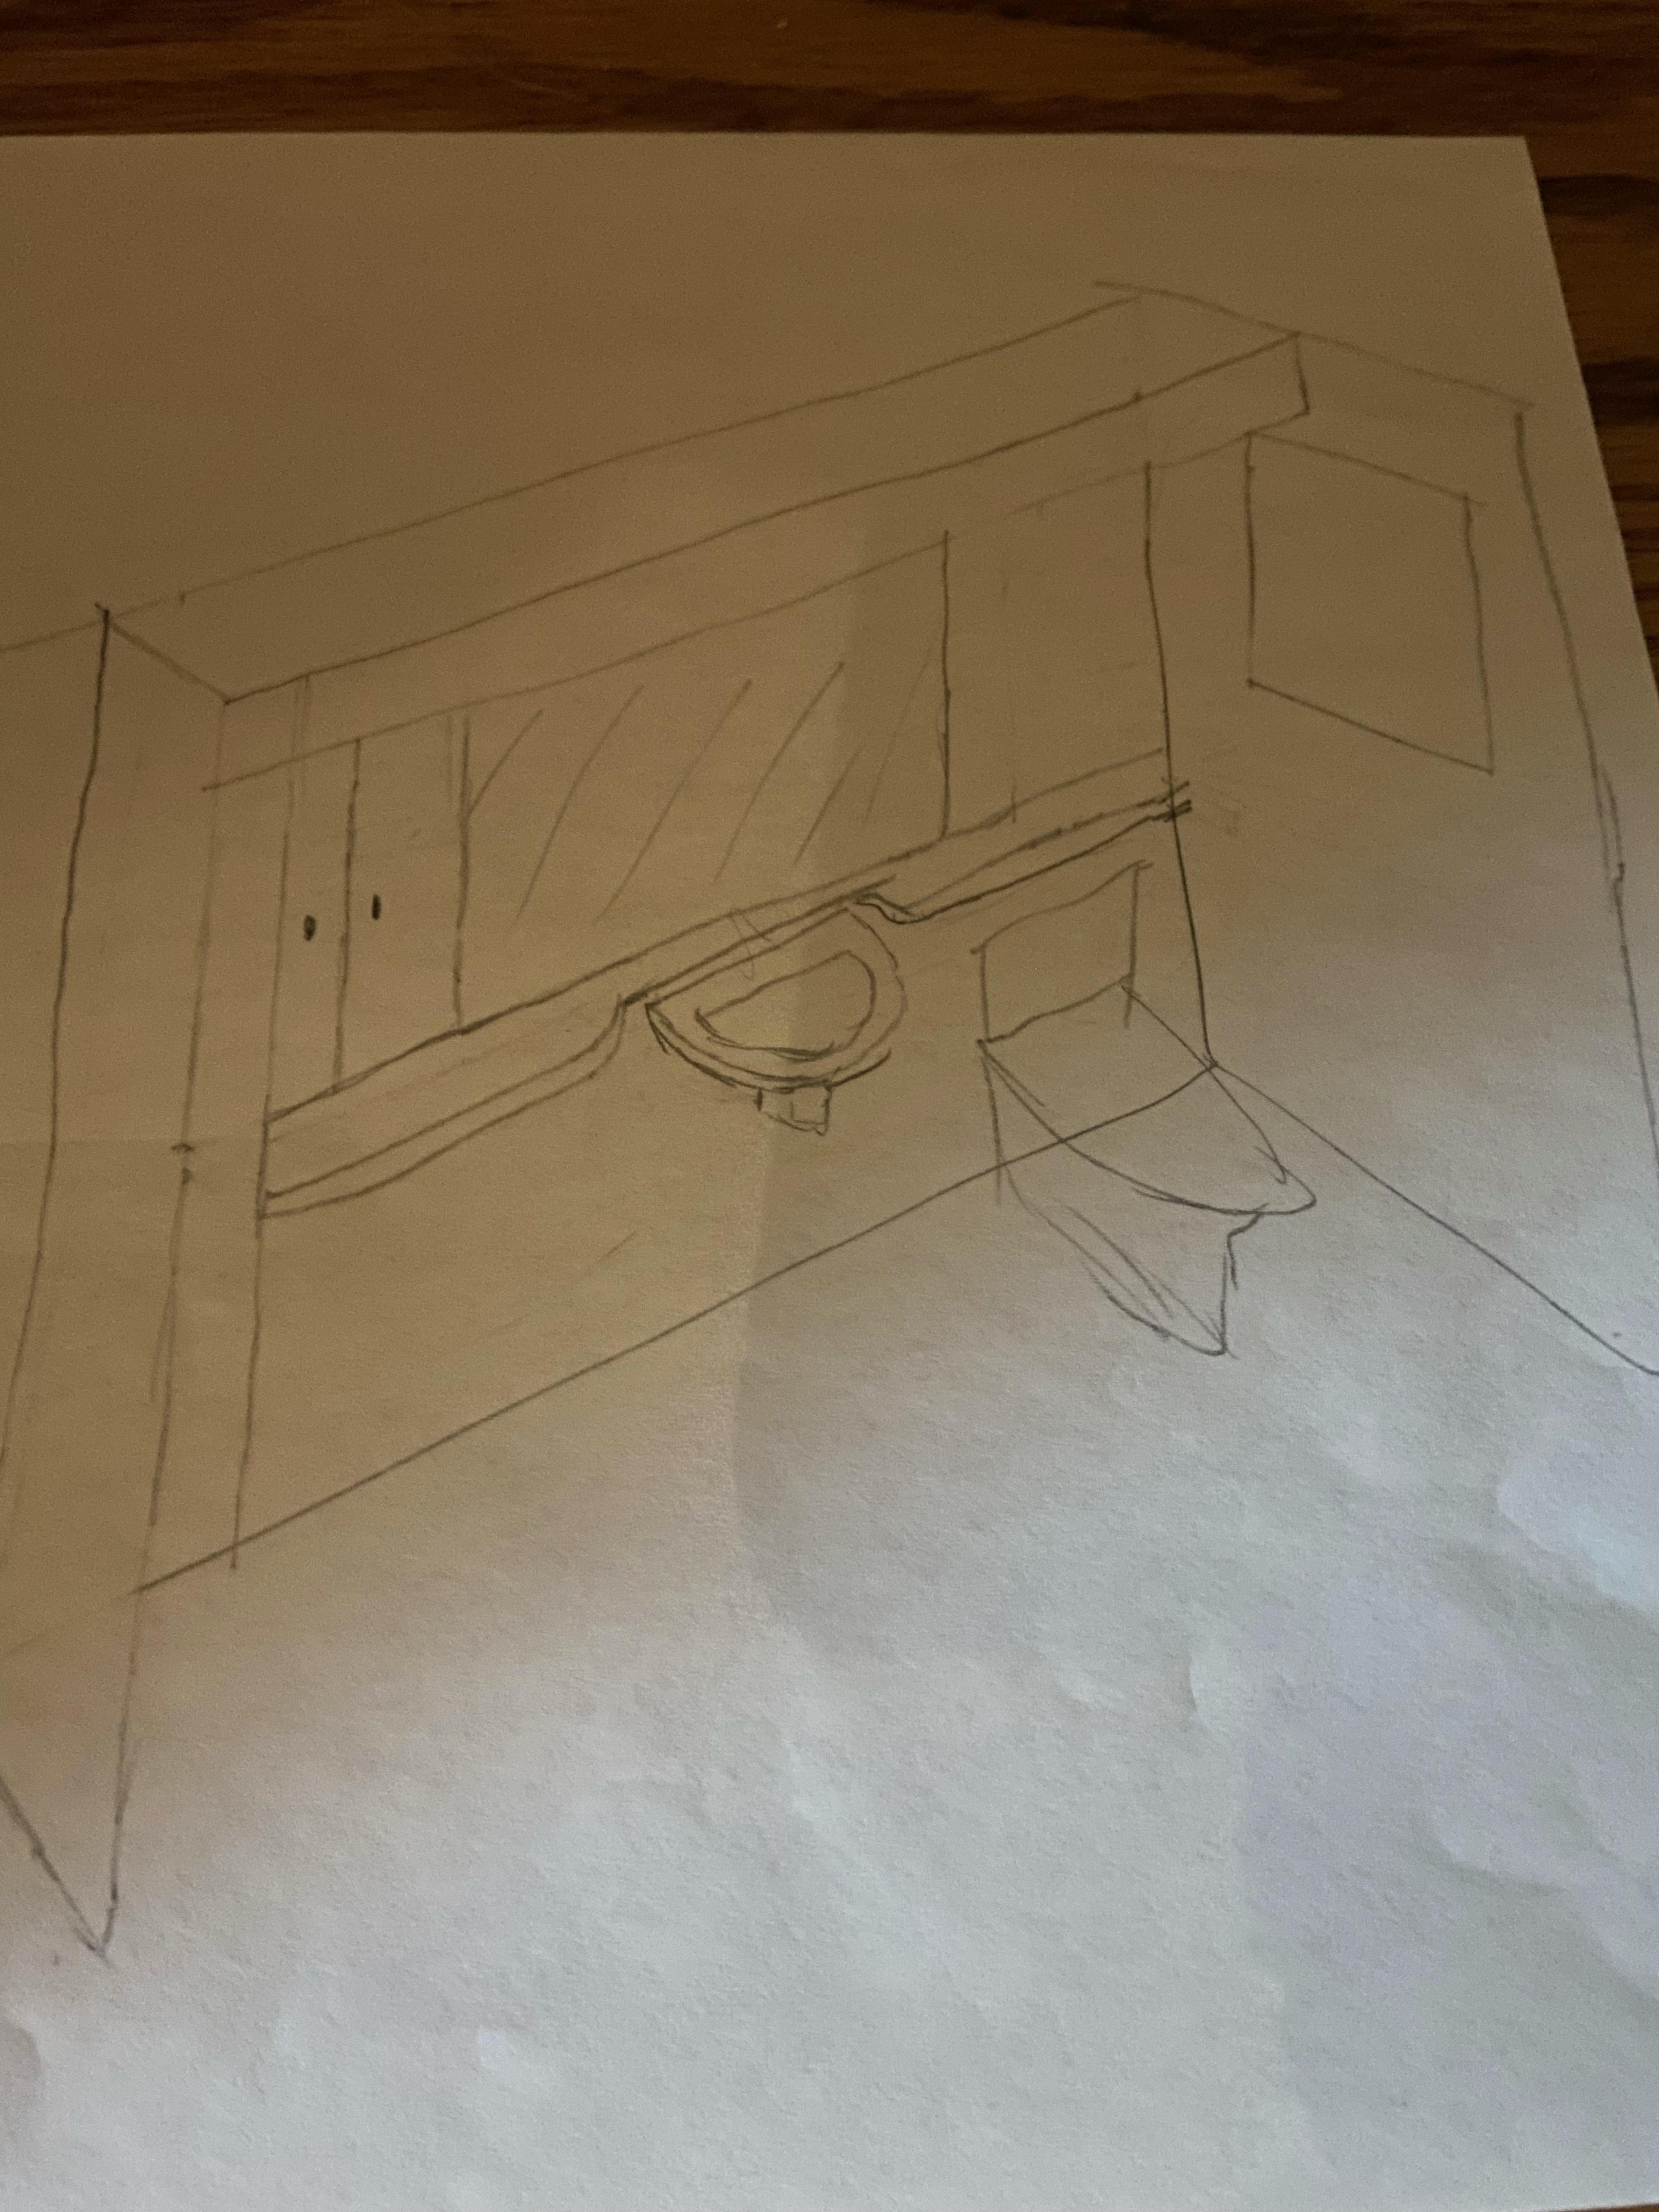
The Sketch:
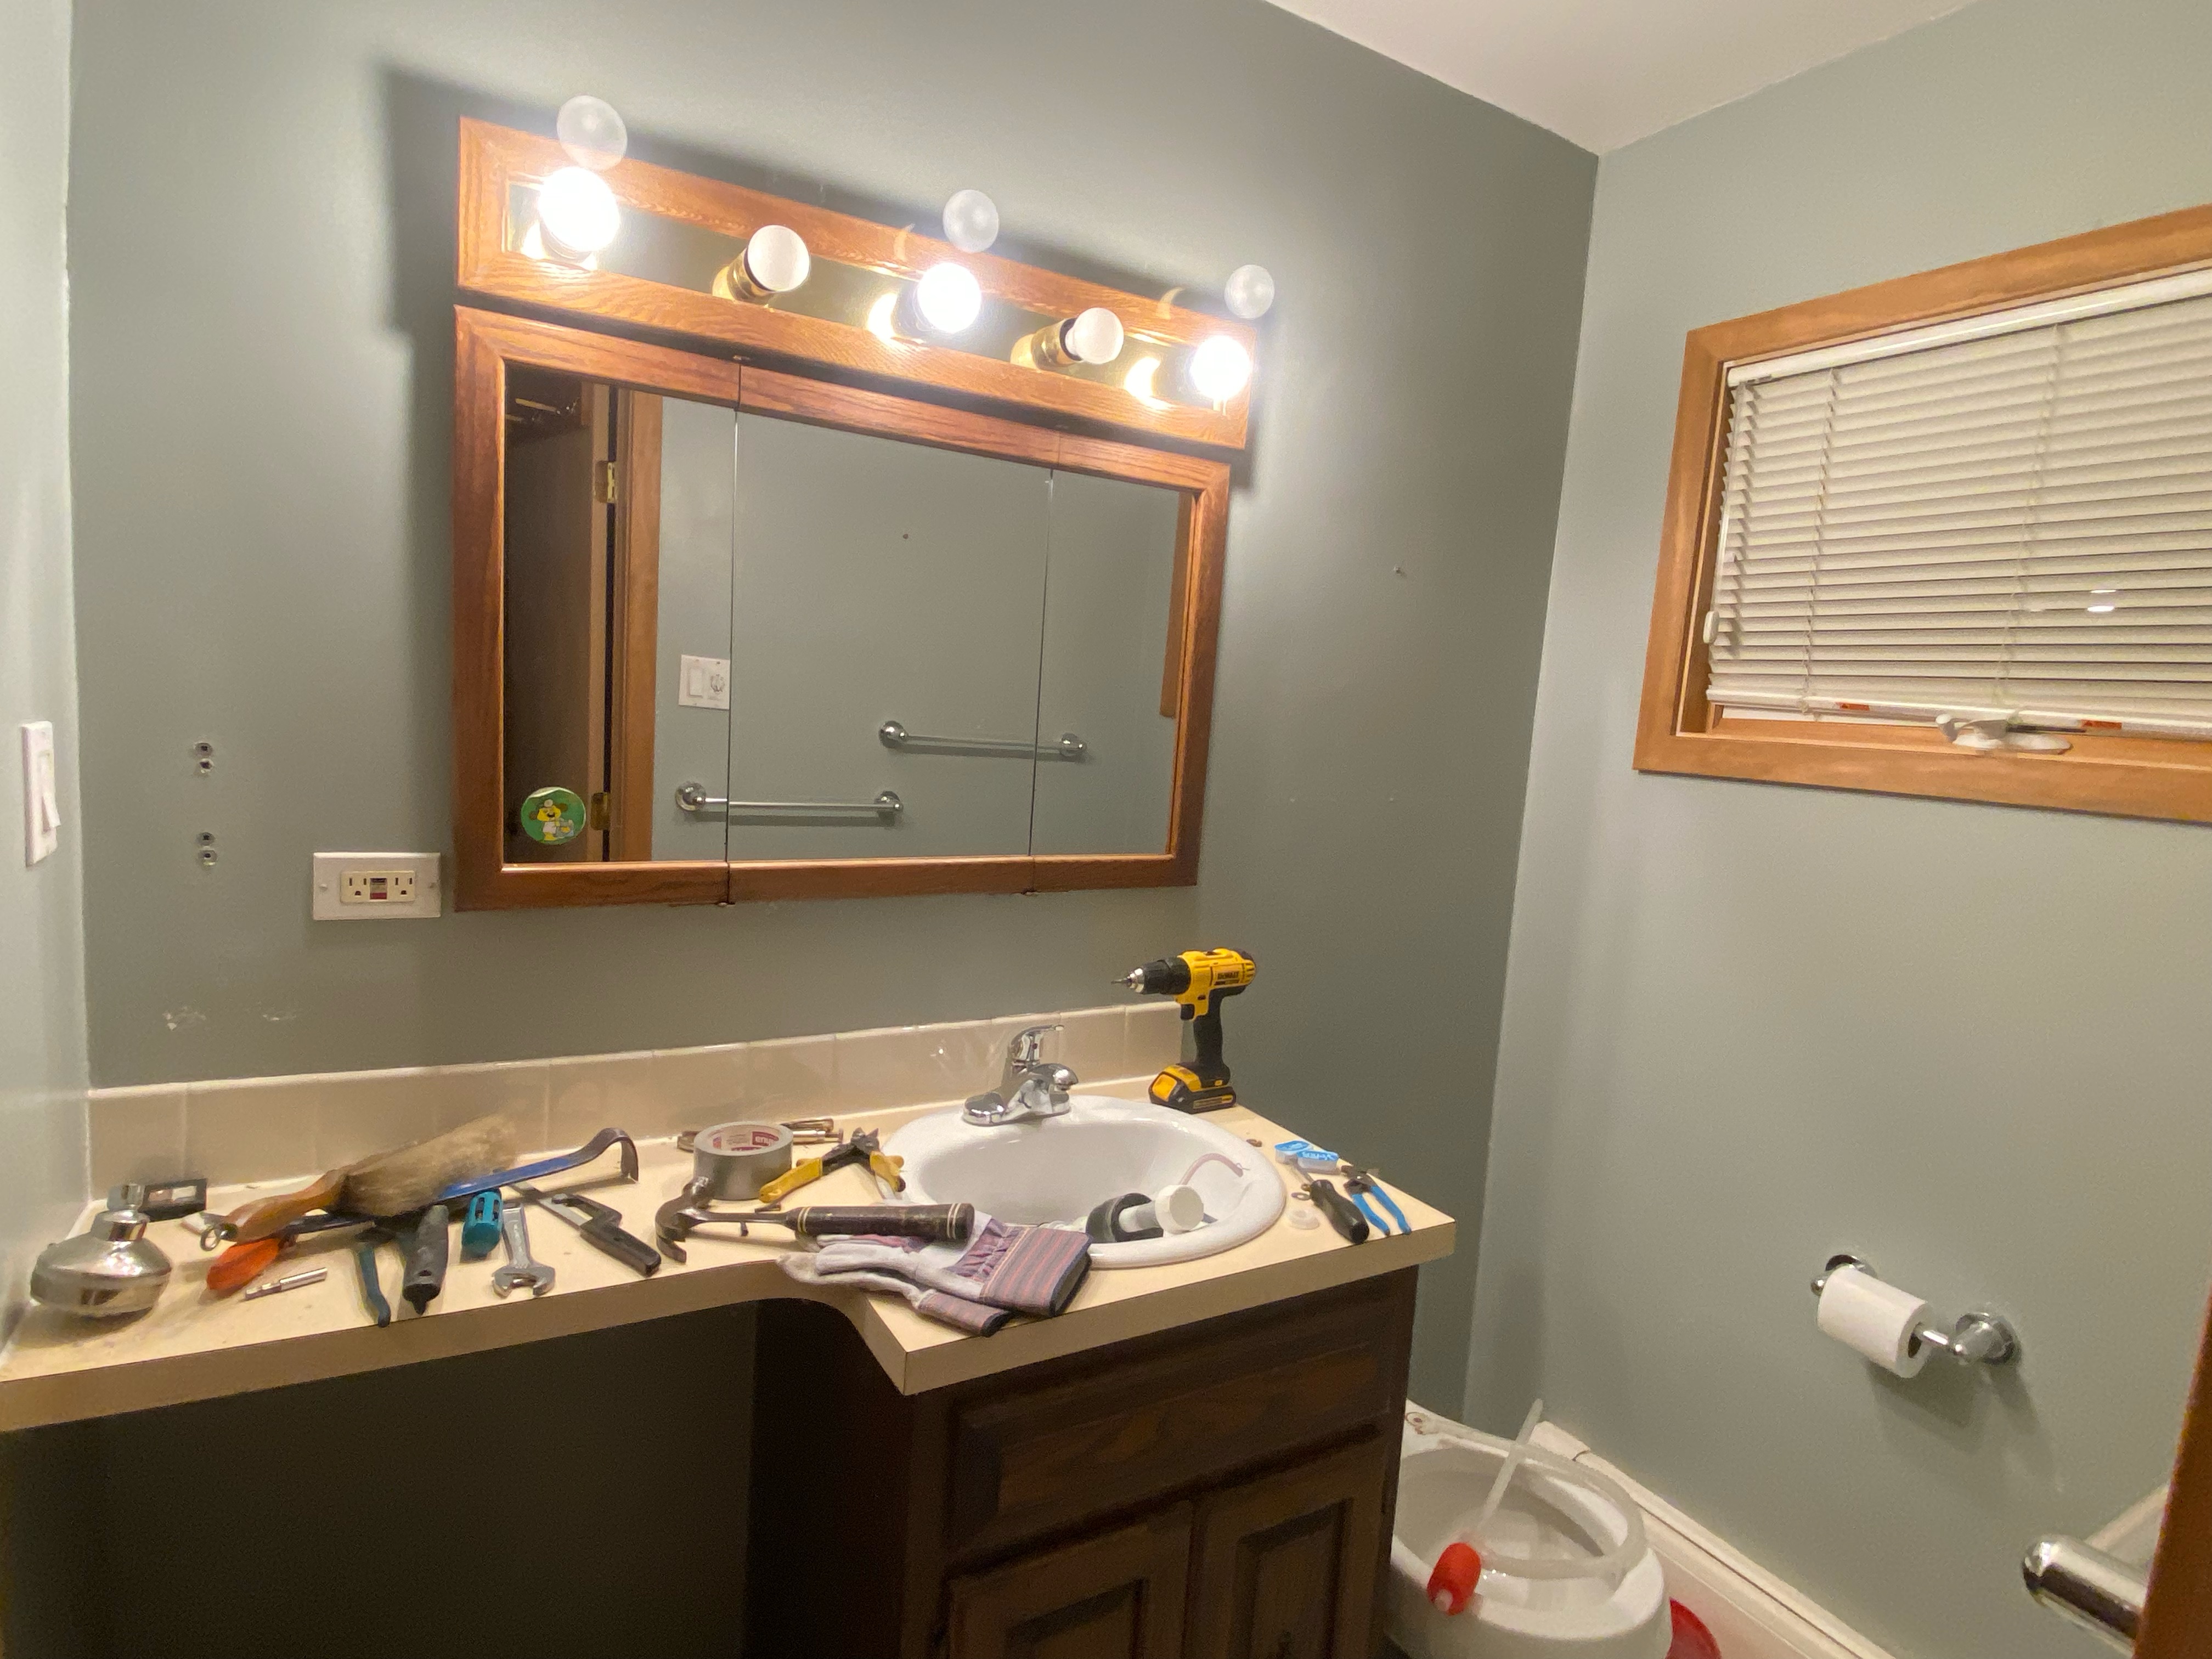
The original bathroom:
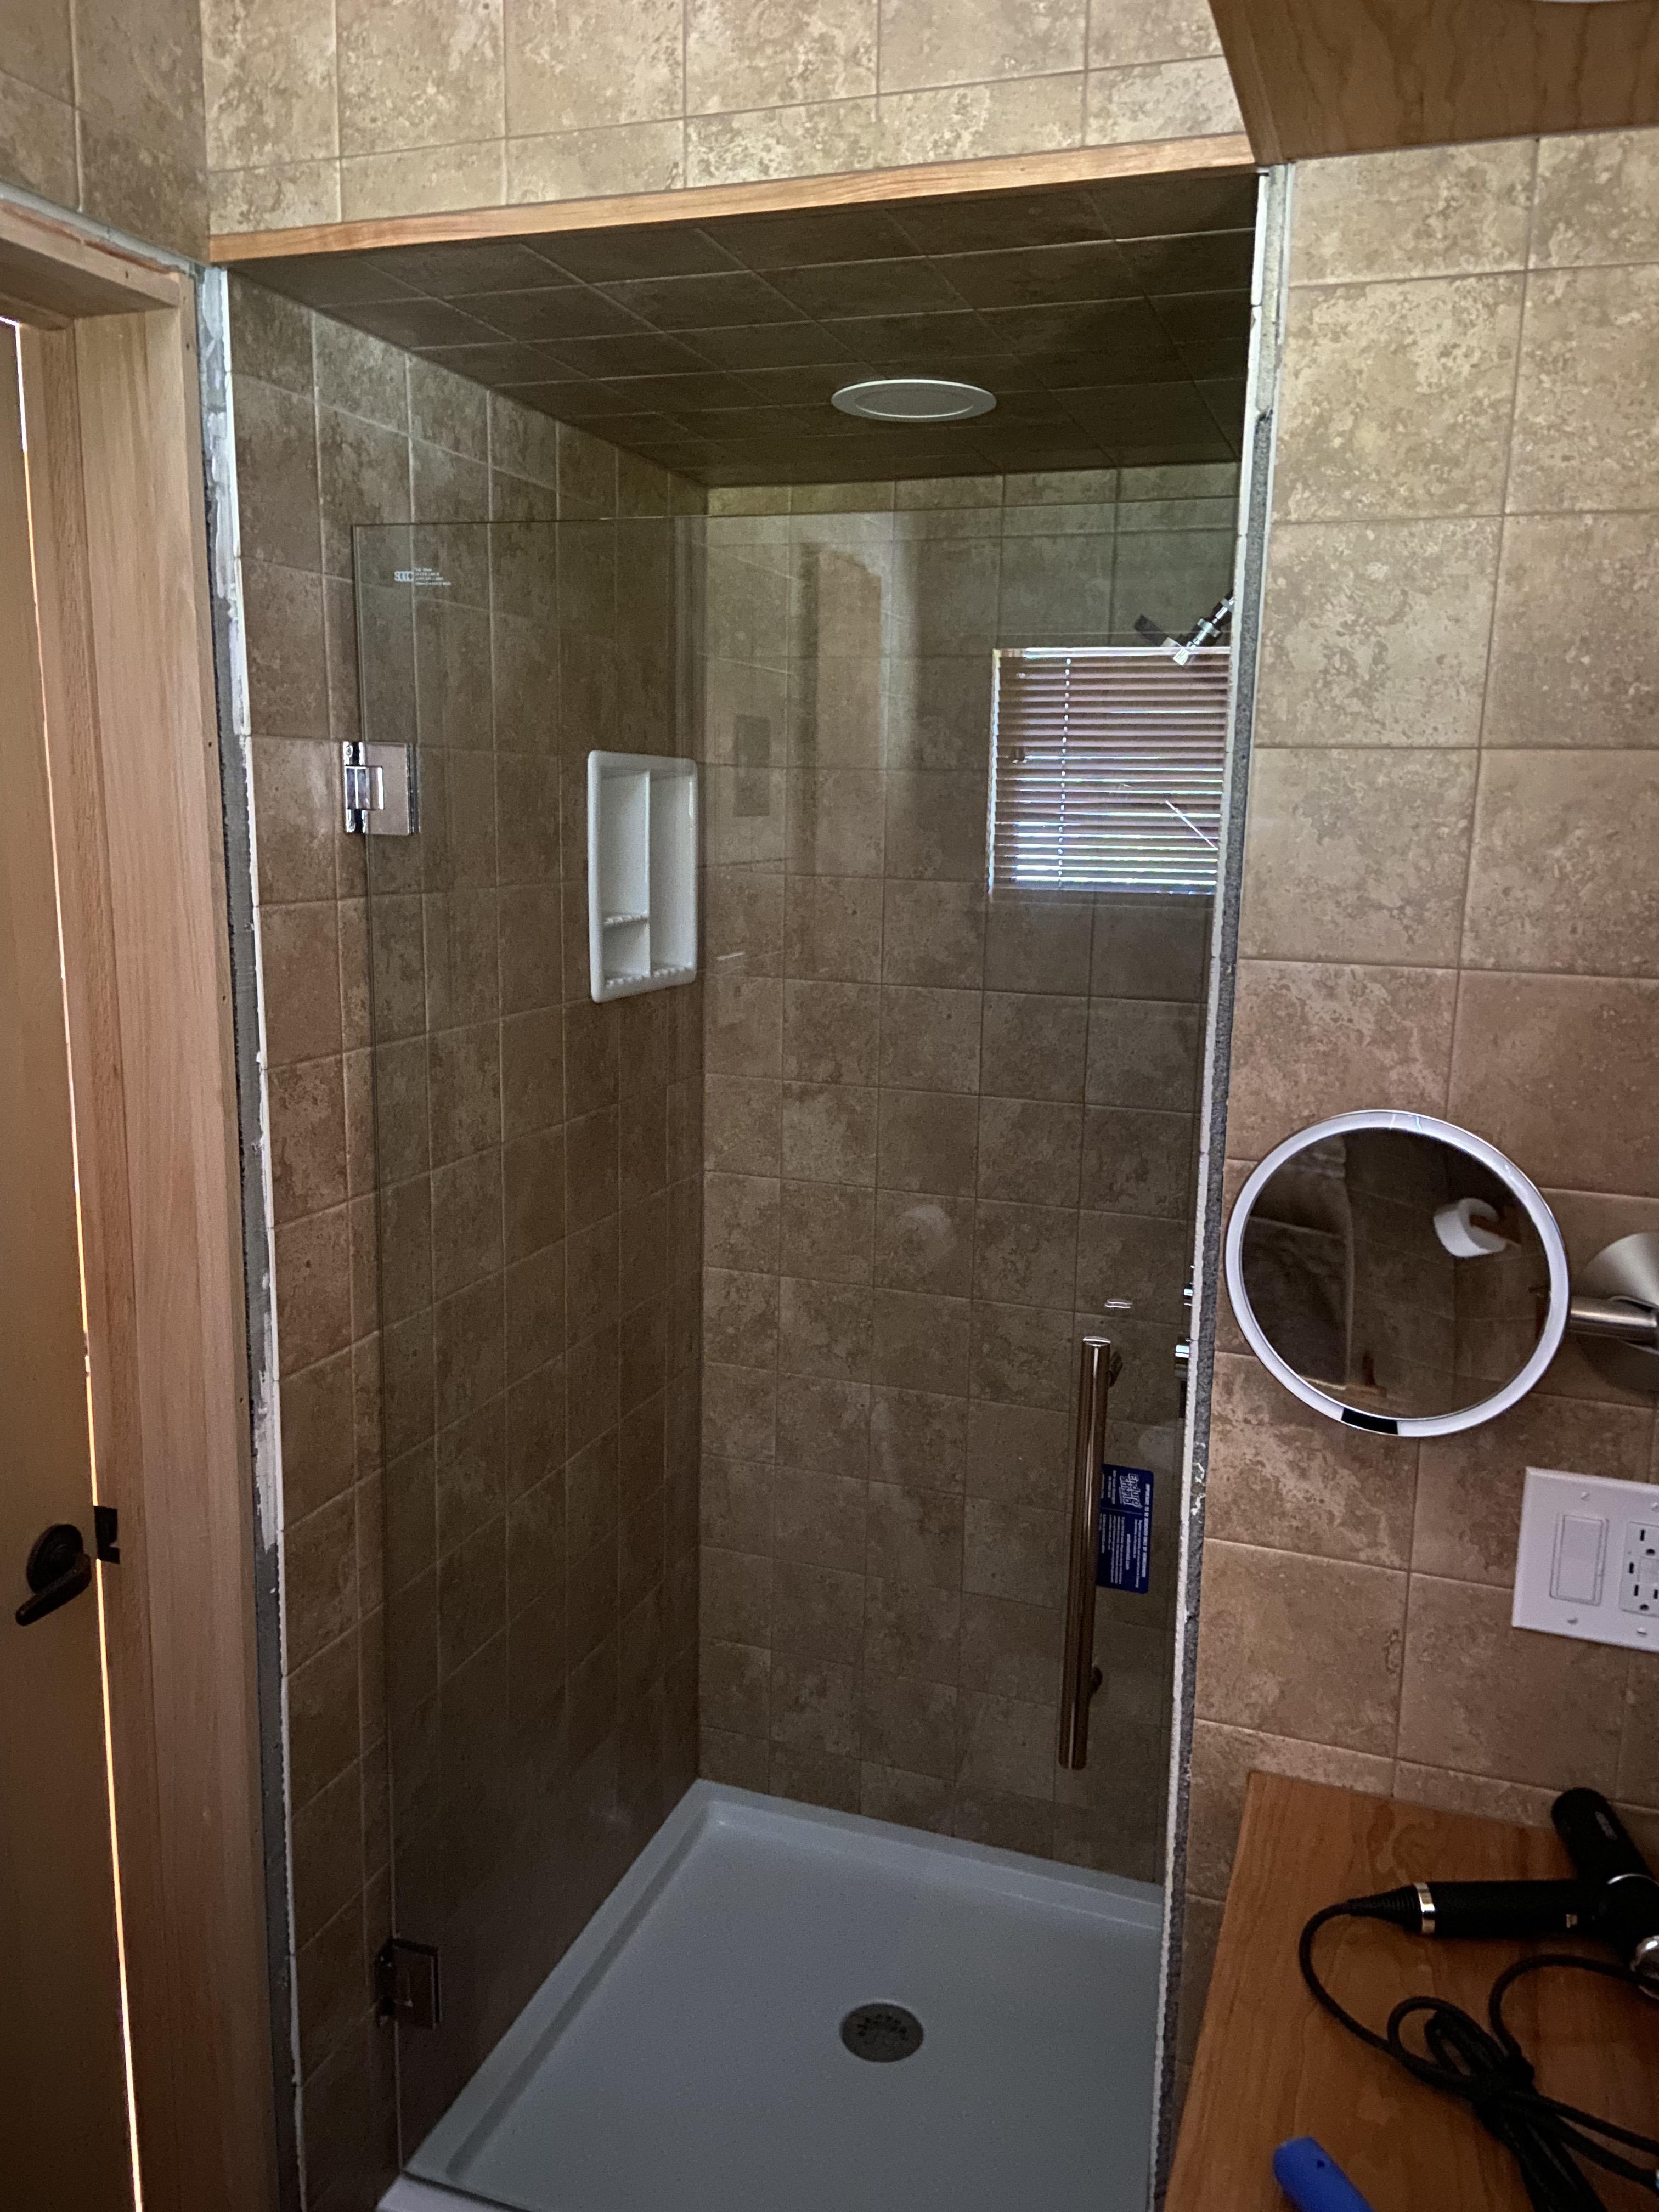
As of yesterday, 1/19/22:
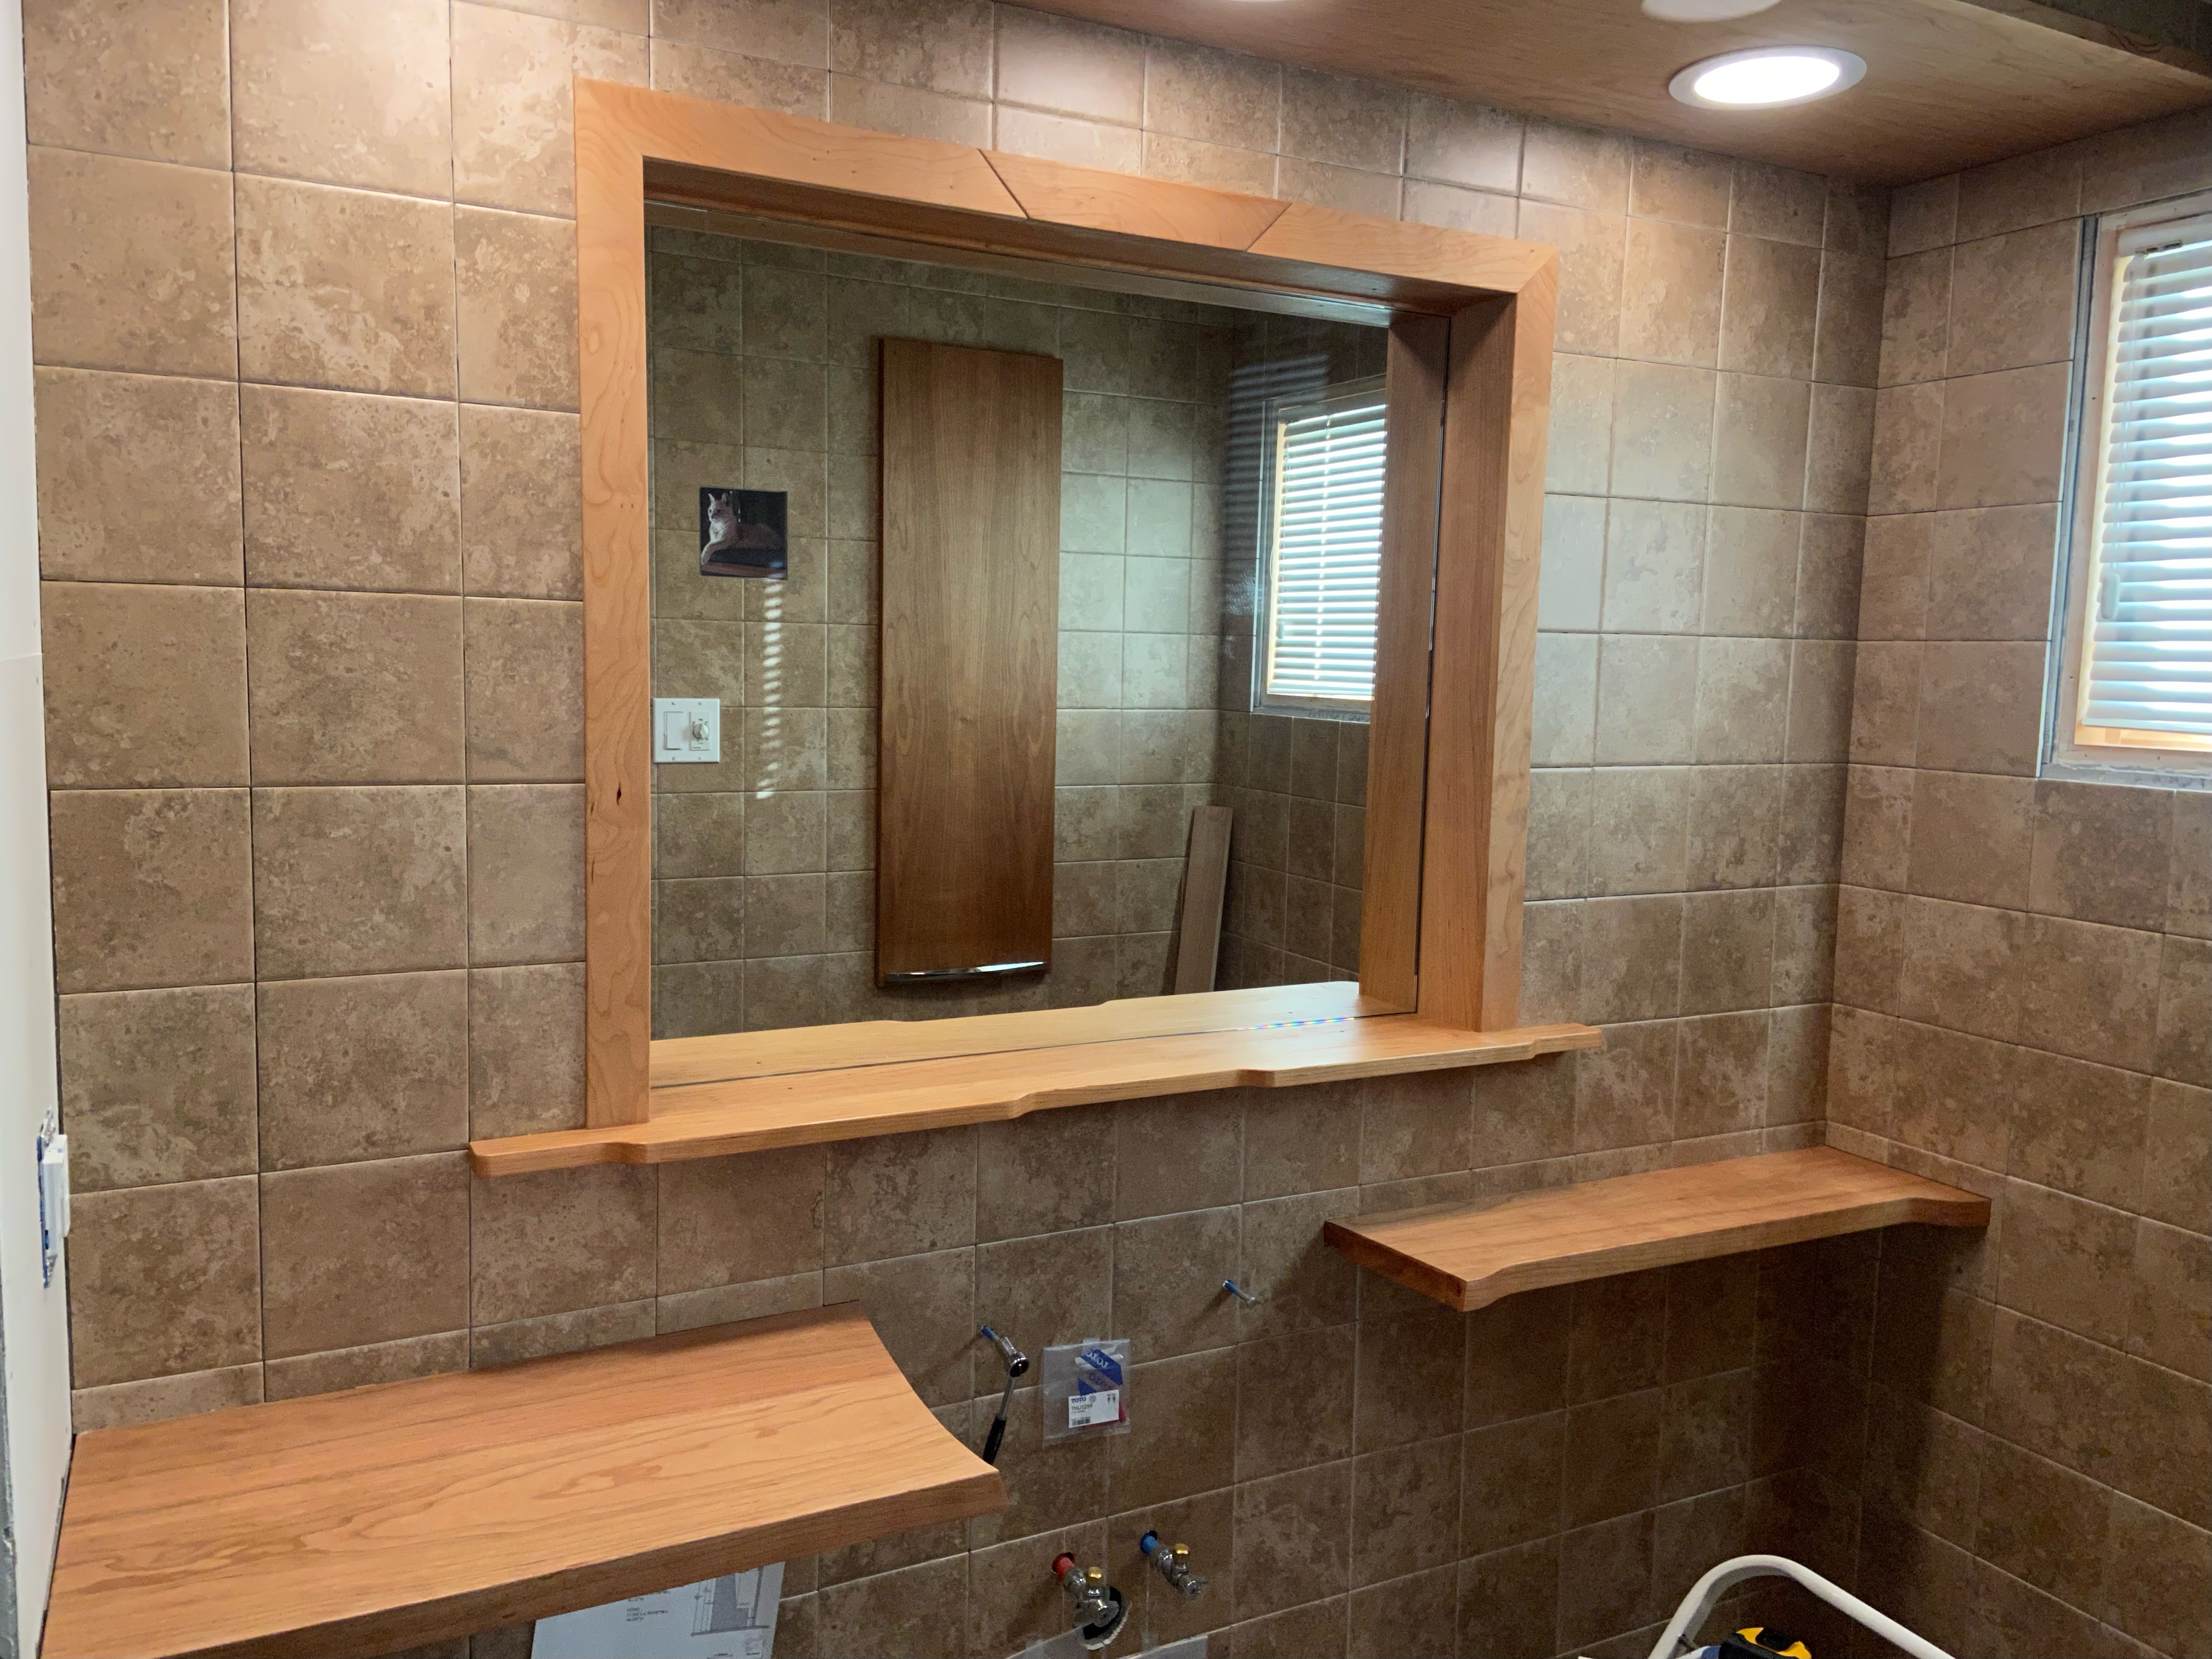
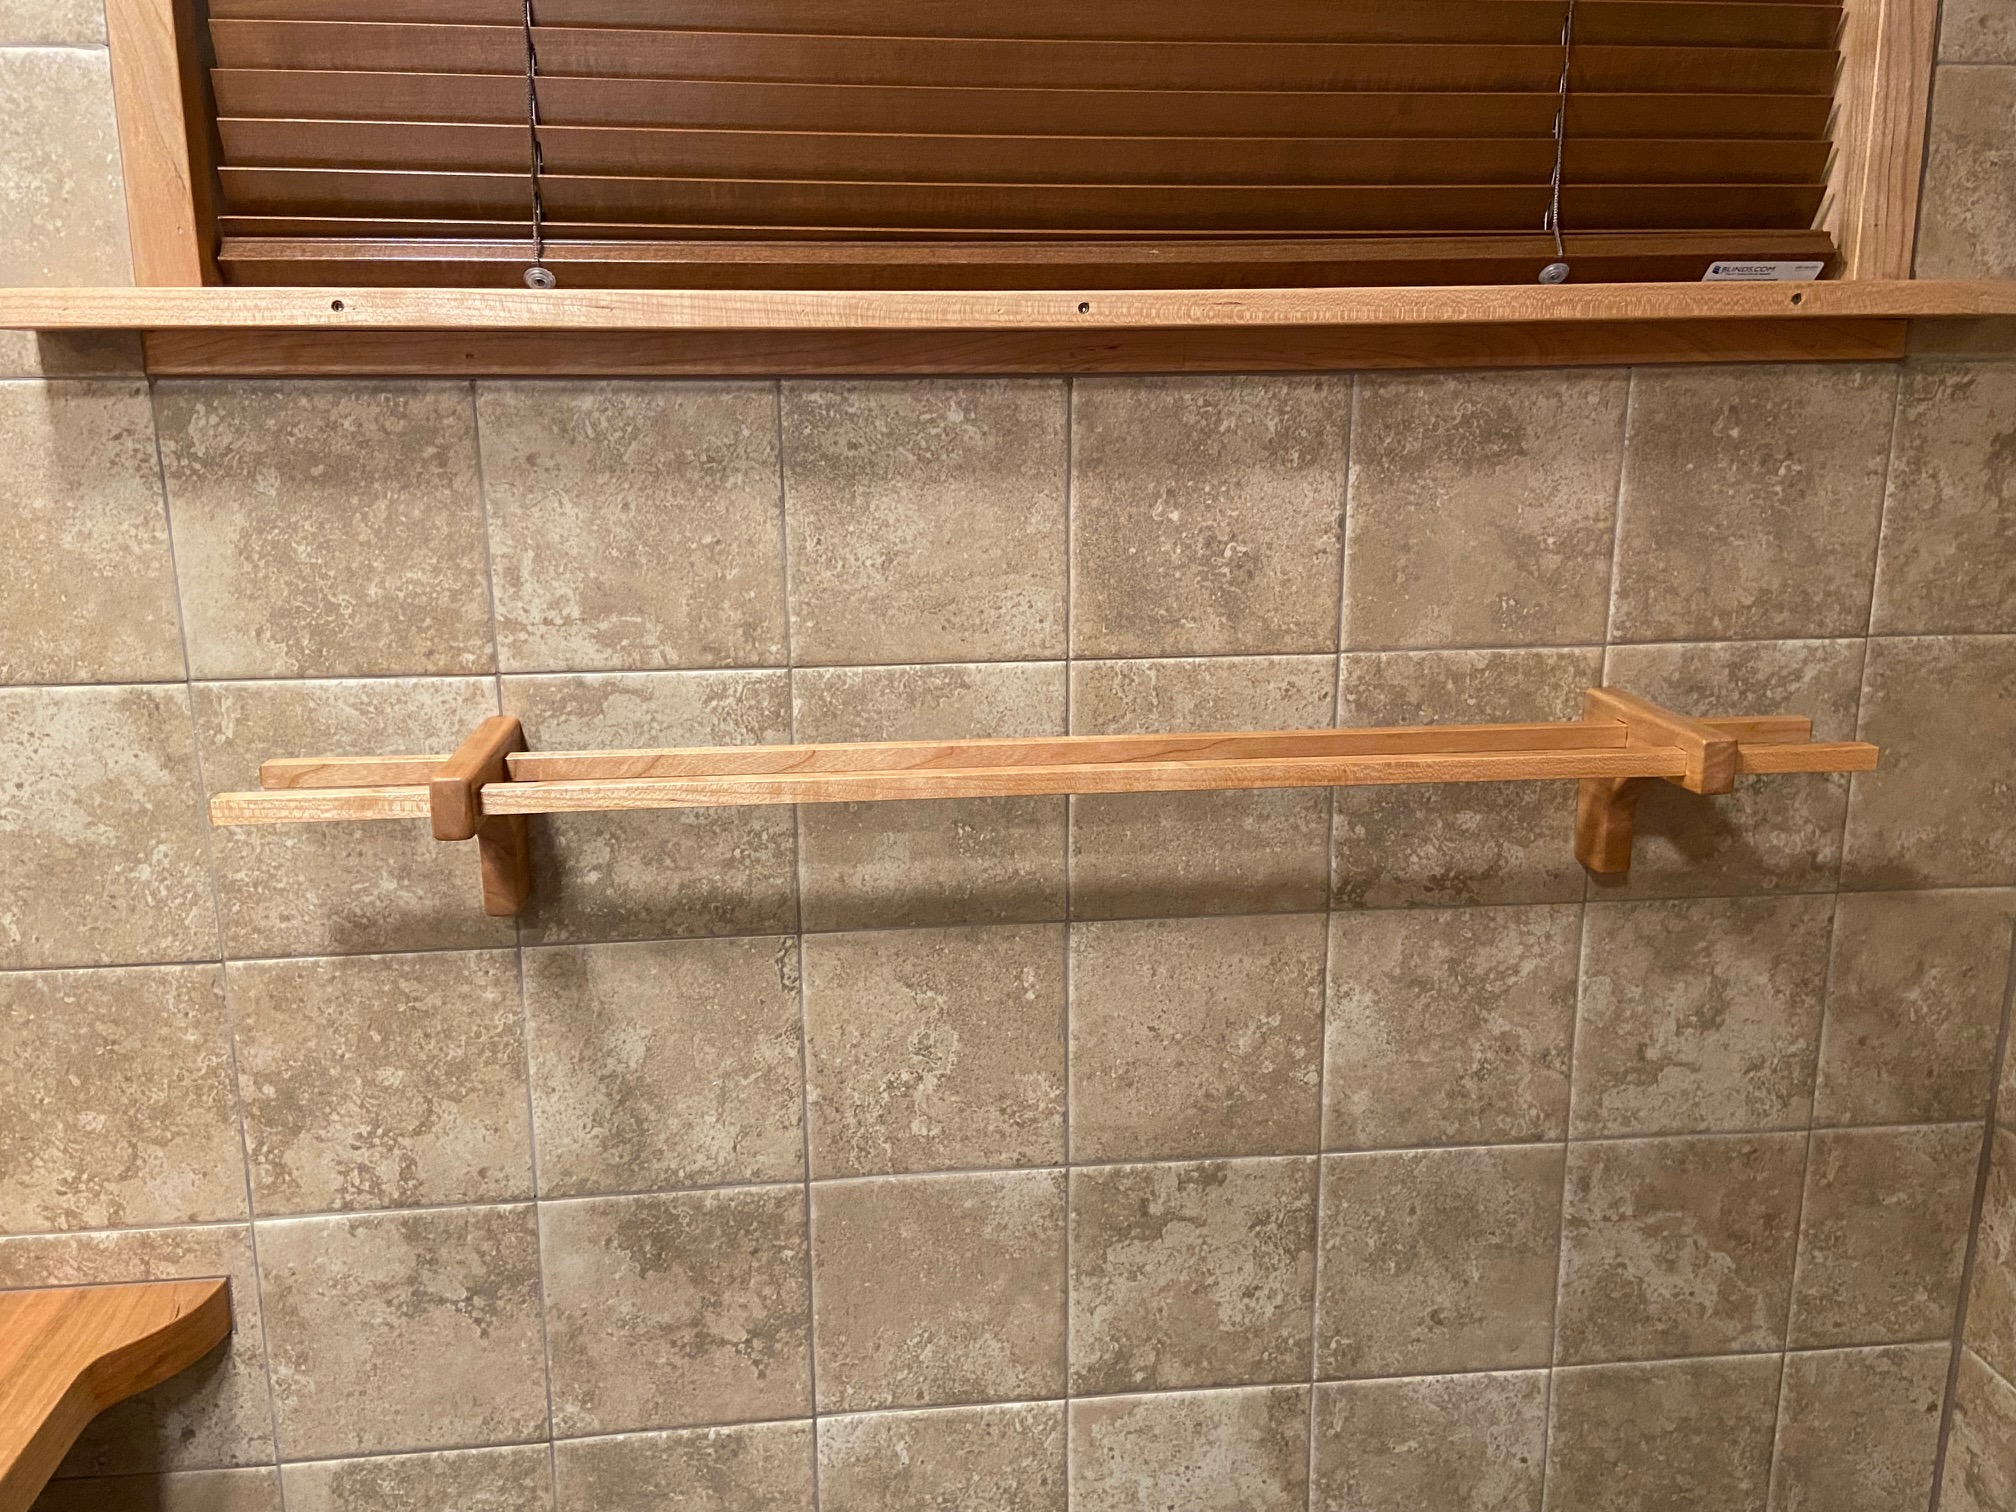
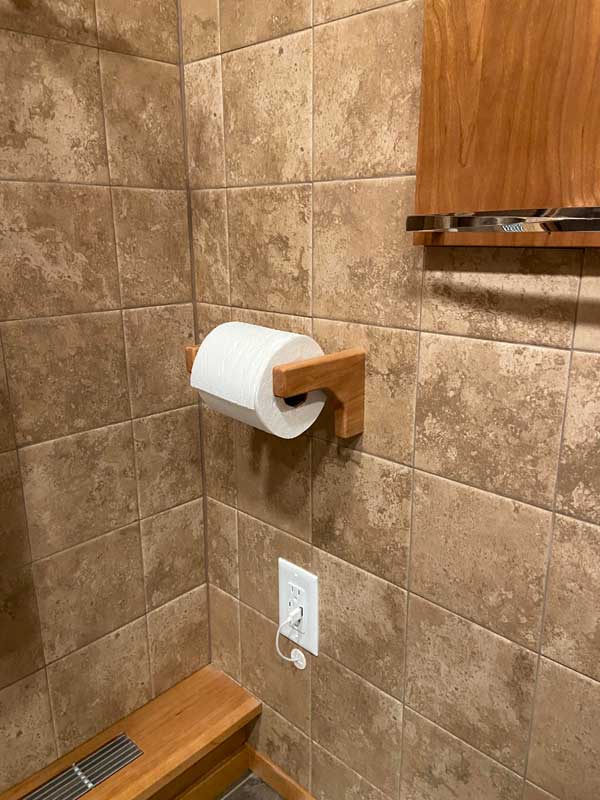
It's a work in progress......
The Sketch:
The original bathroom:
As of yesterday, 1/19/22:
It's a work in progress......

")