Issue with installing a new flange for the toilet. Advice needed on moving forward...

Users who are viewing this thread

Grant Kinsey

New Member
Messages
8
Reaction score
0
Points
1
Location
Arkansas
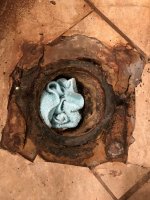
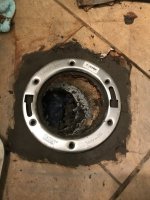
My toilet started leaking a bit ago, and it has progressively gotten worse. Upon removing the toilet one of the closet bolts has broken, so I have to replace the flange. However, the flange isn't set in there like a normal flange, and I'm not sure how to move forward.

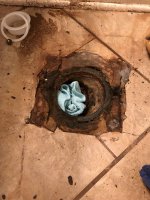
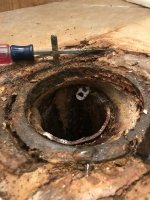
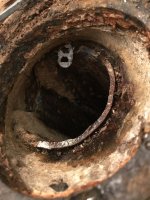
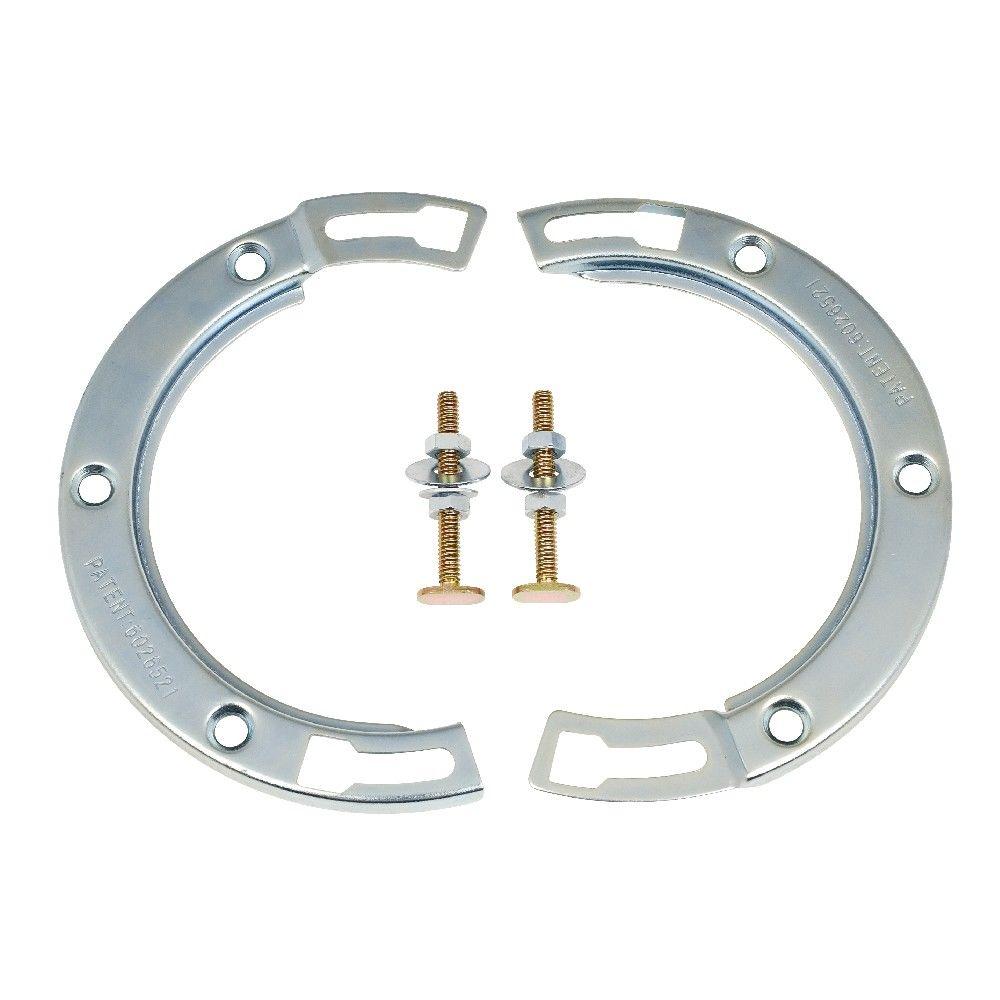
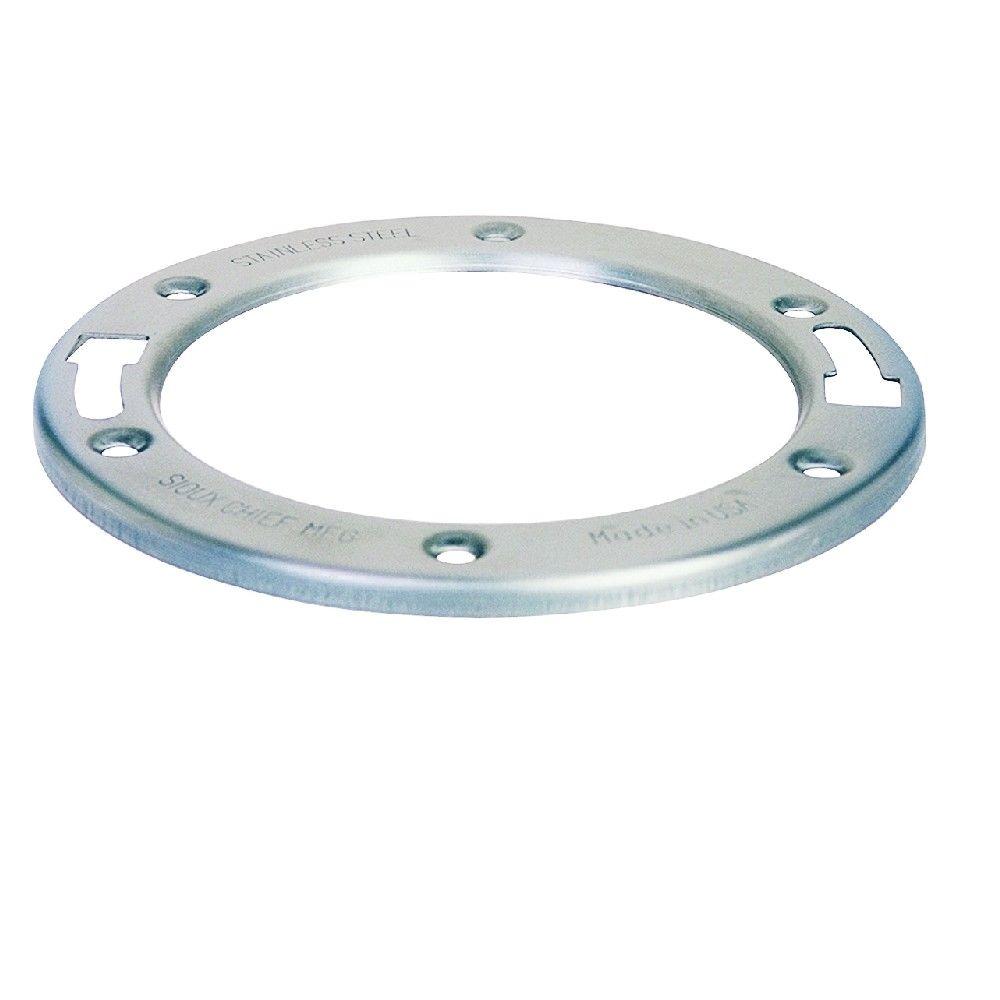
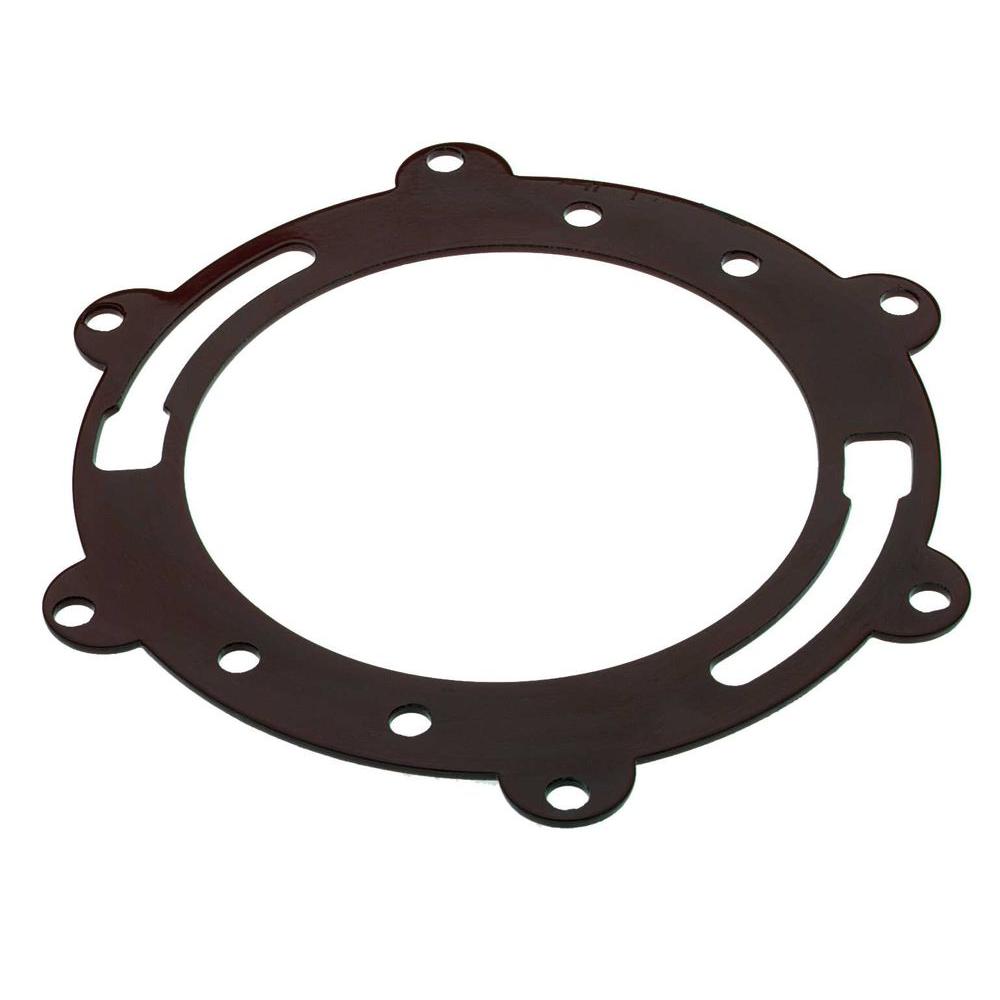
If you notice in the pictures, the drain pipe and the flange are offset a good bit, and I don't think I can get around doing it this way again. The last plumber must have cemented in the flange or something, so I'm guessing I'll have to break out the old flange. After breaking it out what should I do? I'm really at a loss, and I'm not a pro at plumbing by any means. Thanks!
 

Attachments

  • IMG_1091.jpg
    IMG_1091.jpg
    119 KB · Views: 379
  • IMG_1092.jpg
    IMG_1092.jpg
    112 KB · Views: 357
  • IMG_1093.jpg
    IMG_1093.jpg
    109.1 KB · Views: 368

Terry

The Plumbing Wizard
Staff member
Messages
29,942
Reaction score
3,459
Points
113
Location
Bothell, Washington
Website
terrylove.com
They make repair flanges that will hold the closet bolts. I mount those to the flooring above the flange.
I don't really see well enough to know what flange you have there, or the material for a complete replacement.
 

Grant Kinsey

New Member
Messages
8
Reaction score
0
Points
1
Location
Arkansas
They make repair flanges that will hold the closet bolts. I mount those to the flooring above the flange.
I don't really see well enough to know what flange you have there, or the material for a complete replacement.

I'm not sure what exactly it is either. It seems like the last plumber couldn't put in an offset flange or something, so they put in a big ring and cemented around it. Do you think it would be best just to rip that one out and put in a normal flange? Unfortunately because the drain pipe and hole are offset, I can't put in a standard closet flange, but would it be feasible to just put a standard one in and cut out the portion that connects to the drain pipe? I know in a perfect world you wouldn't do this, but there wasn't a connection the drain pipe before besides the concrete tunnel that is kinda created.
 

Grant Kinsey

New Member
Messages
8
Reaction score
0
Points
1
Location
Arkansas
No the water doesn’t drain around the pipe. I guess I could fill in the cracks around it with cement?
 

Attachments

  • FC9FC075-5C7B-41F1-B03B-0EBBCD40CCC3.jpeg
    FC9FC075-5C7B-41F1-B03B-0EBBCD40CCC3.jpeg
    103.7 KB · Views: 343
  • 41DDF5D2-41E9-4955-864C-B0D96479E410.jpeg
    41DDF5D2-41E9-4955-864C-B0D96479E410.jpeg
    103.7 KB · Views: 339
  • B610046B-CA30-4175-BF4D-1CD0D1E90CDC.jpeg
    B610046B-CA30-4175-BF4D-1CD0D1E90CDC.jpeg
    103.1 KB · Views: 354

Reach4

Well-Known Member
Messages
38,884
Reaction score
4,434
Points
113
Location
IL
I was just worried about that area seeping into the dirt or crawl space.

I don't know what that white tab is, but I think it should be clipped off.

Terry mentioned a repair ring.
sioux-chief-flanges-886-mrm-64_145.jpg
Sioux Chief 886-MRM
sioux-chief-repair-clamps-886-mr-64_145.jpg
Sioux Chief 886-MR

Sioux Chief 886-MRM Sioux Chief 886-MR have their mounting screws within the ring circle.

PASCO 21013 and Superior 21015 are repair rings with mounting tabs outside of the circle
superior-tool-repair-clamps-21015-64_145.jpg
 

Grant Kinsey

New Member
Messages
8
Reaction score
0
Points
1
Location
Arkansas
I was just worried about that area seeping into the dirt or crawl space.

I don't know what that white tab is, but I think it should be clipped off.

Terry mentioned a repair ring.
sioux-chief-flanges-886-mrm-64_145.jpg
Sioux Chief 886-MRM
sioux-chief-repair-clamps-886-mr-64_145.jpg
Sioux Chief 886-MR

Sioux Chief 886-MRM Sioux Chief 886-MR have their mounting screws within the ring circle.

PASCO 21013 and Superior 21015 are repair rings with mounting tabs outside of the circle
superior-tool-repair-clamps-21015-64_145.jpg


Haha! The white tab is actually a coke can tab that seems to have accumulated some calcium buildup or something. I think I'm going to try a stainless steel repair ring. I'll probably even out the cement or something and mount that over the existing ring. It isn't the best, but now isn't the greatest time to knockup all the concrete and tile.
 

Grant Kinsey

New Member
Messages
8
Reaction score
0
Points
1
Location
Arkansas
So this is where I’m at right now, I cemented the cracks and such so that it’s flush. I’m going to drill and install this repair flange, and if there’s wobble or anything I’ll just put some shimmies under it and seal it in. What do you guys think?
 

Attachments

  • 097A7FE3-A5A2-45E4-B67B-0B5CBCDE2C09.jpeg
    097A7FE3-A5A2-45E4-B67B-0B5CBCDE2C09.jpeg
    91.7 KB · Views: 358

Reach4

Well-Known Member
Messages
38,884
Reaction score
4,434
Points
113
Location
IL
Looks good. Get the orientation right before drilling so the closet bolts are in the narrow part of the slots. I would think about 5/16 inch from the end of the slot would be good. That gives you a little wiggle room. Maybe midway in the narrow part of the slots would be better, giving more wiggle room. I don't remember seeing this discussed.

Get shims in place before dropping the toilet on the wax.
 
Last edited:

Grant Kinsey

New Member
Messages
8
Reaction score
0
Points
1
Location
Arkansas
Looks good. Get the orientation right before drilling so the closet bolts are in the narrow part of the slots. I would think about 5/16 inch from the end of the slot would be good. That gives you a little wiggle room. Maybe midway in the narrow part of the slots would be better, giving more wiggle room. I don't remember seeing this discussed.

Get shims in place before dropping the toilet on the wax.


With the shims, should I use composite shims or can I just grab some wood bits for it? I've never really used shims, but is the idea that I get them level so that the toilet just drops on level?

Also, I went to try and drill through the concrete, but I'm getting stuck a bit of the way through. I'm using an impact drill, so should I look into getting a new drill bit?
 

Grant Kinsey

New Member
Messages
8
Reaction score
0
Points
1
Location
Arkansas
I bought some 1/4" Tapcon anchors and a 1/4" Tapcon drill bit to go with it. I might just not be using enough force to get through the subfloor.
 
Top
Hey, wait a minute.

This is awkward, but...

It looks like you're using an ad blocker. We get it, but (1) terrylove.com can't live without ads, and (2) ad blockers can cause issues with videos and comments. If you'd like to support the site, please allow ads.

If any particular ad is your REASON for blocking ads, please let us know. We might be able to do something about it. Thanks.
I've Disabled AdBlock    No Thanks