Jeff H Young
In the Trades
getting 8 more inches height should be a big improvement!
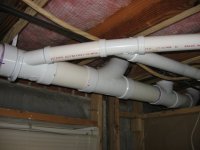
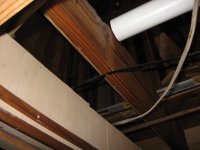
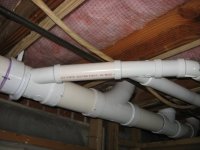
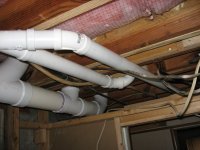
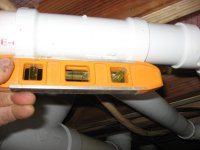
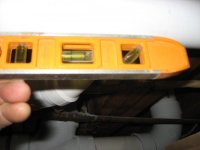
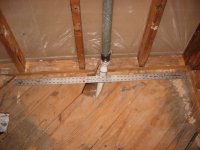
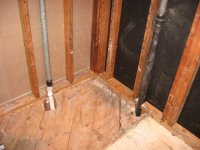
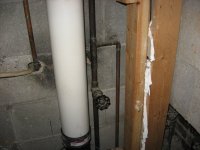
This was the first piece I installed, Wayne. I think I have enough joist clearance. I just didn't raise it high enough, so I might have to drop it out of hub connector above and trim (carefully) a little bit off of it. If the LT90 is canted too much toward vent pipe after that I can cut flange pipe coming out of lt90, add a coupler, and add another piece of pipe, angling it correctly while gluing it in.The bottom of the 4" sanitary tee in the tight joist bay? That needs to have 2% slope, as it's a drain. As does the short section from the LT90 to that vent take-off. [Notching a joist 1/4" to help make that happen would be fine.]
Cheers, Wayne
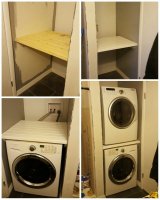
On the dryer venting question, does your desired location allow access to one of the back corners when the stack is in its final location?
Cheers, Wayne
")
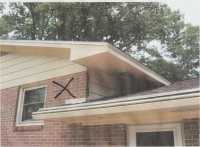
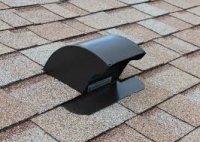
I thought about that, Wayne, we bought a matching LG set, and you have to dismantle the entire dryer to reroute the vent. And that is actually rear of the house. I tried to see where a side vent like that would exit straight out, and that lower eave above that exterior door is right in the way. The only way I can think of is a 40" vertical vent made of rigid aluminum, coming off 45 degree aluminum elbow on dryer vent, installed ahead of time. Once dryer is in place, there will be enough room (hopefully) for me to lean over dryer, push vent into another aluminum pipe coming from DryerJack on roof, and join the vents with hvac foil tape (no screws to catch lint. DryerJack is a fairly new free flow vent design, and code compliant.Depending on the dryer you get, it could be converted to right side outlet, and you could vent out the brick front of the house. Probably not desirable.
Cheers, Wayne
On the dryer venting question, does your desired location allow access to one of the back corners when the stack is in its final location?
Cheers, Wayne
This is awkward, but...
It looks like you're using an ad blocker. We get it, but (1) terrylove.com can't live without ads, and (2) ad blockers can cause issues with videos and comments. If you'd like to support the site, please allow ads.
If any particular ad is your REASON for blocking ads, please let us know. We might be able to do something about it. Thanks.