Aquia 1 Instructions
Aquia 1 instructions:
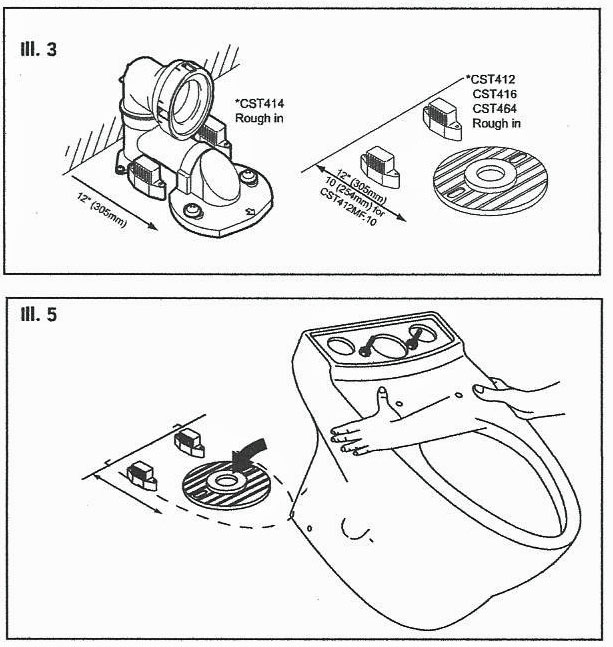
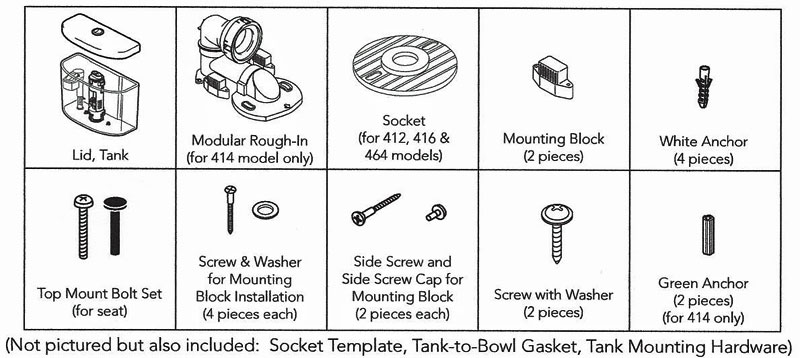
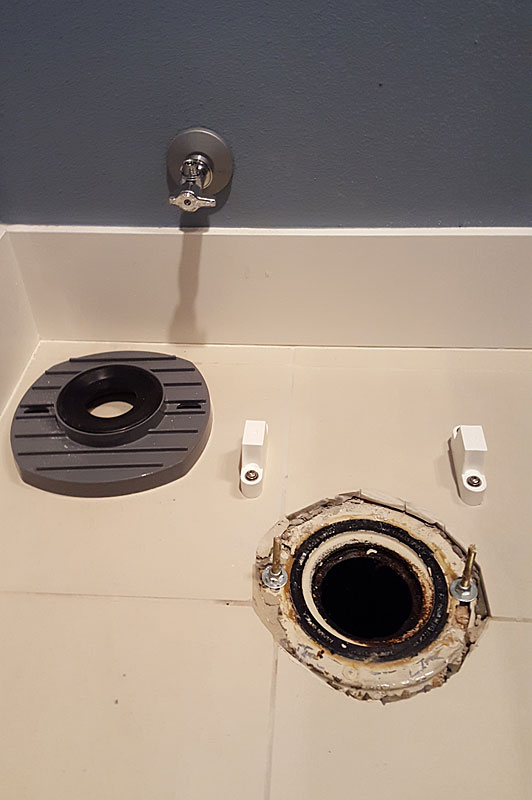
center the provided template over the flange and mark corresponding holes with a pen. There will be 2 towards the back to hold the uni-fit adapter to the floor as well as 2 to each side for the white plastic mounting blocks.
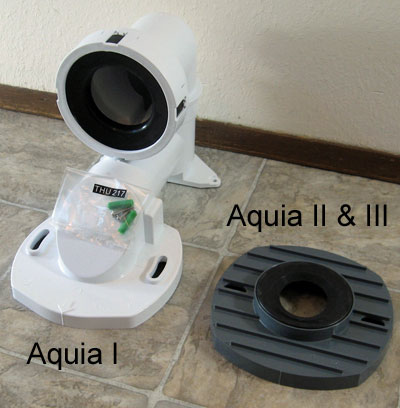
The CT414 bowl uses the TSU04.12 adapter
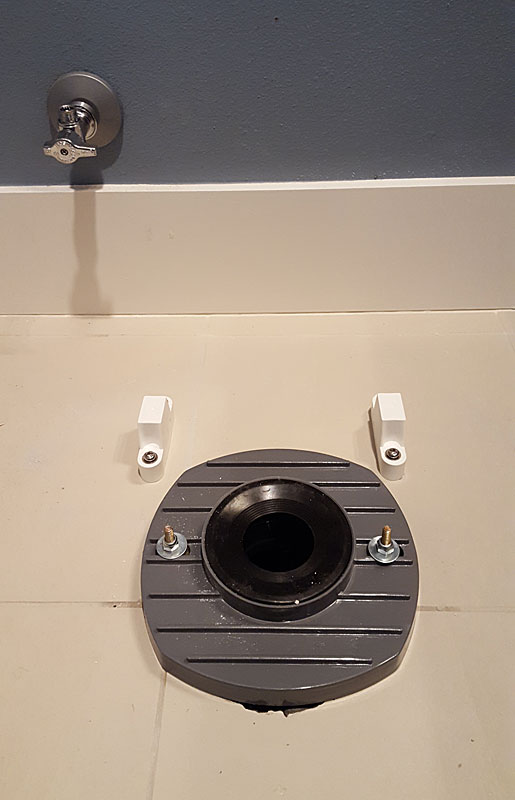
Tile: 2 green anchors are provided for the rear holes and 4 white anchors are provided for the side mounting blocks, 2 for each side and block.
*If installing on a wood sub-floor both the white and green anchors are not needed though i recommend pre-drilling the side holes with a 3/16 bit. Pre-drilling is not necessary for the rear 2 holes.
If installing the toilet on a tile floor i like to use a 1/4" masonry/tile bit for the 2 rear holes and a 5/16 bit for the side mounting blocks. I then tap in both the green anchors for the rear holes and the white anchors for the side holes until the anchors are flush with the floor surface. Once the anchors are tapped in i will then pre drill the side white anchors with a 3/16 drill bit.
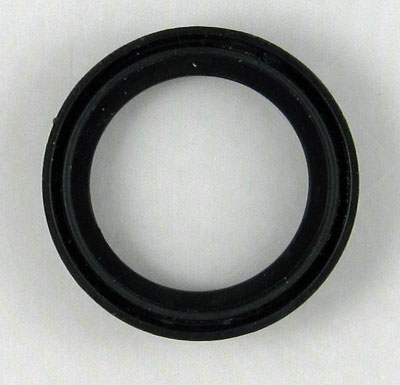
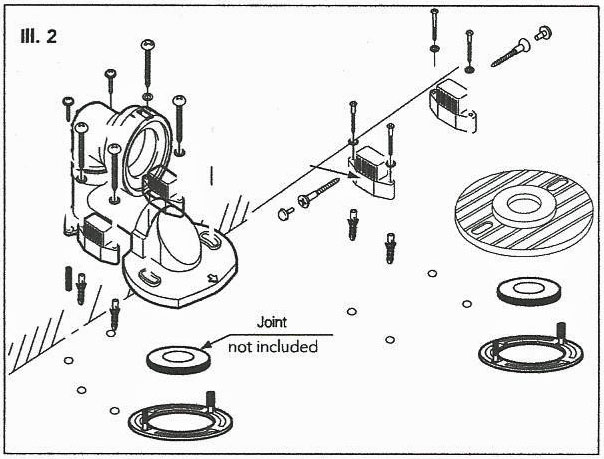
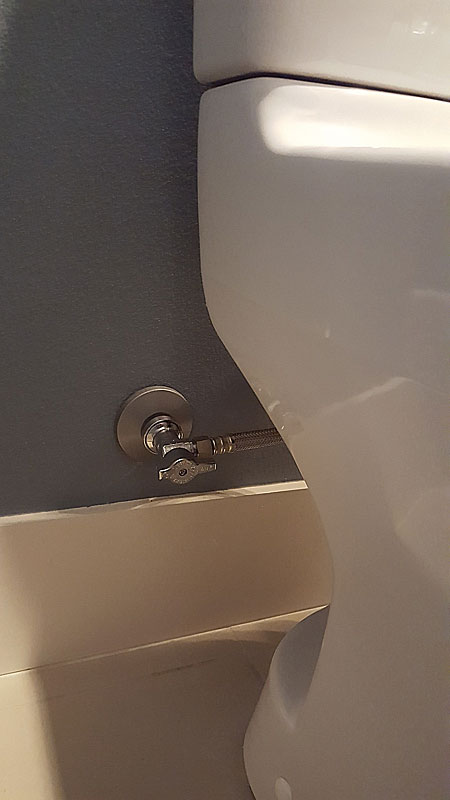
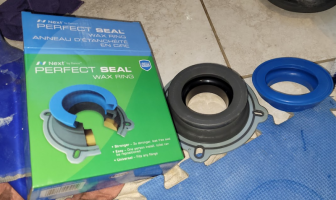
Flange: Secure closet bolts to the flange. If the flange is higher than or flush with the floor surface i use a single wax ring NO horn. If it is below the floor surface i put a regular wax ring down 1st then a 2nd wax ring with a horn on top with the horn facing down. *wax rings, water supply line and closet bolts are not included and must be purchased separately.
Now its time to "push" the adapter onto the wax. Squish The adapter down and secure the adapter by using the remaining washers and nuts from the closet bolt set, then use the two small screws to secure the back of the adapter down. Then Secure the mounting blocks by threading in the larger screws through the blocks into the floor.
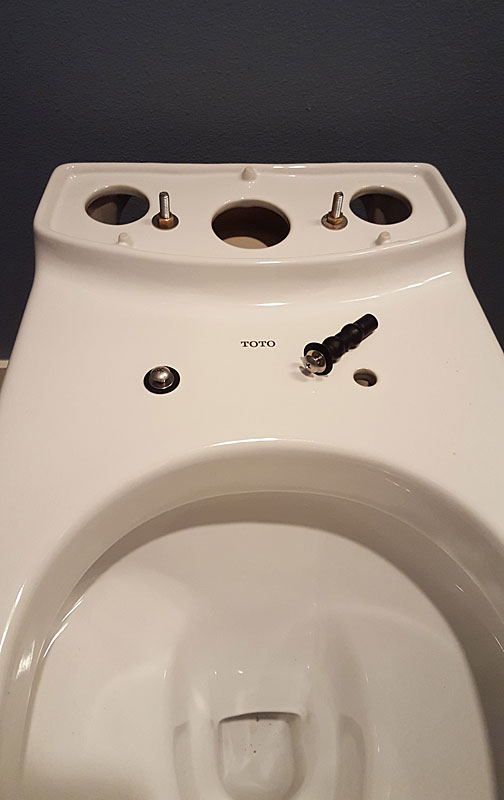
Now that the adapter and mounting blocks are secure, secure the tank mounting hardware onto the bowl. Its now time to insert the bowl into the adapter. I like to use some liquid soap on the rubber to help the bowl "slide" in. Once the bowl bottoms out on the hub its time to insert the finishing screws on either side of the bowl through the porcelain and into the mounting blocks.
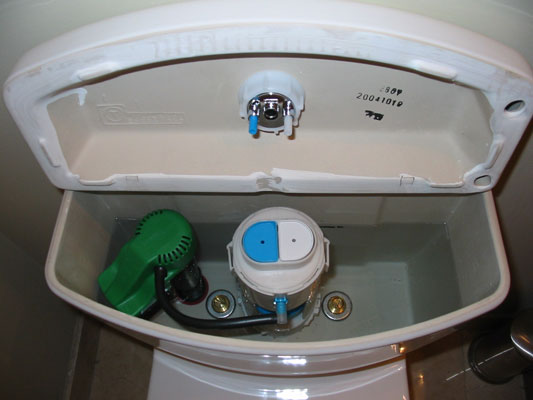
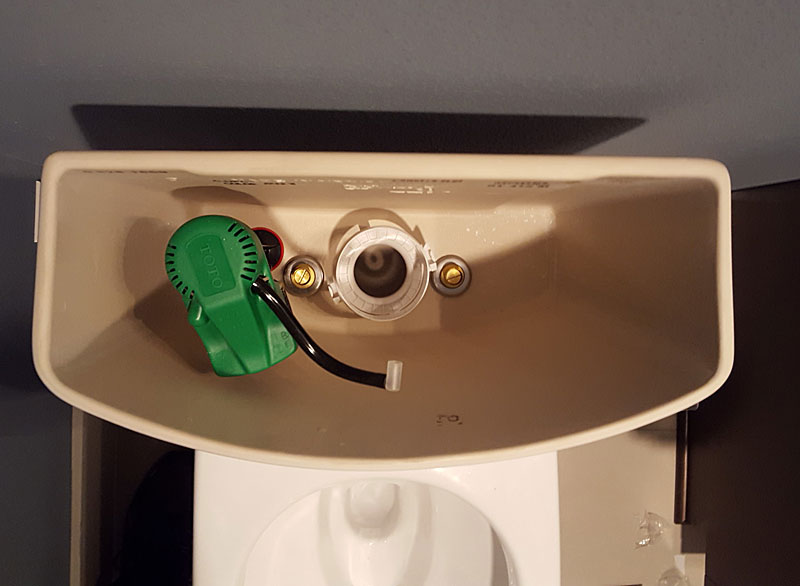
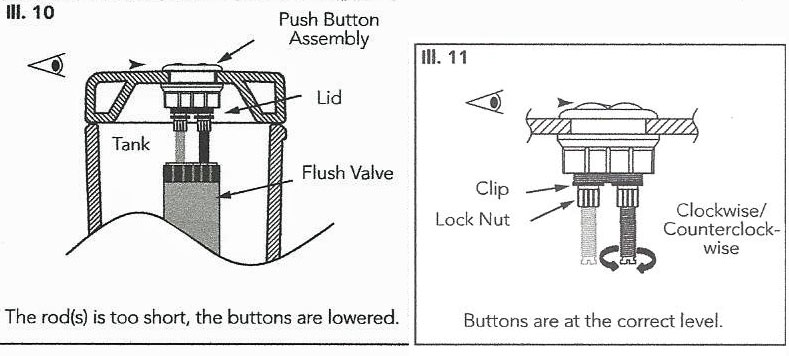
I rotate the flush valve out before installing the tank. Unclip the fill tube, and rotate out counter clockwise. After screwing in the tank, the flush valve rotates back in clockwise, and push the fill tube attachment back on.
Now that the bowl is set its time to attach the tank. dis-connect the refill tube from the fill valve and remove the flush tower by turning it counter clock wise. Attach a 16' flexible water supply tube to the toilet tank and put on the large rubber gasket over the flush valve nut. You secure the tank to the bowl from above, inside the tank. Slide the metal washer onto the brass bolt followed by the rubber washer. Now hand tighten each bolt to the mounting hardware with the rubber washer down. *You must SLOW down and alternate tightening both sides often to in sure the rubber gasket seats properly. After the tank is hand tight, finish tightening with a flat blade screw driver until the tank is snug. Re-install the flush tower and re-connect the fill tube.
Tighten the water supply to the shut off valve and turn on water. * YOU MUST RE-INSTALL THE FLUSH TOWER before turning on water.
Next the seat is mounted by dropping a rubber bushing-nut into each seat hole. Remove the screw and washer. Set the seat over the hole and re-insert the washer and screw and tighten with a screw driver. * it can take ALOT of turns with a screw driver by hand, i use a drill to help speed things up!
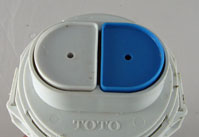
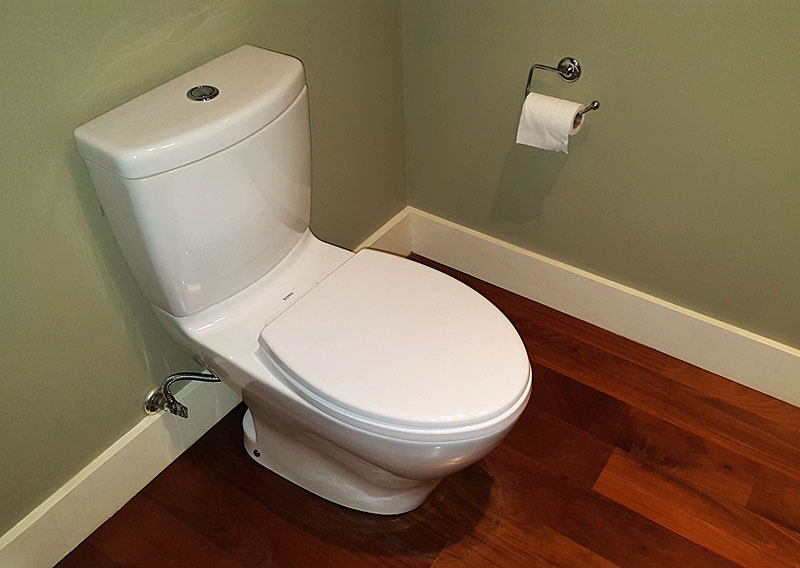
Place the lid on top of the tank and give it a few test flushes, and you're done!
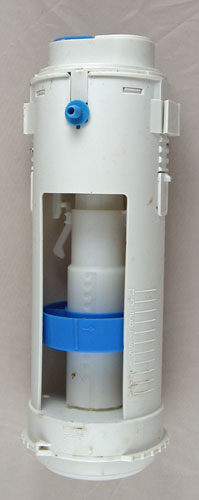
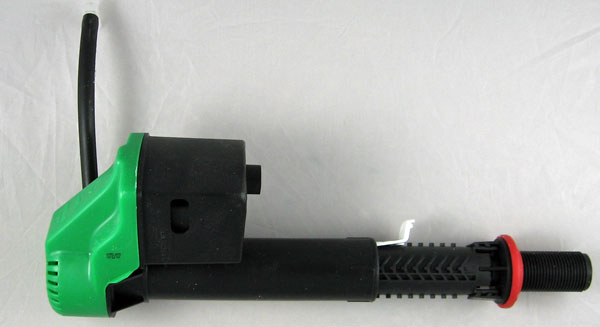
CST414M Fill valve
Installation instructions for Aquia
To buy Aquia toilets in the Seattle area