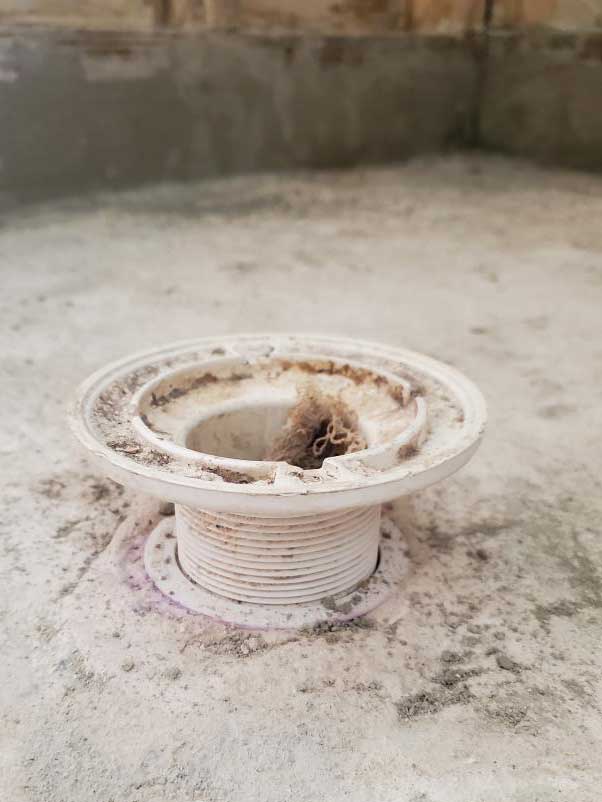
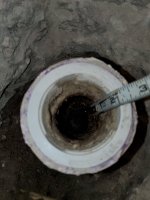
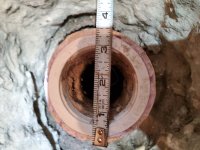
Are there any bolts in the ring beneath that threaded section? Was there a liner installed at all?
If this is a clamping drain, it was not installed correctly. A conventional liner shower pan has three layers:
- preslope
- liner
- setting bed.
It's not uncommon, but wrong per plumbing codes, to put the liner flat on the floor, and Florida seems to think a liner isn't requires on some slabs at all.
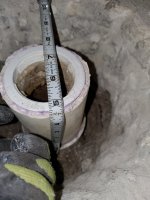
Per plumbing code, the liner MUST be properly sloped to the drain. The threaded portion is on top of the clamping ring of the lower section of the drain that holds the liner.
Since that portion is flat on the floor, you could make it all work because over a a slab, you can make a bonded mudbed that can taper to essentially zero thickness. Then the liner is installed, then the setting bed is installed that is parallel to the preslope, thus keeping the slope of the pan intact.
If there are no bolts, or bolt holes to attach the clamping ring and liner in that lower part, you MIGHT be lucky and find a clamping ring that would attach, but more likely, you'll be tearing it out.
My preference is to not build a conventional liner shower and go with something a bit more modern (if you can call 30-year old tech modern), and use something like Kerdi which only requires one mud bed, then the tileable Kerdi membrane is applied, then tile. Makes the floor thinner, simpler, and totally waterproof along with the walls...it also requires its own drain assembly.
www.johnbridge.com is m go-to place for shower and tiling help.
This page shows the parts of a typical clamping drain for a tiled shower...
Oatey® 130 Series Shower Drain For Tile Shower Bases | Oatey
This video shows the parts better but makes a big mistake by installing the liner flat on the floor without any preslope as required by code. Water does not drain out from a flat surface properly and the mud bed will stay damp unless the shower is very rarely used so it can dry out in between uses. [/MEDIA]