Fiberglass does not like square cornered holes...it puts a fair amount of stress on the materials, and is more likely to crack. So, I suggest that you draw out where you want the hole, then use a drill bit on the corners to actually make them a curve, then, you can cut the lines connecting them. Depending on how the thing is made, a saber saw might put a lot of stress on it and crack things. Some of those panels can be cut just by using a utility knife with a new (sharp) blade. Does the instruction set give any indications? Maybe a call to the manufacturer would be a good idea.
As to how to measure and mark...first thing I think you'll need to do is to verify that the floor is level and flat, then, that your studs are plumb, otherwise, the angles involved will make it very difficult to precisely locate your desired hole.
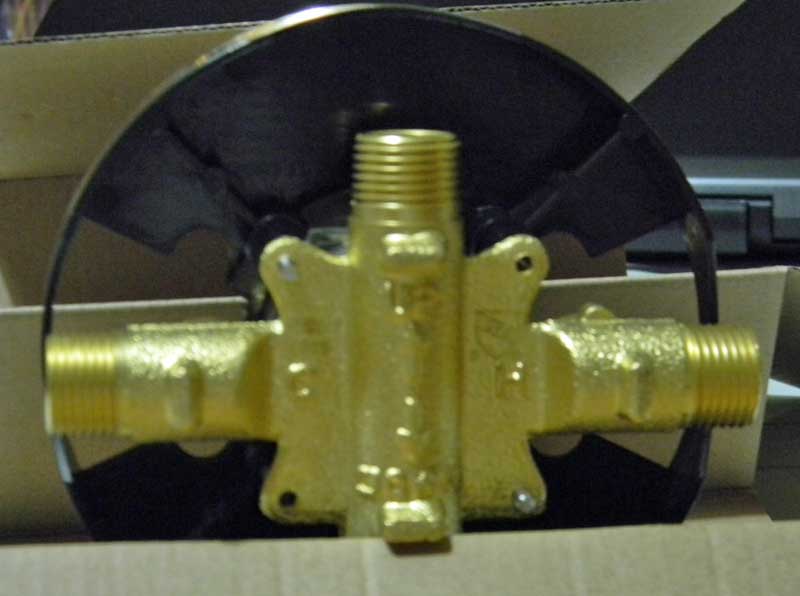
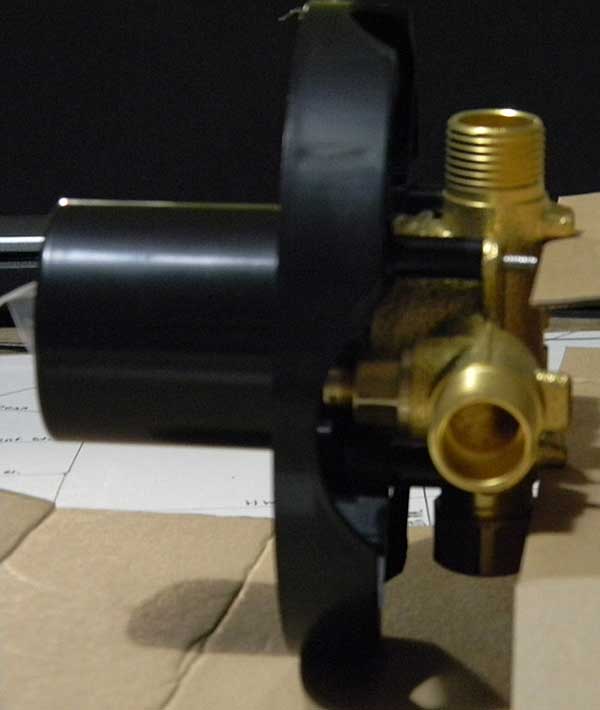
Many valves have what is called a thin-wall installation method. This often requires the actual hole in the wall to be smaller than the plaster guard/frame of the mounting box. They use that guard flush up against the back of the panel, then, screw the trim down, sandwiching the two together and clamping the wall in between them...otherwise, the flexible panel would not be able to be sealed. In that case, the hole must be smaller than the frame, and a round hole might just work fine, but maybe with some slots or holes for the trim's screws to get to the valve. Double-check the instructions to see if it has a thin-wall installation method.