Jamie Love
Plumbing expert
Hey there everyone! I am Terry's son Jamie.
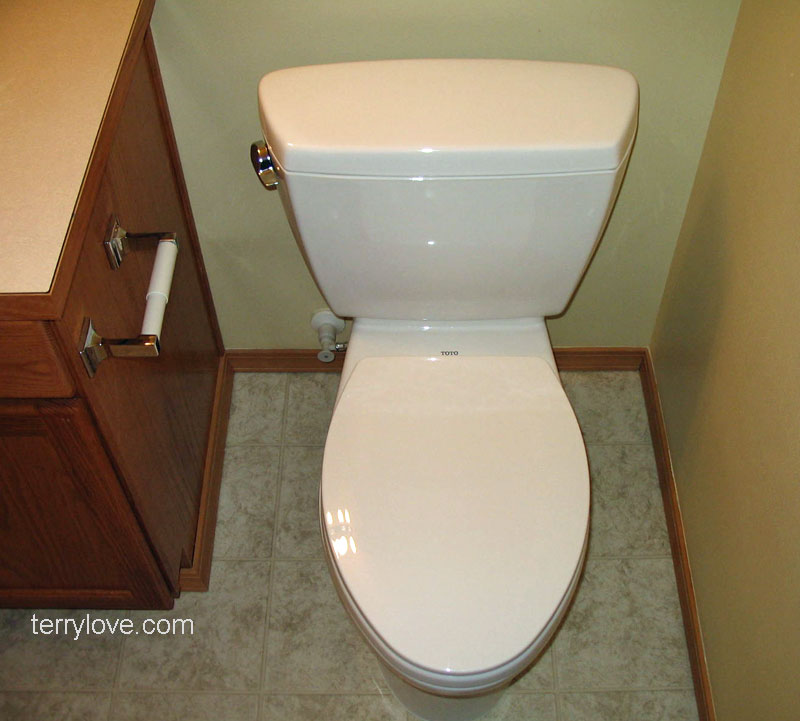
Installing a Toto CST744S toilet or TOTO CST454CEFG instructions by Jamie Love
I install hundreds of these a year so I have some quick and easy advice for
you. First off these toilets are assembled like every other two-piece on
the market. Lets not over think this one here, just becasue it is a
Japanese brand doesn't mean there is a "Foreign" way to put them together.
Remember they were first manufactured in Atlanta, Georgia and the instructions are in English.
So let's Go!
I'll walk you through an assembly. It should take less than 5 minutes.
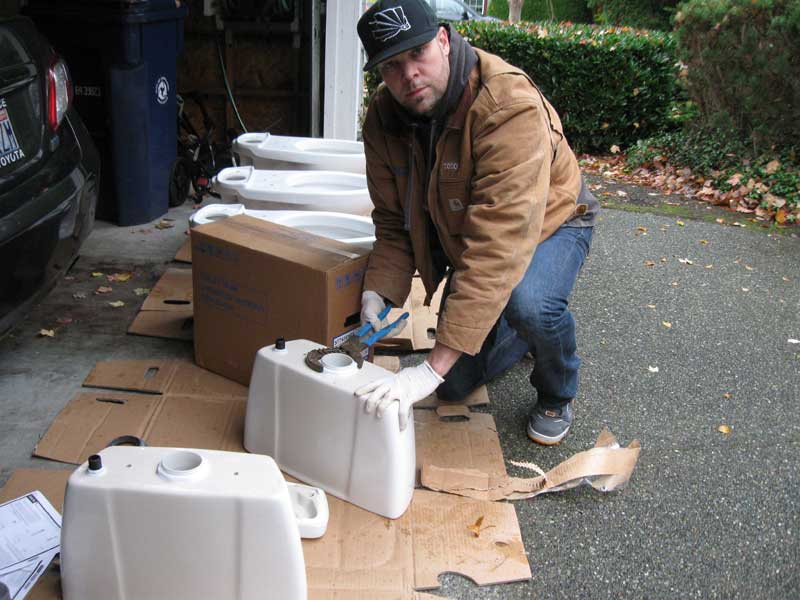
1- remove tank and bowl from their respective packaging. (1 minute)
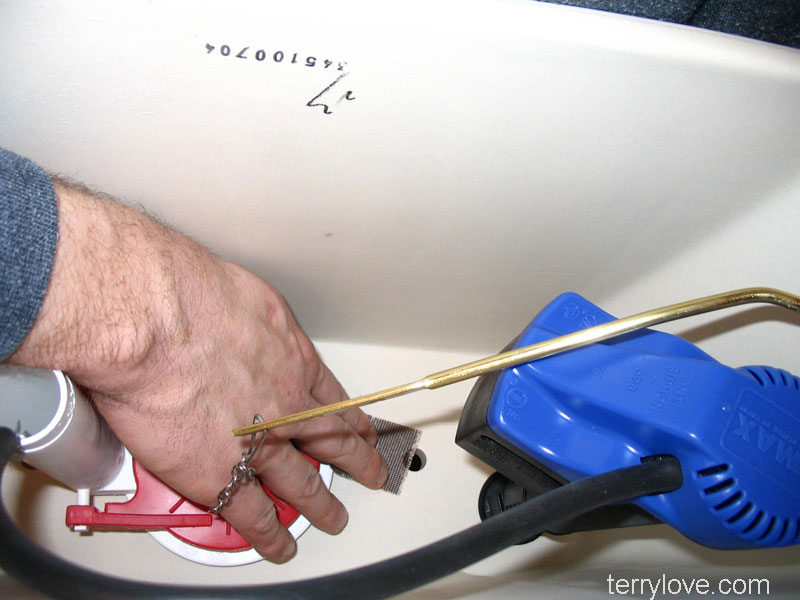
2- lightly sand the bolt holes inside the tank to ensure a smooth surface
for the rubber washer to contact. (30seconds)
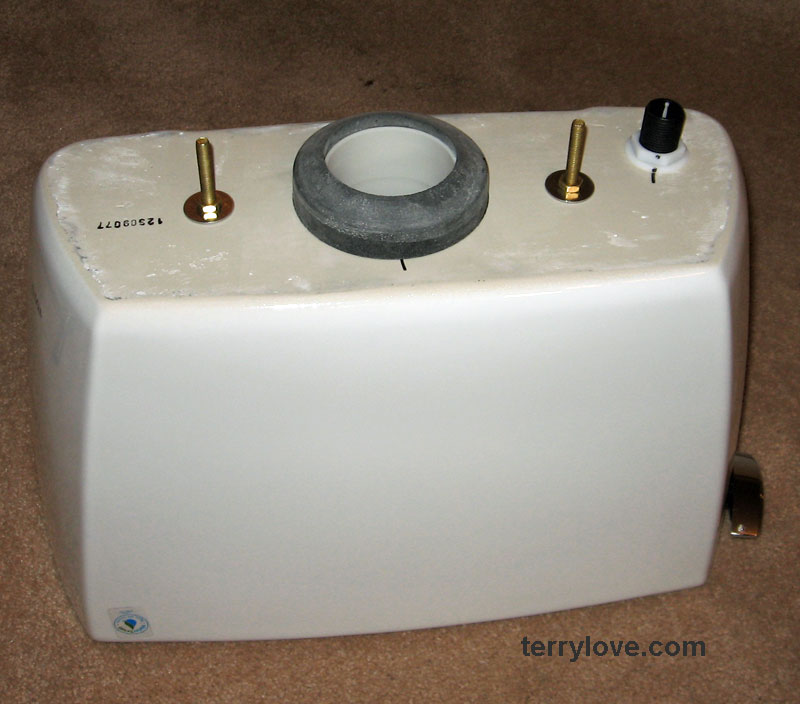
3A- Using large pliers, give the large nut at the bottom of the tank a bit of a snug, then push the rubber gasket onto the bottom of the tank until it is flush.
The flat side should be facing the tank while the tapered end should be
pointing towards the bowl. I find a half twist will really snug it flush.
(30 seconds)
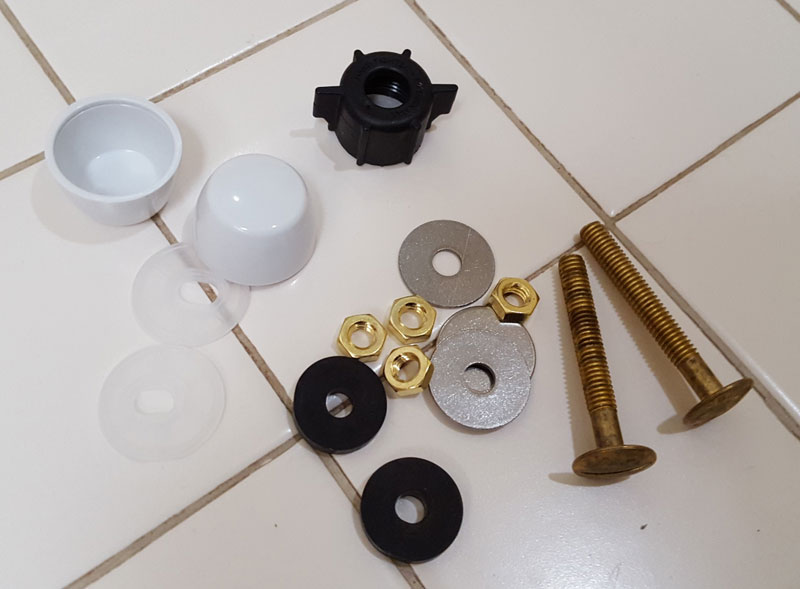
3B- slide rubber washer onto bolts and drop into holes inside the tank. Then place a washer and nut on and snug them up.
(30 seconds)
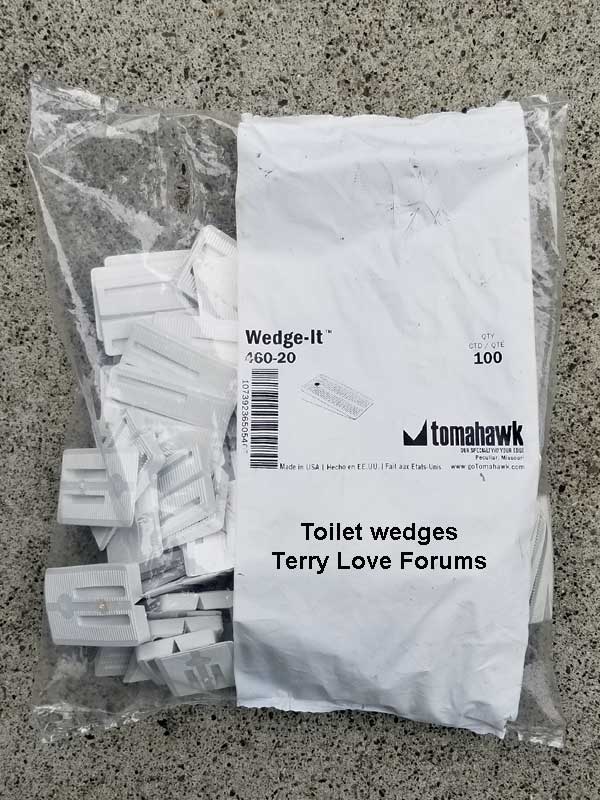
I prefer to shim at the back, pinning the front of the bowl down.
We use the composite shims located in the windows and door section of HD.
5- Lift the bowl back up.
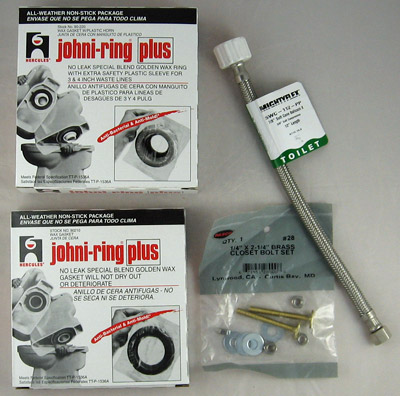
6- Next, set either one wax ring or two down on the flange.
If the flange is setting above the floor, one will do.
If the flange is setting on the lower plywood, not on the underlayment, then two wax rings.
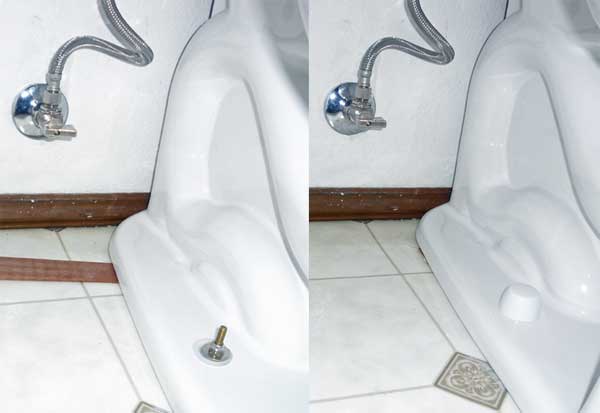
7- Set the bowl down on the wax, drop the cap securements over the bolts, then washers and nuts.
Snug these down, making sure the toilet bowl is steady and not rocking.
There should be no bowl movement when you are done.
8- set the tank on top of the bowl until it is centered left to right and
front to back. (30 seconds)
9- Place washers and nuts onto the tank bolts after it has been placed on the bowl.
(30 seconds)
10- tighten down each side with the washers and nuts provided. I alternate
until snug. it is not neccessary for the tank to touch the bowl on all
sides, a little gap all the way around is fine. (2-3 minutes)
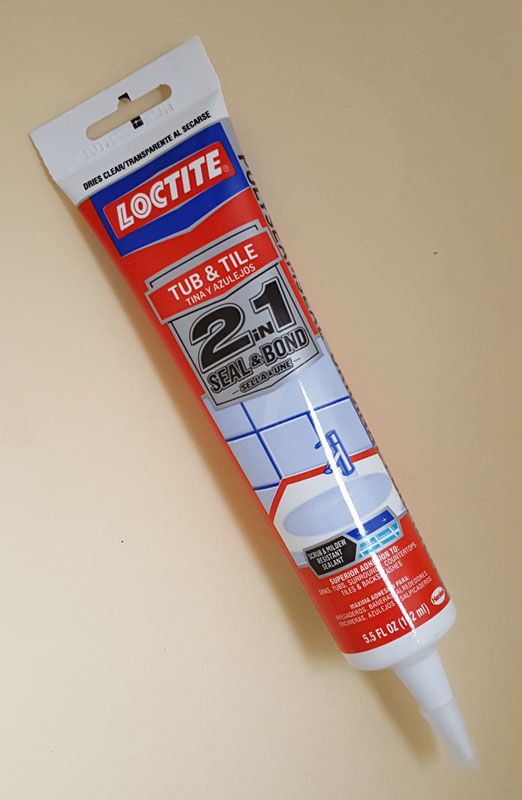
11- At the very last, you can caulk around the base. In Washington State, around the front of the bowl, leaving the back open. I use polyseamseal.
In Phoenix, hj would prefer that you caulk all the way around.
PS- I assume the seat install is self explanatory?
I hope this helps! Good Luck, Jamie
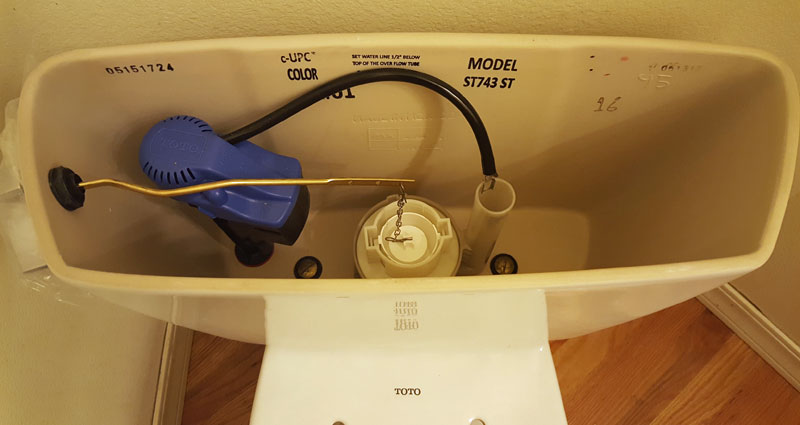
Consumer Toilet Report
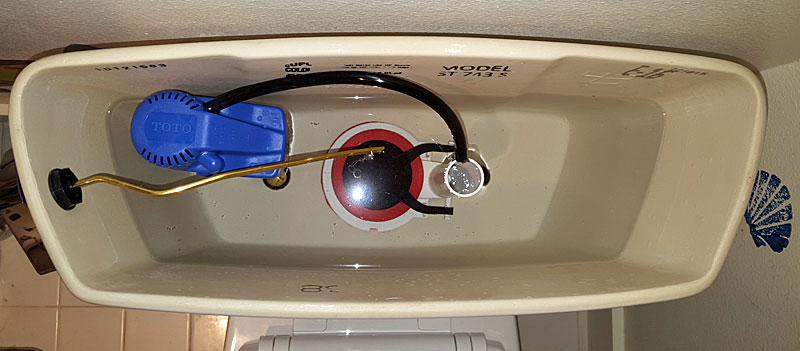
The Toto Drake uses a Korky Quietfill valve and a Korky 3" flapper, made in the US.
The porcelain may be made in, USA, Japan, China, Viet Nam, Mexico.
The only caulk we use is between the floor and the base of the bowl, which we apply after the toilet is installed.
Even though it's considered to have a 12" rough-in, it will install with as little as 11" from the finished wall to the center of the flange.
The water supply at the wall should be 8" to the left of center, but will work with as little as 3".
https://terrylove.com/pdf/cst744s_footprint.pdf
Installing a Toto CST744S toilet or TOTO CST454CEFG instructions by Jamie Love
I install hundreds of these a year so I have some quick and easy advice for
you. First off these toilets are assembled like every other two-piece on
the market. Lets not over think this one here, just becasue it is a
Japanese brand doesn't mean there is a "Foreign" way to put them together.
Remember they were first manufactured in Atlanta, Georgia and the instructions are in English.
So let's Go!
I'll walk you through an assembly. It should take less than 5 minutes.
1- remove tank and bowl from their respective packaging. (1 minute)
for the rubber washer to contact. (30seconds)
3A- Using large pliers, give the large nut at the bottom of the tank a bit of a snug, then push the rubber gasket onto the bottom of the tank until it is flush.
The flat side should be facing the tank while the tapered end should be
pointing towards the bowl. I find a half twist will really snug it flush.
(30 seconds)
3B- slide rubber washer onto bolts and drop into holes inside the tank. Then place a washer and nut on and snug them up.
(30 seconds)
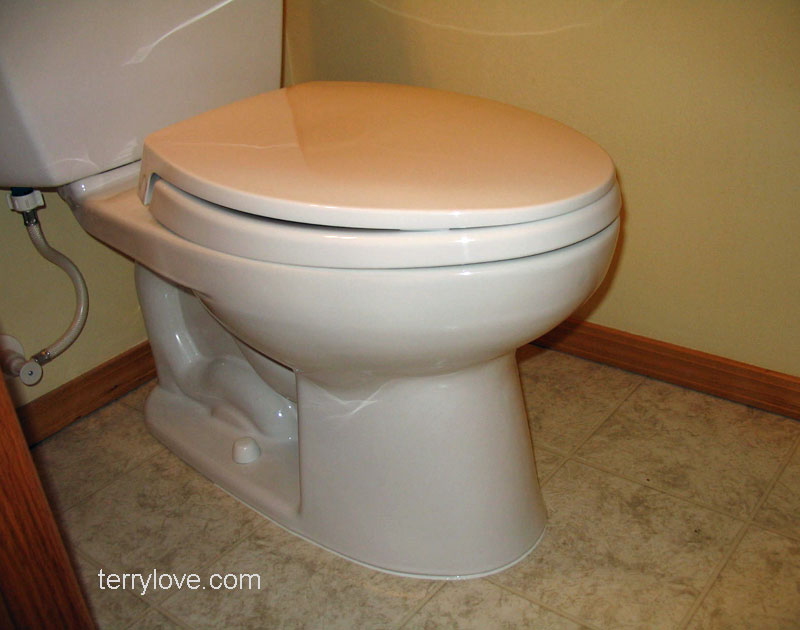
4- Set the toilet bowl on the flange without wax, to see how the floor is.
Determine if any shims are needed.I prefer to shim at the back, pinning the front of the bowl down.
We use the composite shims located in the windows and door section of HD.
5- Lift the bowl back up.
6- Next, set either one wax ring or two down on the flange.
If the flange is setting above the floor, one will do.
If the flange is setting on the lower plywood, not on the underlayment, then two wax rings.
7- Set the bowl down on the wax, drop the cap securements over the bolts, then washers and nuts.
Snug these down, making sure the toilet bowl is steady and not rocking.
There should be no bowl movement when you are done.
8- set the tank on top of the bowl until it is centered left to right and
front to back. (30 seconds)
9- Place washers and nuts onto the tank bolts after it has been placed on the bowl.
(30 seconds)
10- tighten down each side with the washers and nuts provided. I alternate
until snug. it is not neccessary for the tank to touch the bowl on all
sides, a little gap all the way around is fine. (2-3 minutes)
11- At the very last, you can caulk around the base. In Washington State, around the front of the bowl, leaving the back open. I use polyseamseal.
In Phoenix, hj would prefer that you caulk all the way around.
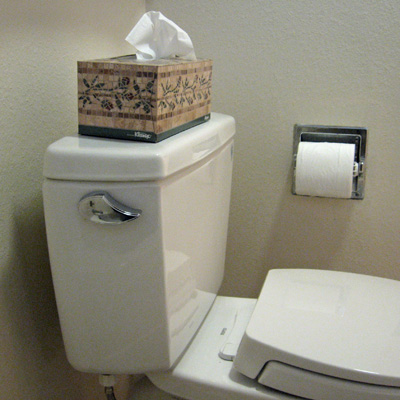
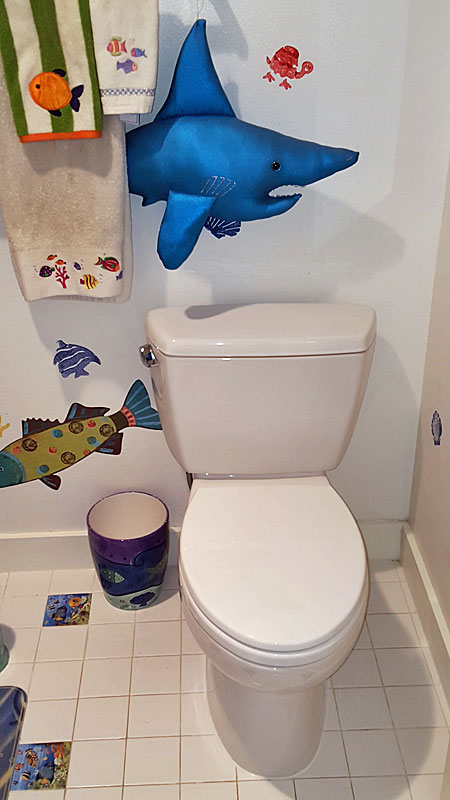
12- Crack a cold one and continue to pat self on back while you stand before
your throne in all it's glory! For you sir have just built one of the
finest toilets in the world!!! (15-30 minutes)
your throne in all it's glory! For you sir have just built one of the
finest toilets in the world!!! (15-30 minutes)
13- Invite neighbor over so you can brag (1-2 hrs)
PS- I assume the seat install is self explanatory?
I hope this helps! Good Luck, Jamie
Consumer Toilet Report
The Toto Drake uses a Korky Quietfill valve and a Korky 3" flapper, made in the US.
The porcelain may be made in, USA, Japan, China, Viet Nam, Mexico.
The only caulk we use is between the floor and the base of the bowl, which we apply after the toilet is installed.
Even though it's considered to have a 12" rough-in, it will install with as little as 11" from the finished wall to the center of the flange.
The water supply at the wall should be 8" to the left of center, but will work with as little as 3".
https://terrylove.com/pdf/cst744s_footprint.pdf
Last edited by a moderator: