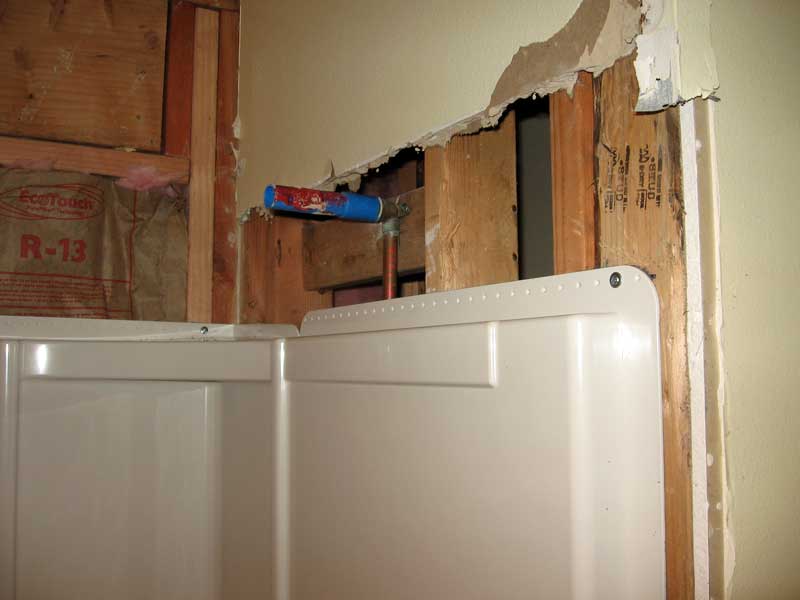
Follow the provided instructions on installing drywall over the flange. Essentially, you need to use moisture-resistant drywall with the papered-edge towards the unit on all sides. Keep at least a 1/8" gap between the unit and the drywall so that water will not wick up into the drywall. This gap should also be siliconed. It is essential that there is not direct contact between the unit and the drywall edge.
I have also seen photos of units that were drywalled up to the flange, then a piece of wood trim was used to hide the flange. I considered that (you can remove the unit in the future without damaging drywall), but ended up just bringing the drywall down.
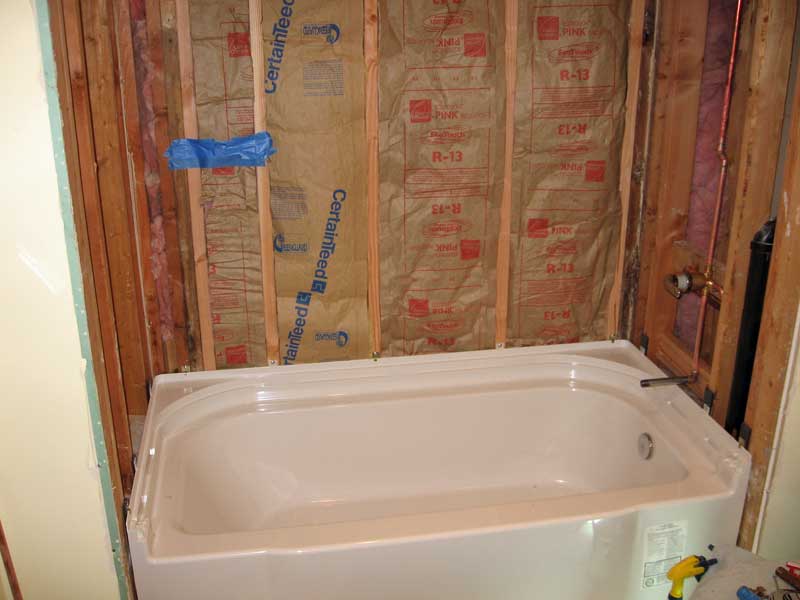
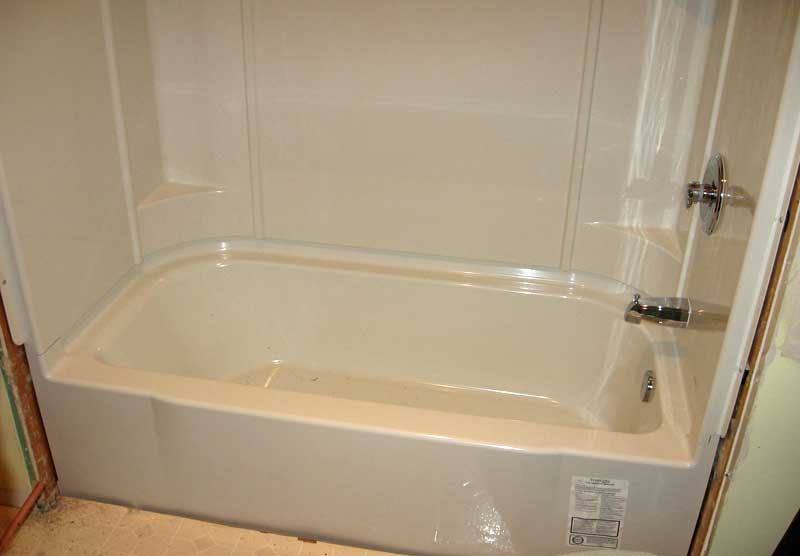
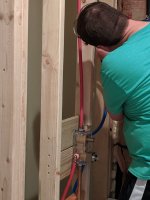
I am in the process of installing the Accord tub/shower. BTW, first tub arrived with a hole in it. Surround arrived with a hole and several cracks. I made sure to check it at the plumbing supply warehouse before taking it home. Second shipment proved to be good. Tub install is rock-solid (with mortar on top of shower-pan rubber sheet) and perfectly level. Installed the back surround with no problems.
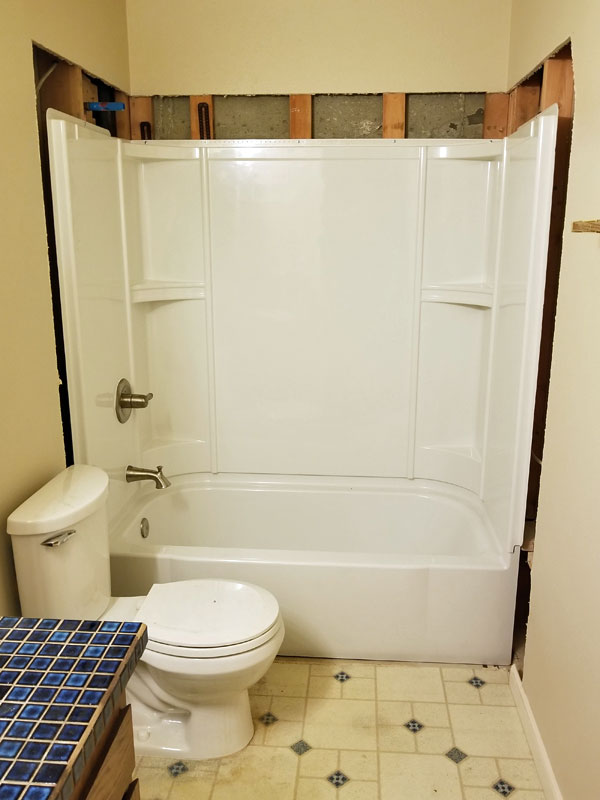
I am not sure how you would use the green-board drywall with the papered edge towards the unit since the upper corners of the surround are raised to keep water from pooling on the ledge of the surround. You would need to cut the ends of the drywall in order to follow the contour of the surround, thereby, not having any paper on the bottom edge. If you installed the green-board per your instructions with no cuts for contour, then there would be a 5/8 inch gap in the center of the back wall that would need to be caulked. Far too much of a gap, in my opinion, to produce a nice clean, finished looking caulk line.
I am thinking of cutting and following the contour with acrylic/pcv moulding to cover the flange and butt the green-board above it, giving the surround a framed appearance and to have access for removal of the surround in the future (if need be). Does anyone have other ideas or suggestions?
Should the gaps between the panels on top of the surround be caulked? The gap I am referring to is about 3/8 of an inch wide and about 1.5 inches long, running perpendicular to the flanges where the panels meet. If water got splashed up on the upper ledge of the surround, it could enter this gap. When I look down at it from my ladder, I see that the water has nowhere to go but behind the surround. I am trying to avoid any future problems with water damage. When I called the techs, I was told that caulking is only need where the finished wall material meets the surround panels and tub and the gap does not need to be caulked. I hope a have explained and I will try to upload photos for a view of my concerns. Any help with this would be most appreciated.